1. Create your first form
A Form is a screen that collects answers. Start with a small one so you can understand its questions, check its behavior and see what still needs connecting before it becomes a full application.
Screenshot context: The figures below were captured on 15 November 2026 from a build of master at 169cd3374a, using fictional People Operations data. They follow one new, unpublished Leave request draft through creation, saving, reload and non-submitting Preview. The small Mobile frame is a designer preview inside the native 2560×1440 capture. Your installed version and available actions may differ.
This lesson creates Leave request. Later lessons connect it to the teaching record and workflow. Creating a Form alone does not create an employee request or a manager task.
Before you start
Open the intended workspace with permission to create forms. Use the People Operations teaching workspace if you are following the connected example. A business function groups related work in the workspace; choose the placement your project uses rather than creating an unrelated one for the lesson.
Example 1: create Leave request
- In the workspace, open Build and choose Forms.
- Check whether the intended Leave request form already exists; inspect it instead of duplicating or replacing someone else's work. For a missing form choose New form. The creation dialog uses the title New interface because forms, dashboards and App Shells share this creation tool.
- If a Type step is shown, select Form. Some entry points already chose the type for you and skip that step.
- On Placement, select the appropriate business function for the teaching app.
- On Details, enter Leave request as the Title. Review the suggested Key and add a short description such as “Collect the details of an employee's leave request.”
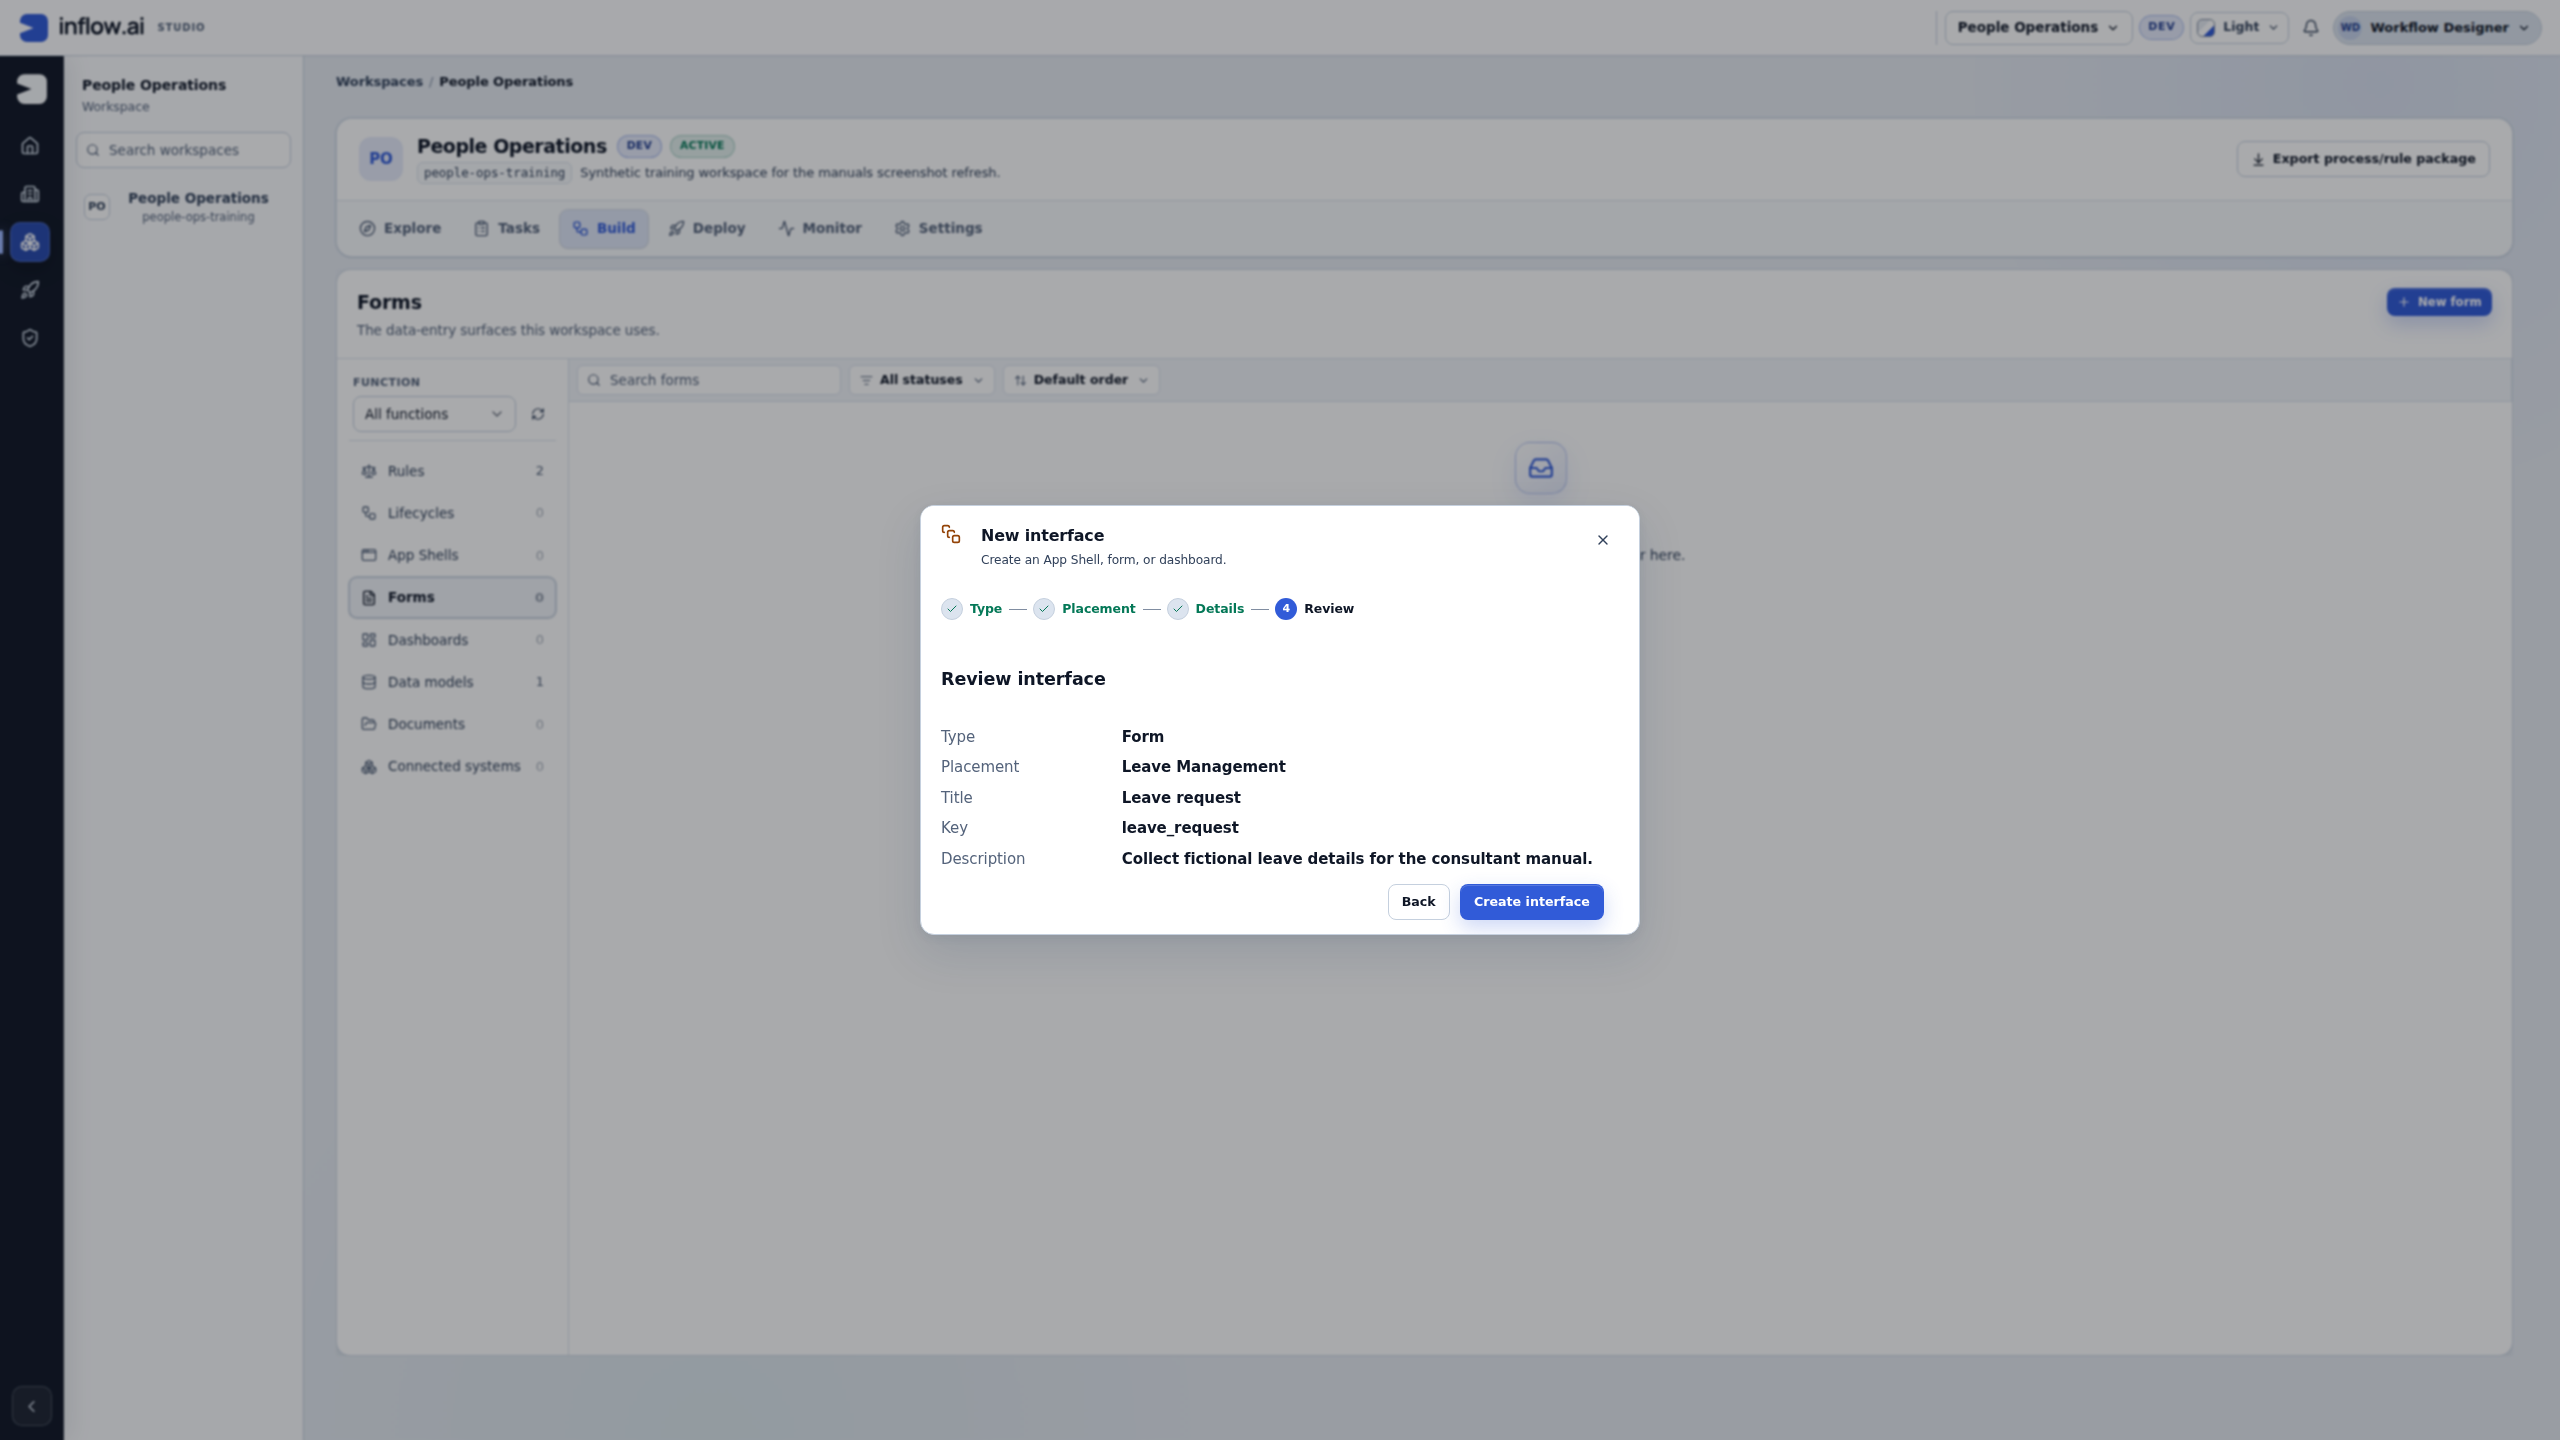
- On Review, check the type, placement and title, then choose Create interface.
- Confirm that the designer opens for the form you just created.
The title is what colleagues recognize. The key is the short identifying name used by the application. Keep the suggested key unless you understand why your project needs a different one. If the name/key already exists, inspect the existing item rather than replacing someone else's draft.
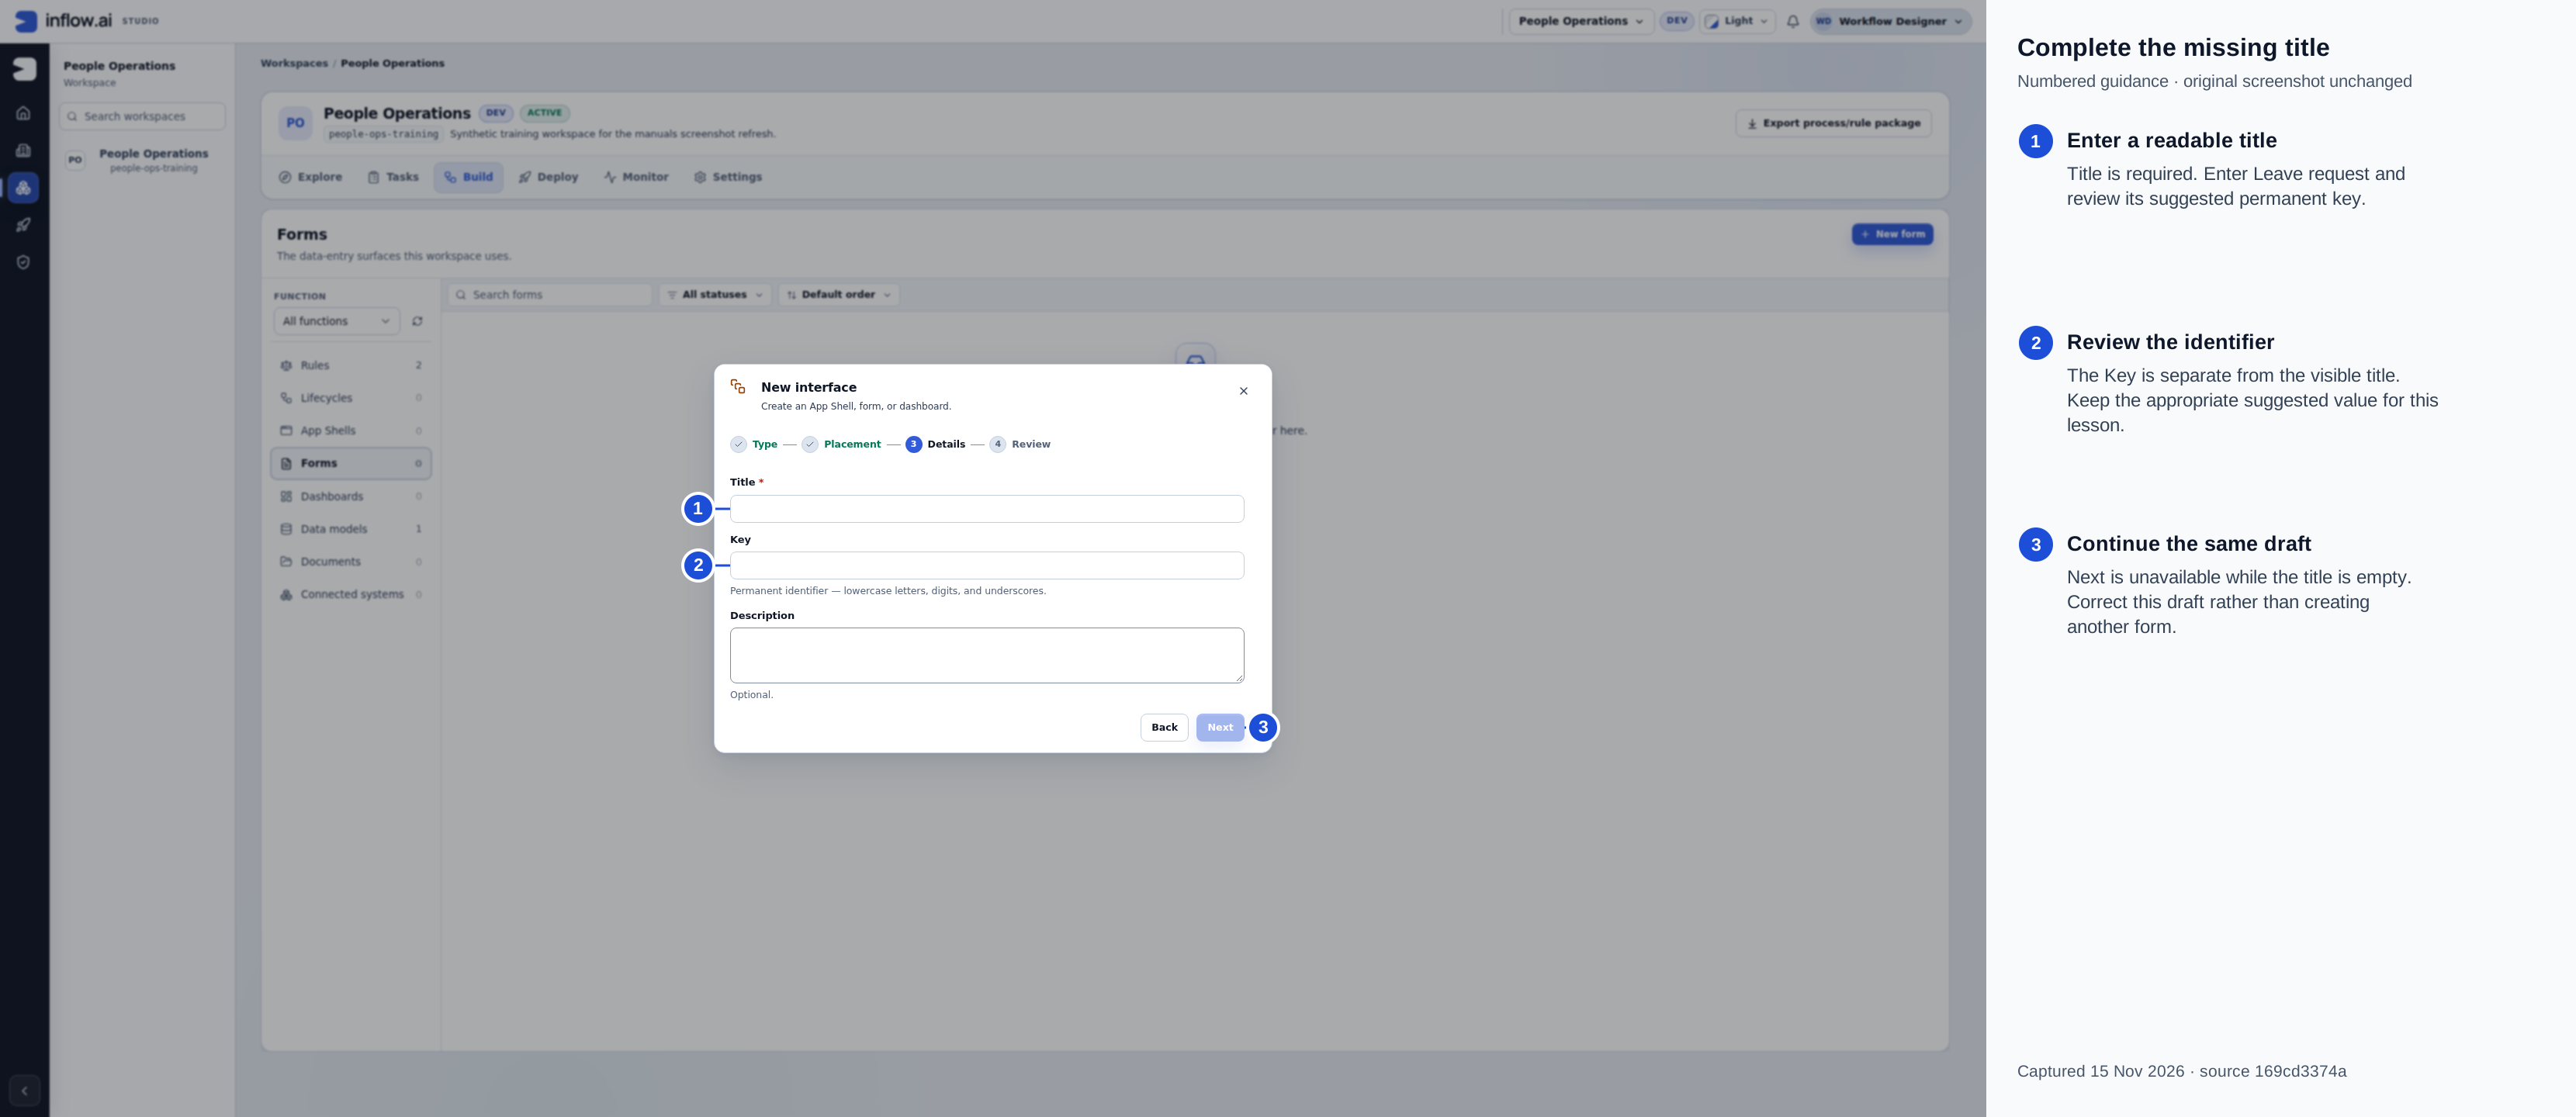
Captured 15 November 2026 from source 169cd3374a. Numbered guidance is editorial; the native 2560×1440 original is unchanged. The wizard has not created the form while these details are incomplete.
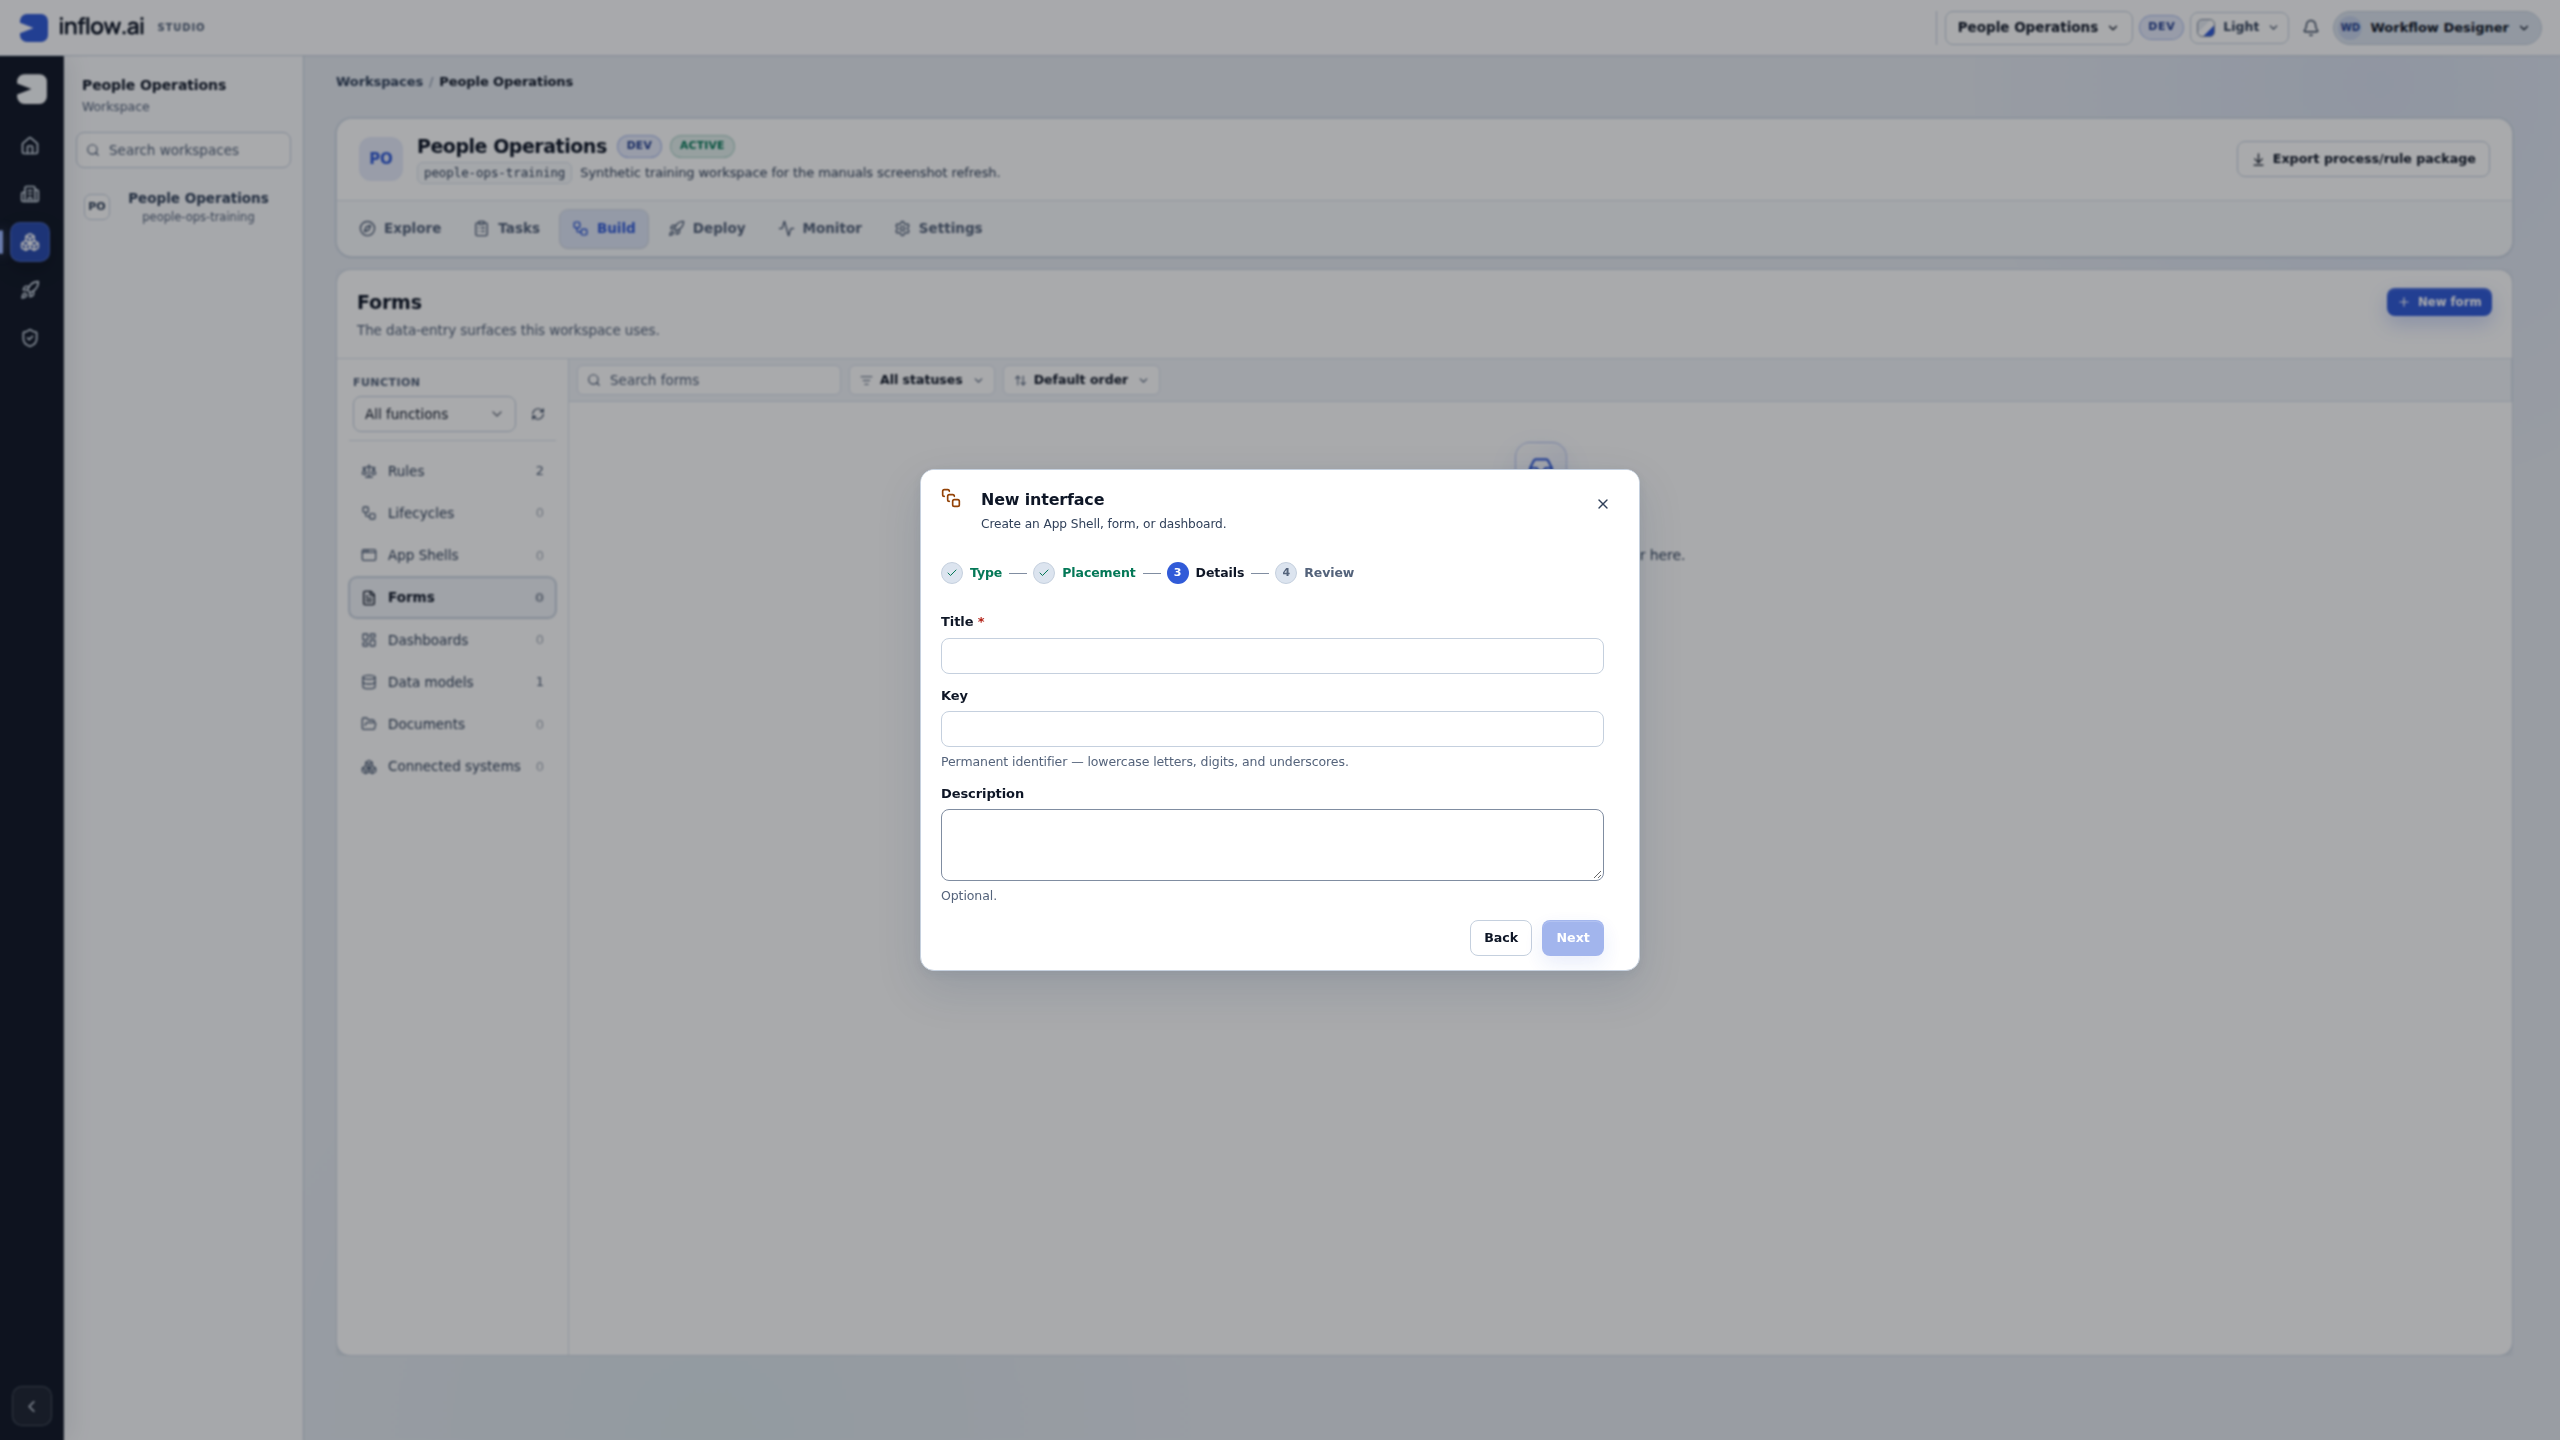
If Next is unavailable: enter the Title and review the Key. Continue the same draft after correcting the missing detail. The wizard has not created the form yet.
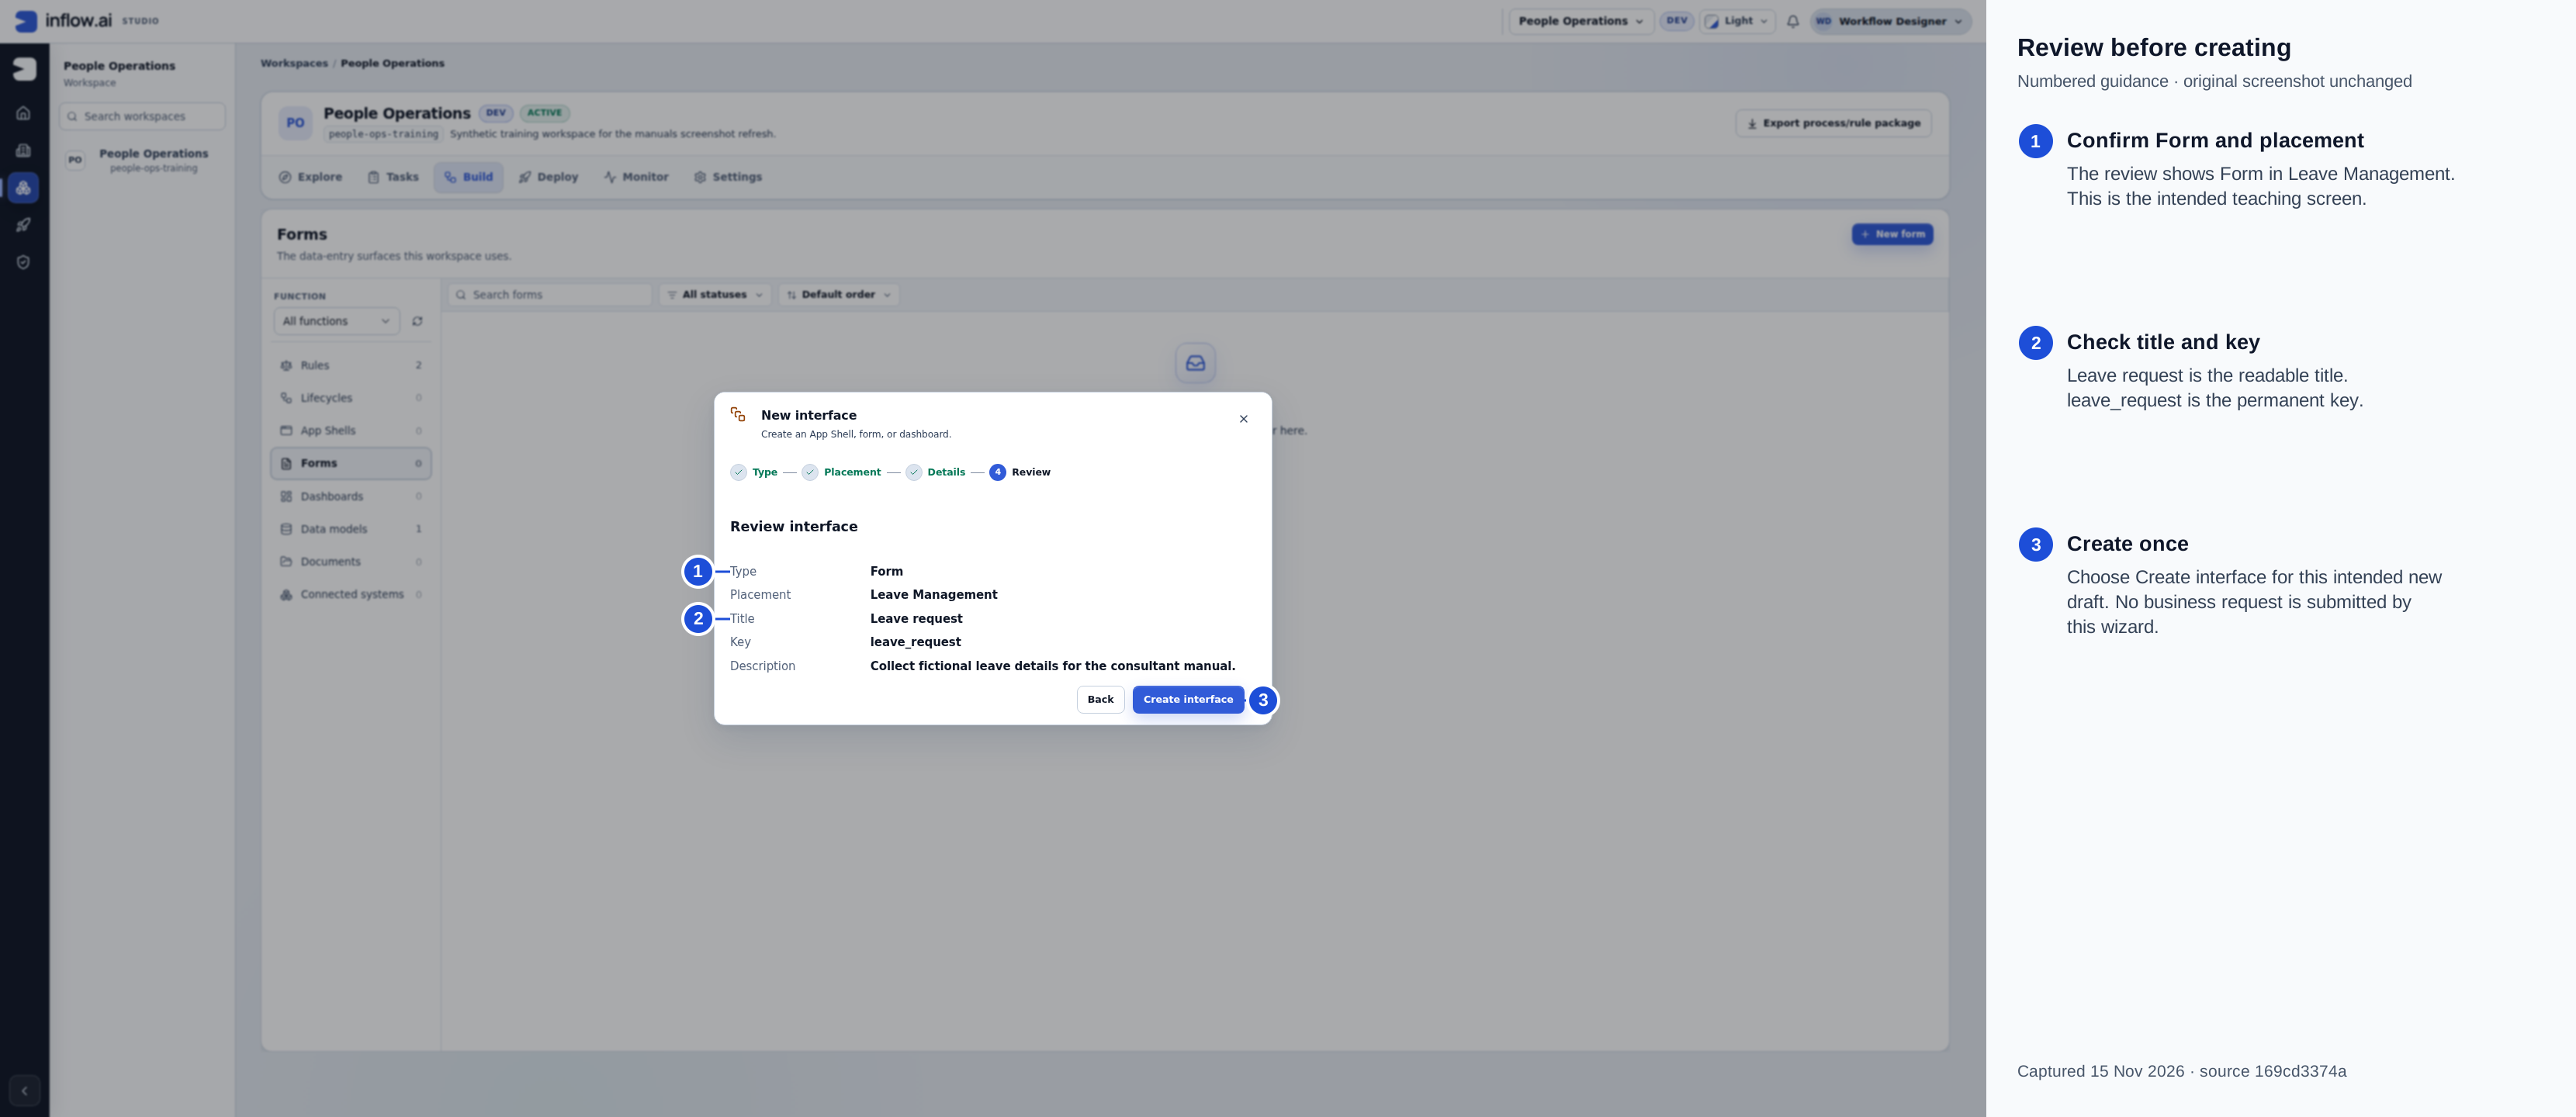
Captured 15 November 2026 from source 169cd3374a. Numbered guidance is editorial; the native 2560×1440 original is unchanged. Create interface creates the screen draft once. It does not create an employee leave request.
Find the four working areas
- Toolbox: the pieces you can add, such as a Date field or Section.
- Outline: the list showing which controls are inside which sections.
- Canvas: the design you are arranging.
- Properties: settings for the selected control, including its label and answer destination.
Designer is the visual editor. Code is an optional advanced view of the same design. Preview lets you try the configured draft; it can use real configured sources, so keep learning examples fictional. The published Live application is the released experience people use after publication.
Create the answer before connecting the question
The input name identifies an answer inside the form. A control's Label is the friendly question people read. For this lesson the input name is reason, while the visible Label will be Reason for leave.
- In the designer's right panel, open Inputs.
- Choose Add input. In its Name field, replace the suggested name with reason, then leave the field so the name is applied.
- Set its Type to Text. Keep Single, Default empty and Required off for this first optional question. Later, set an intended required question through its Properties and test the missing-answer behavior separately.
- Check that Inputs now lists reason with type Text. Choose Save if needed and wait for Saved remotely.
- Return to the control's Properties when configuring the question below.
You have declared somewhere for the answer to go. You have not added a question to the canvas yet, and this Text input is not a new database column. The next steps connect the visible question to it.
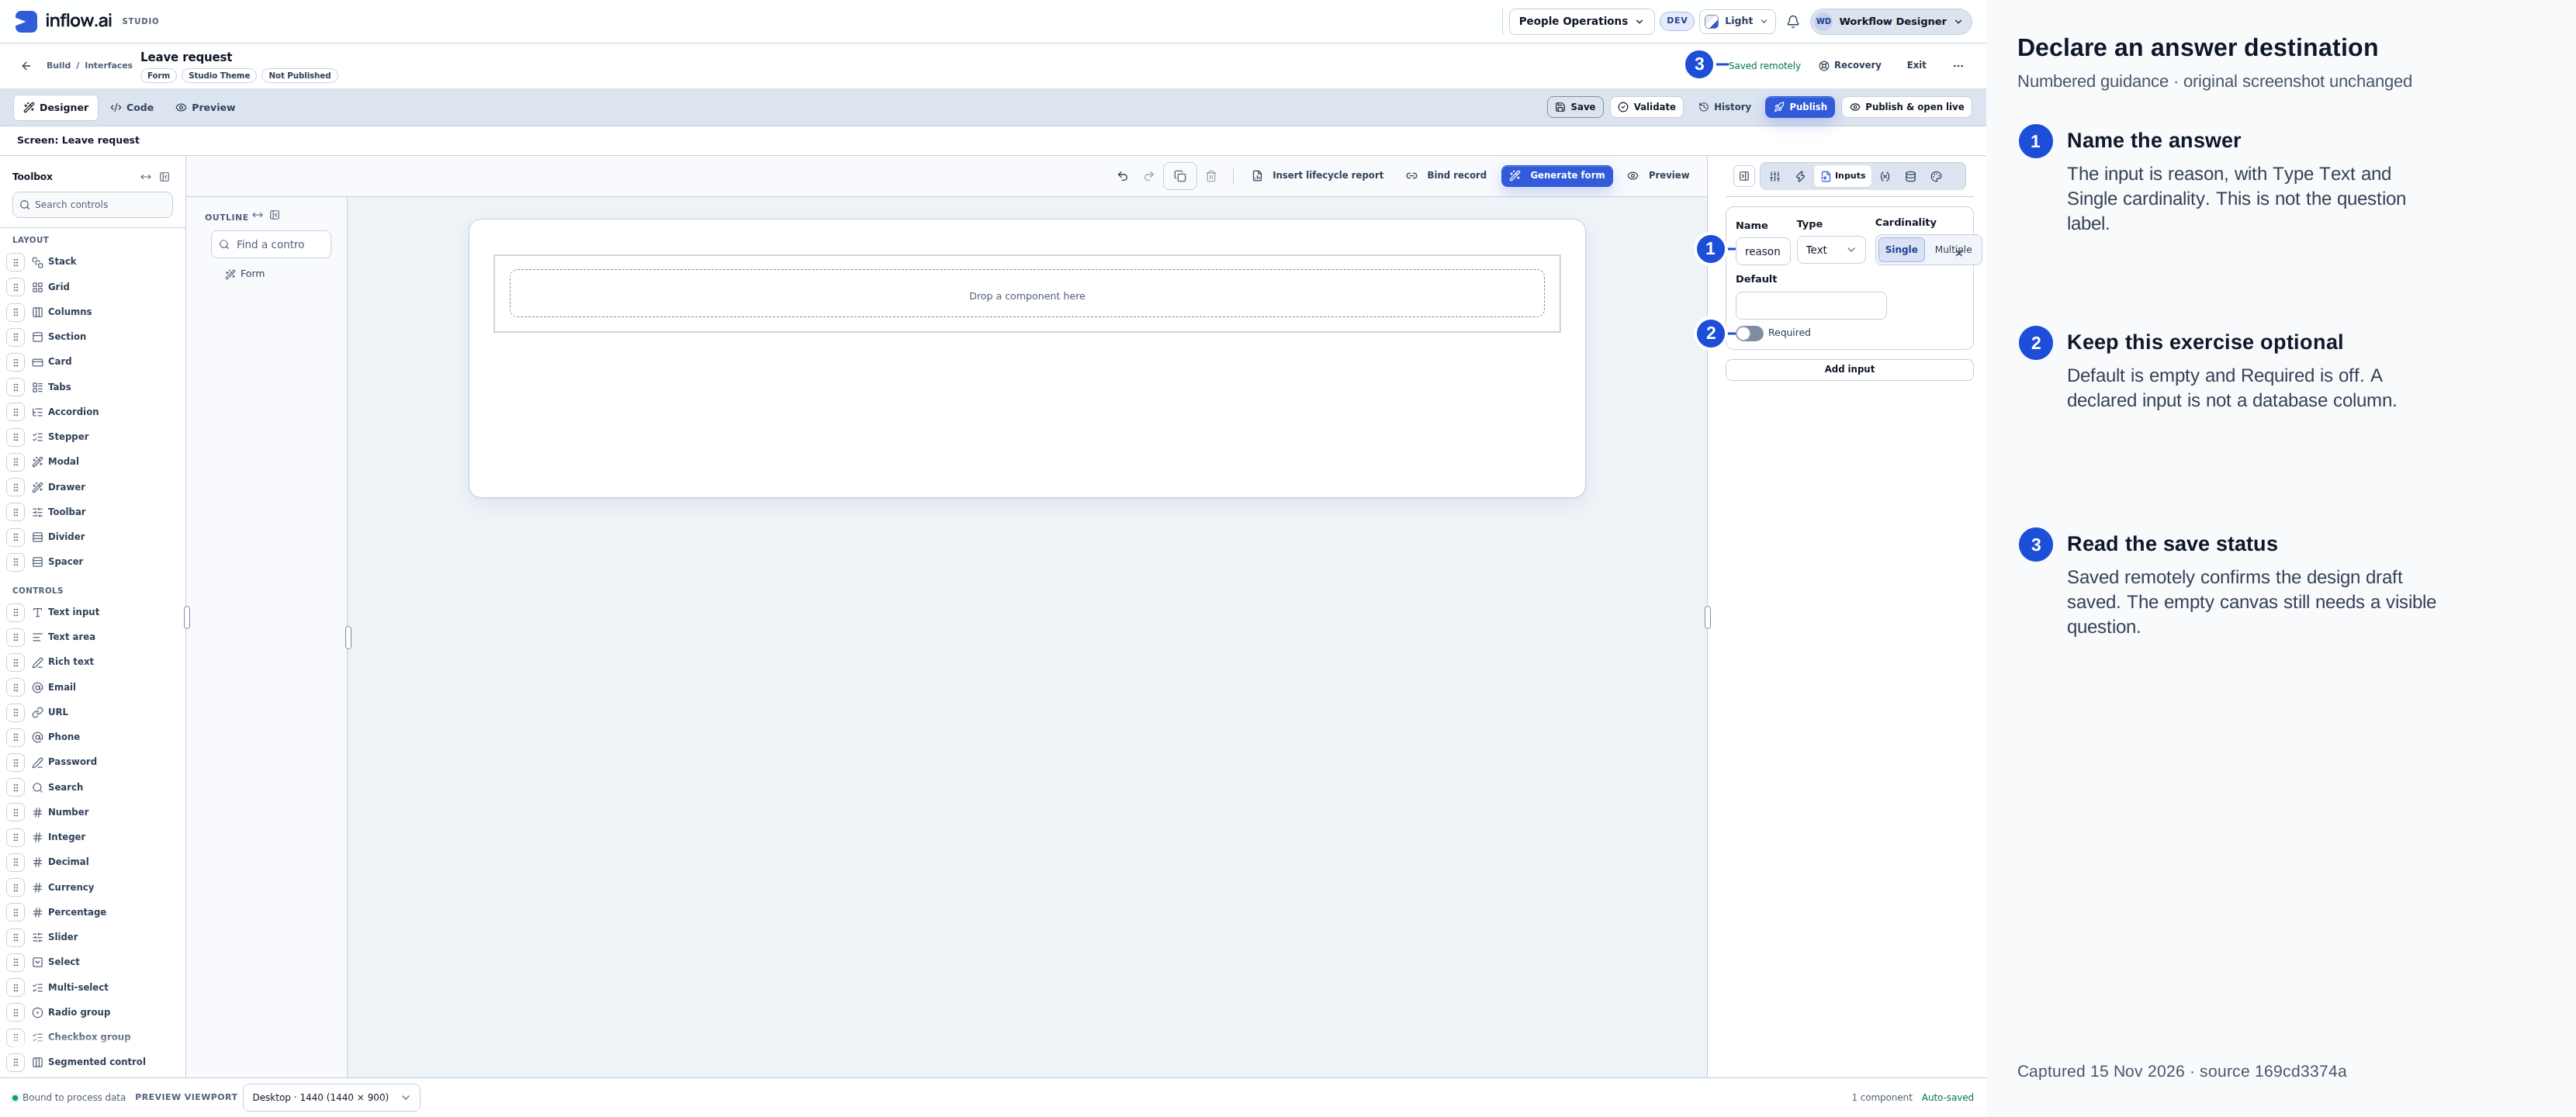
Captured 15 November 2026 from source 169cd3374a. Numbered guidance is editorial; the native 2560×1440 original is unchanged. Saved remotely is visible. Declaring the answer does not add a question to the empty canvas.
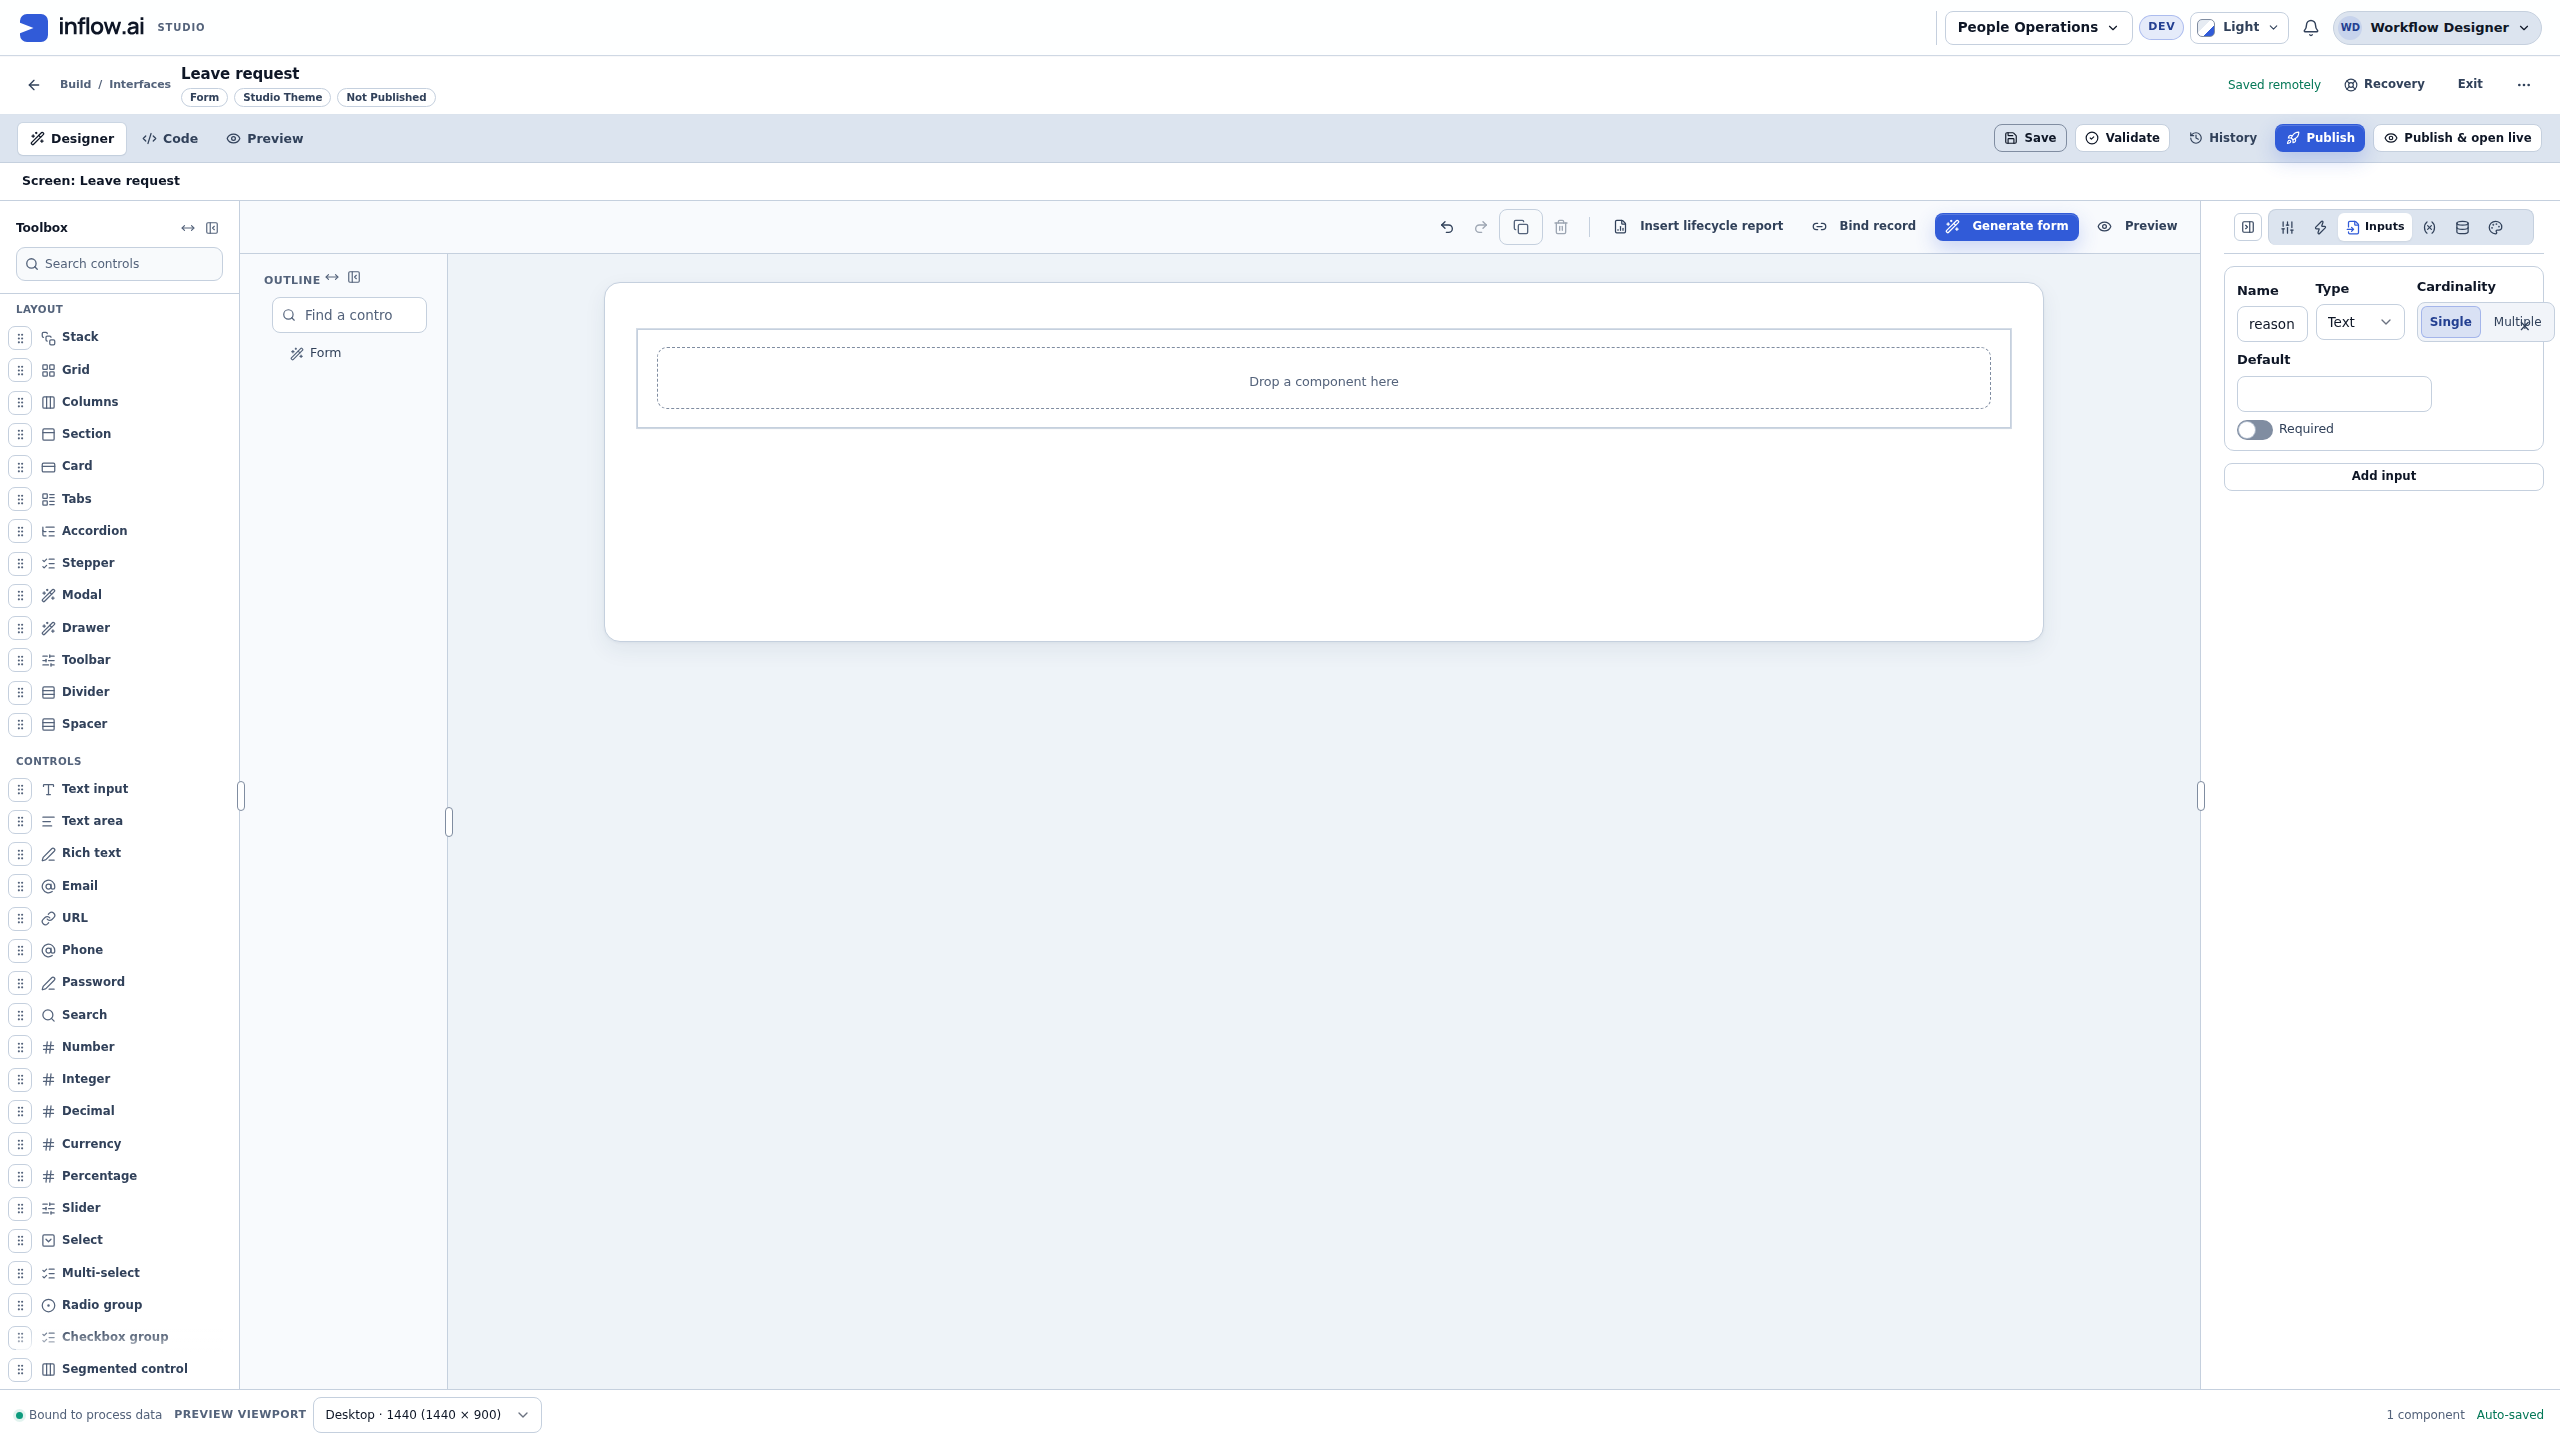
Check the answer: Name is reason, Type is Text, and Cardinality is Single. The canvas is still empty because declaring an input does not add a visible question.
Example 2: add a clear reason question
- Select the Form's main layout in Outline.
- Add Text area from the Toolbox. Its control type is TextArea.
- In Properties, set Label to Reason for leave. If you want an example inside the empty question, use Placeholder, such as “For this exercise, enter Annual leave.” A placeholder is a hint, not an answer.
- Use Data Binding → Store value in to choose reason, the Text input you just created. Check that the picker shows the intended reason destination.
- Check the question on the canvas. Does a new employee know what to enter?
- Choose Save if needed and wait for Saved remotely before leaving. If a save needs attention, repair it while keeping your work.
The result is an understandable question. A visible question is not yet proof that its answer will be stored in a business record. Its answer destination and submit action have separate jobs.
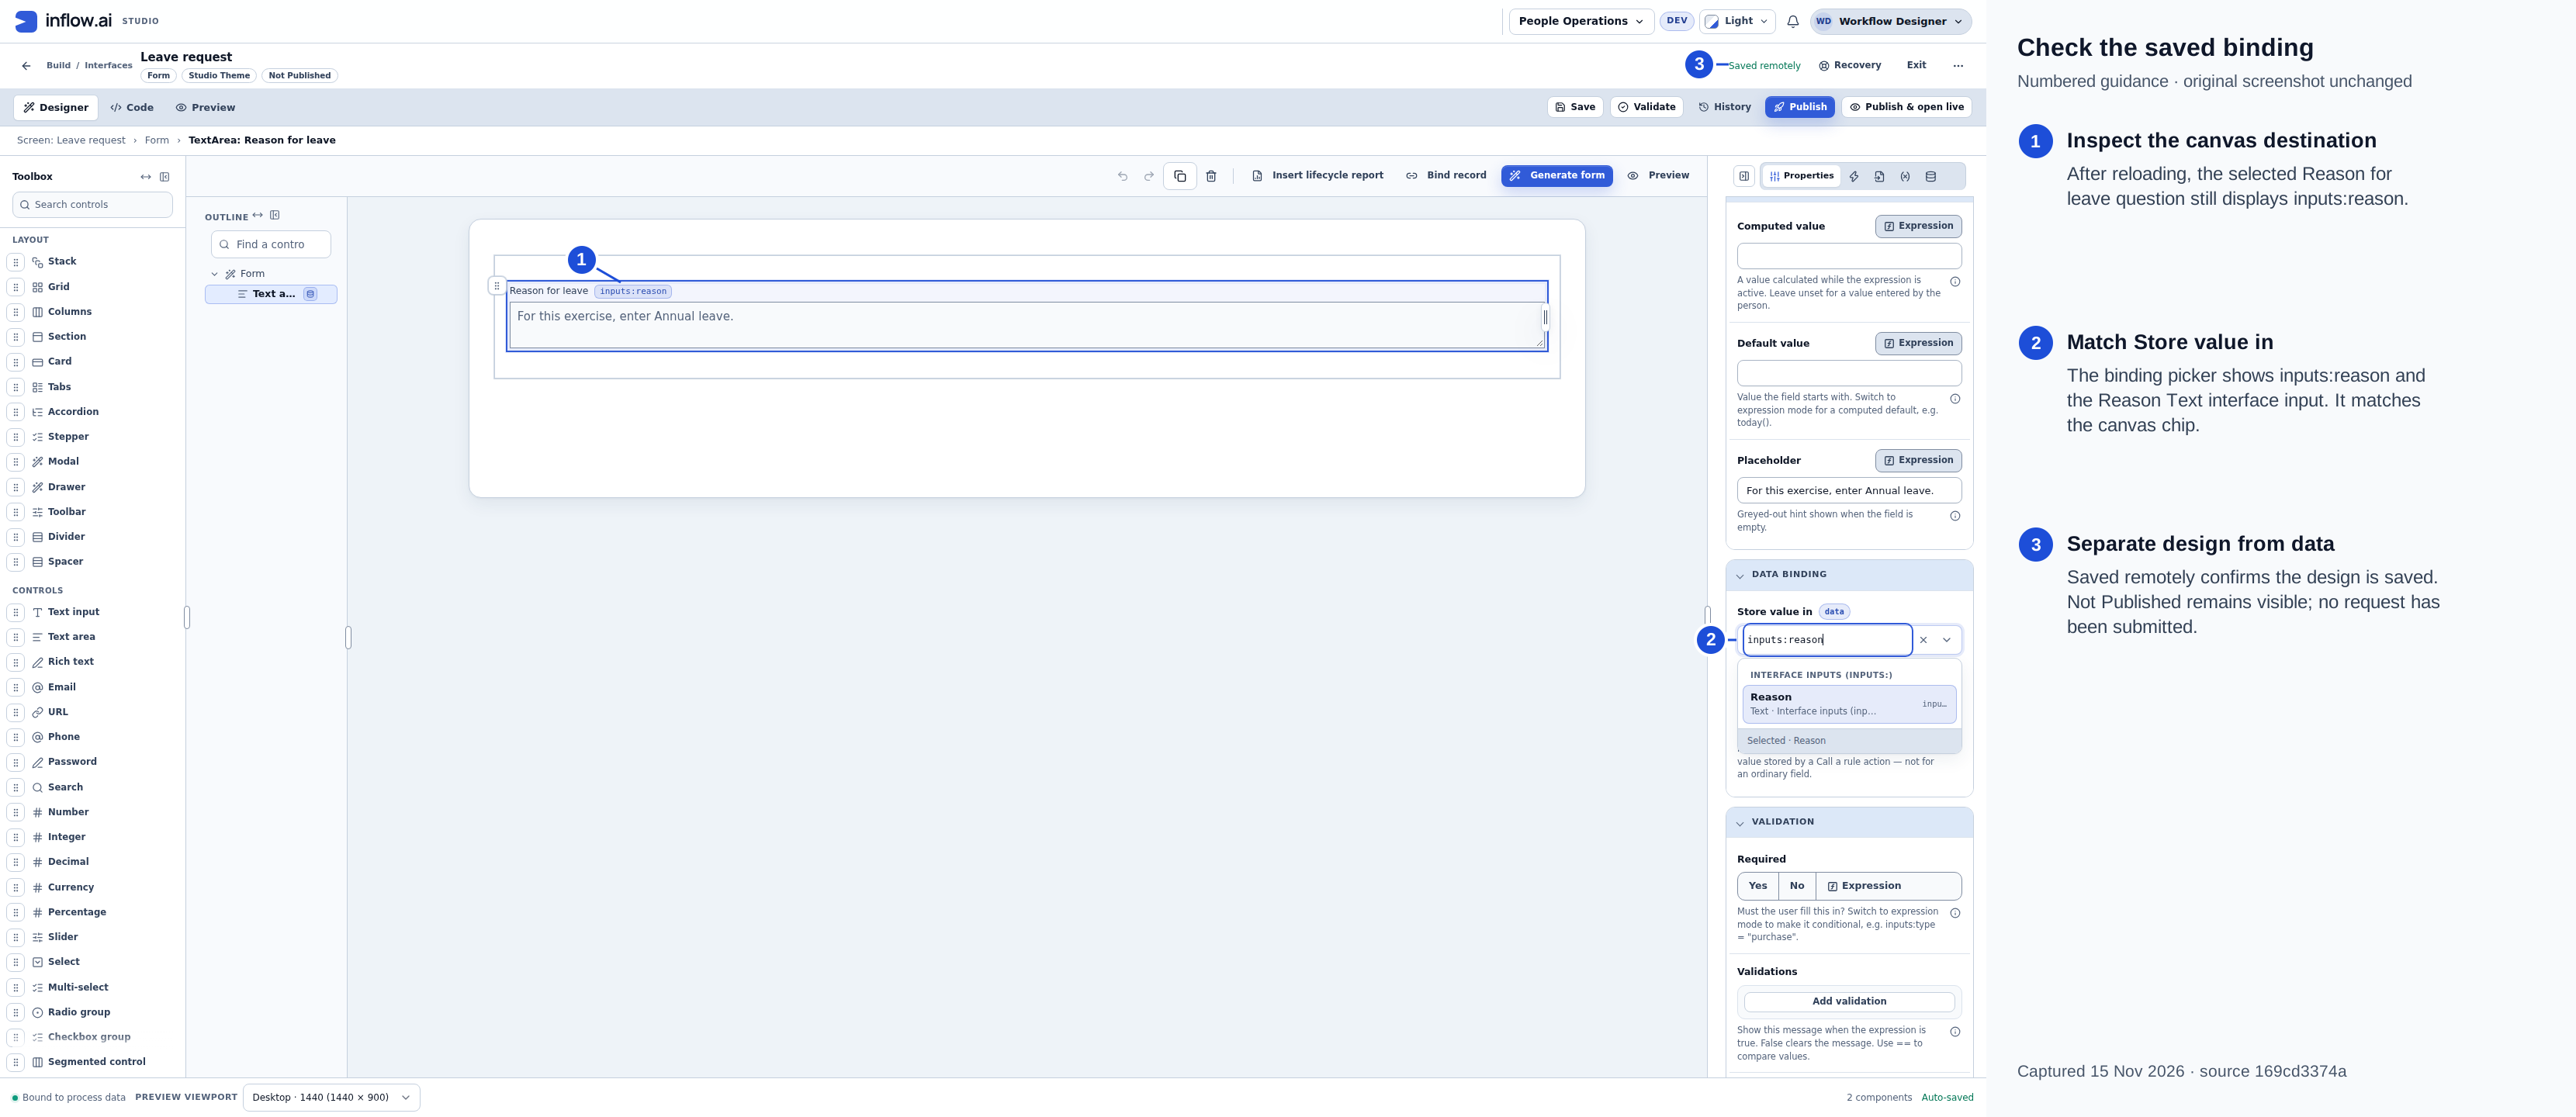
Captured 15 November 2026 from source 169cd3374a. Numbered guidance is editorial; the native 2560×1440 original is unchanged. The picker identifies Reason as the Text interface input. This connects the local answer, not a submitted business record.
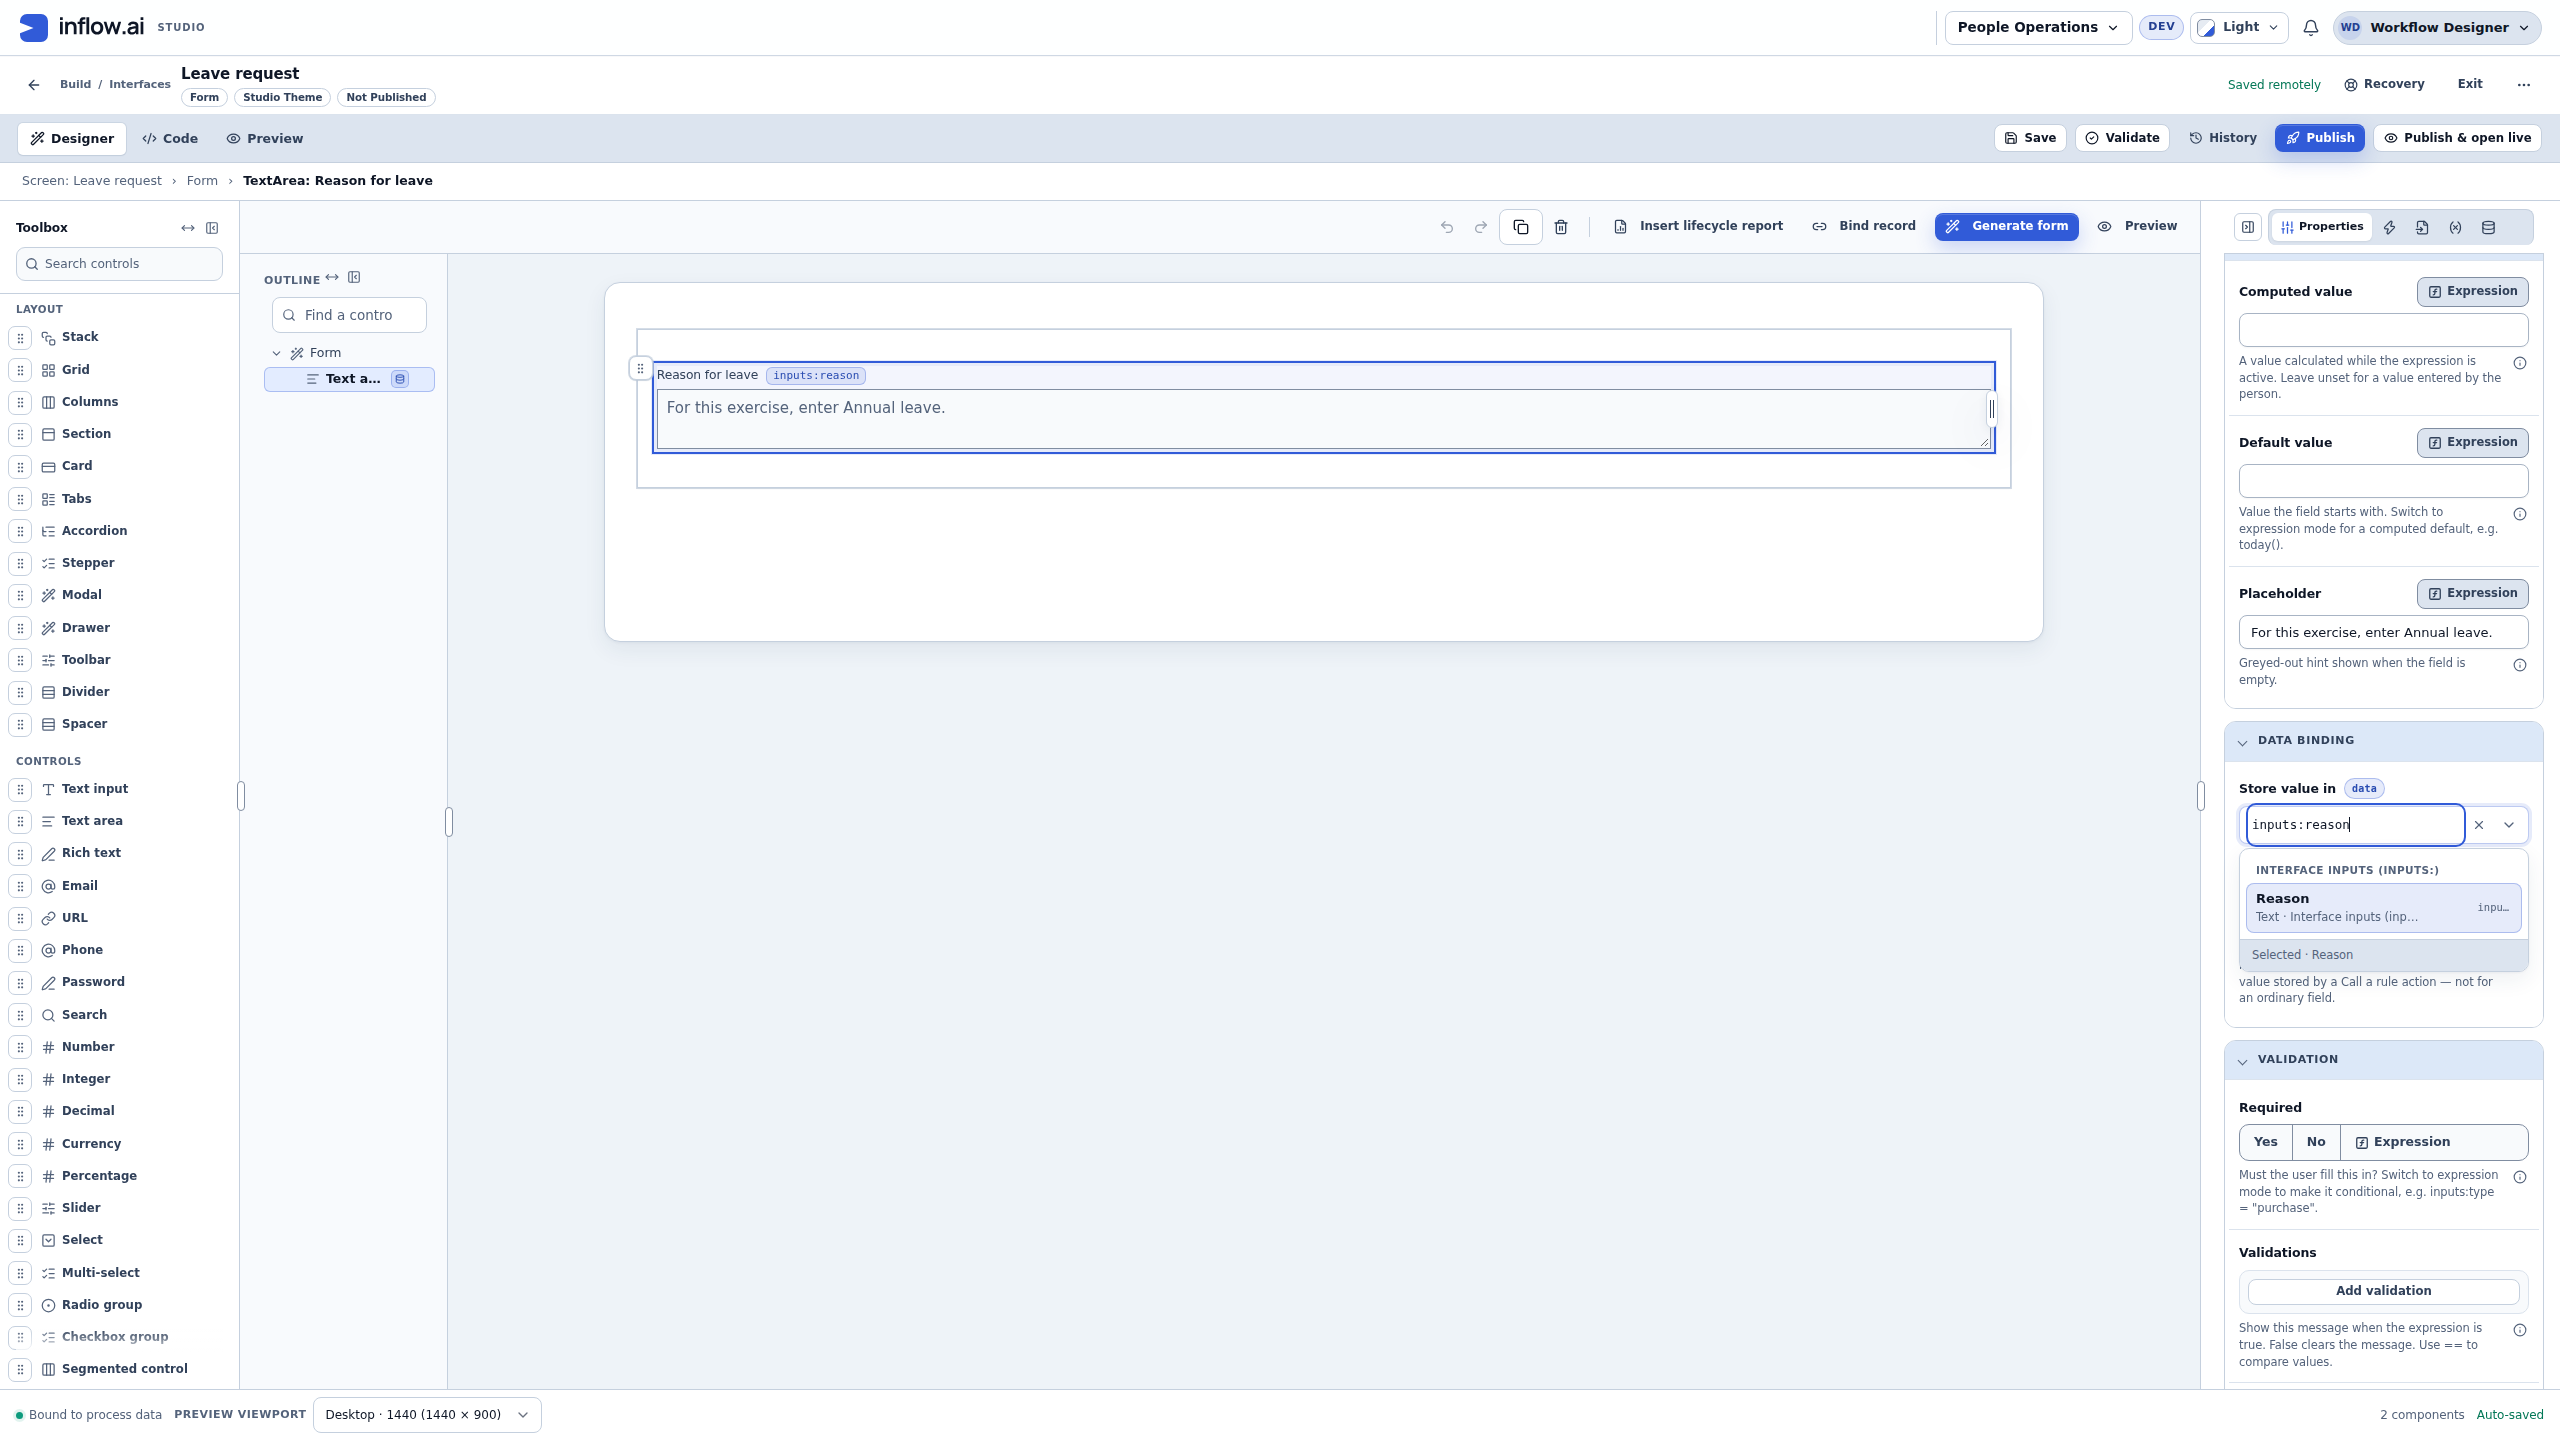
Check the connection: select the question in Outline, then find Data Binding → Store value in in Properties. Scroll that panel if necessary. The selected destination is the declared reason input. Leave Computed value and Default value empty for this exercise.
Try the question and reopen the saved design
- Check that this practice form has no action that creates a record, starts a process or calls an external service.
- Choose the top Preview tab and keep Interactive selected.
- Enter Annual leave in Reason for leave. This is fictional practice information.
- Choose Form state if you want to check the answer destination. The panel should show the same answer under reason. You do not need to edit that panel.
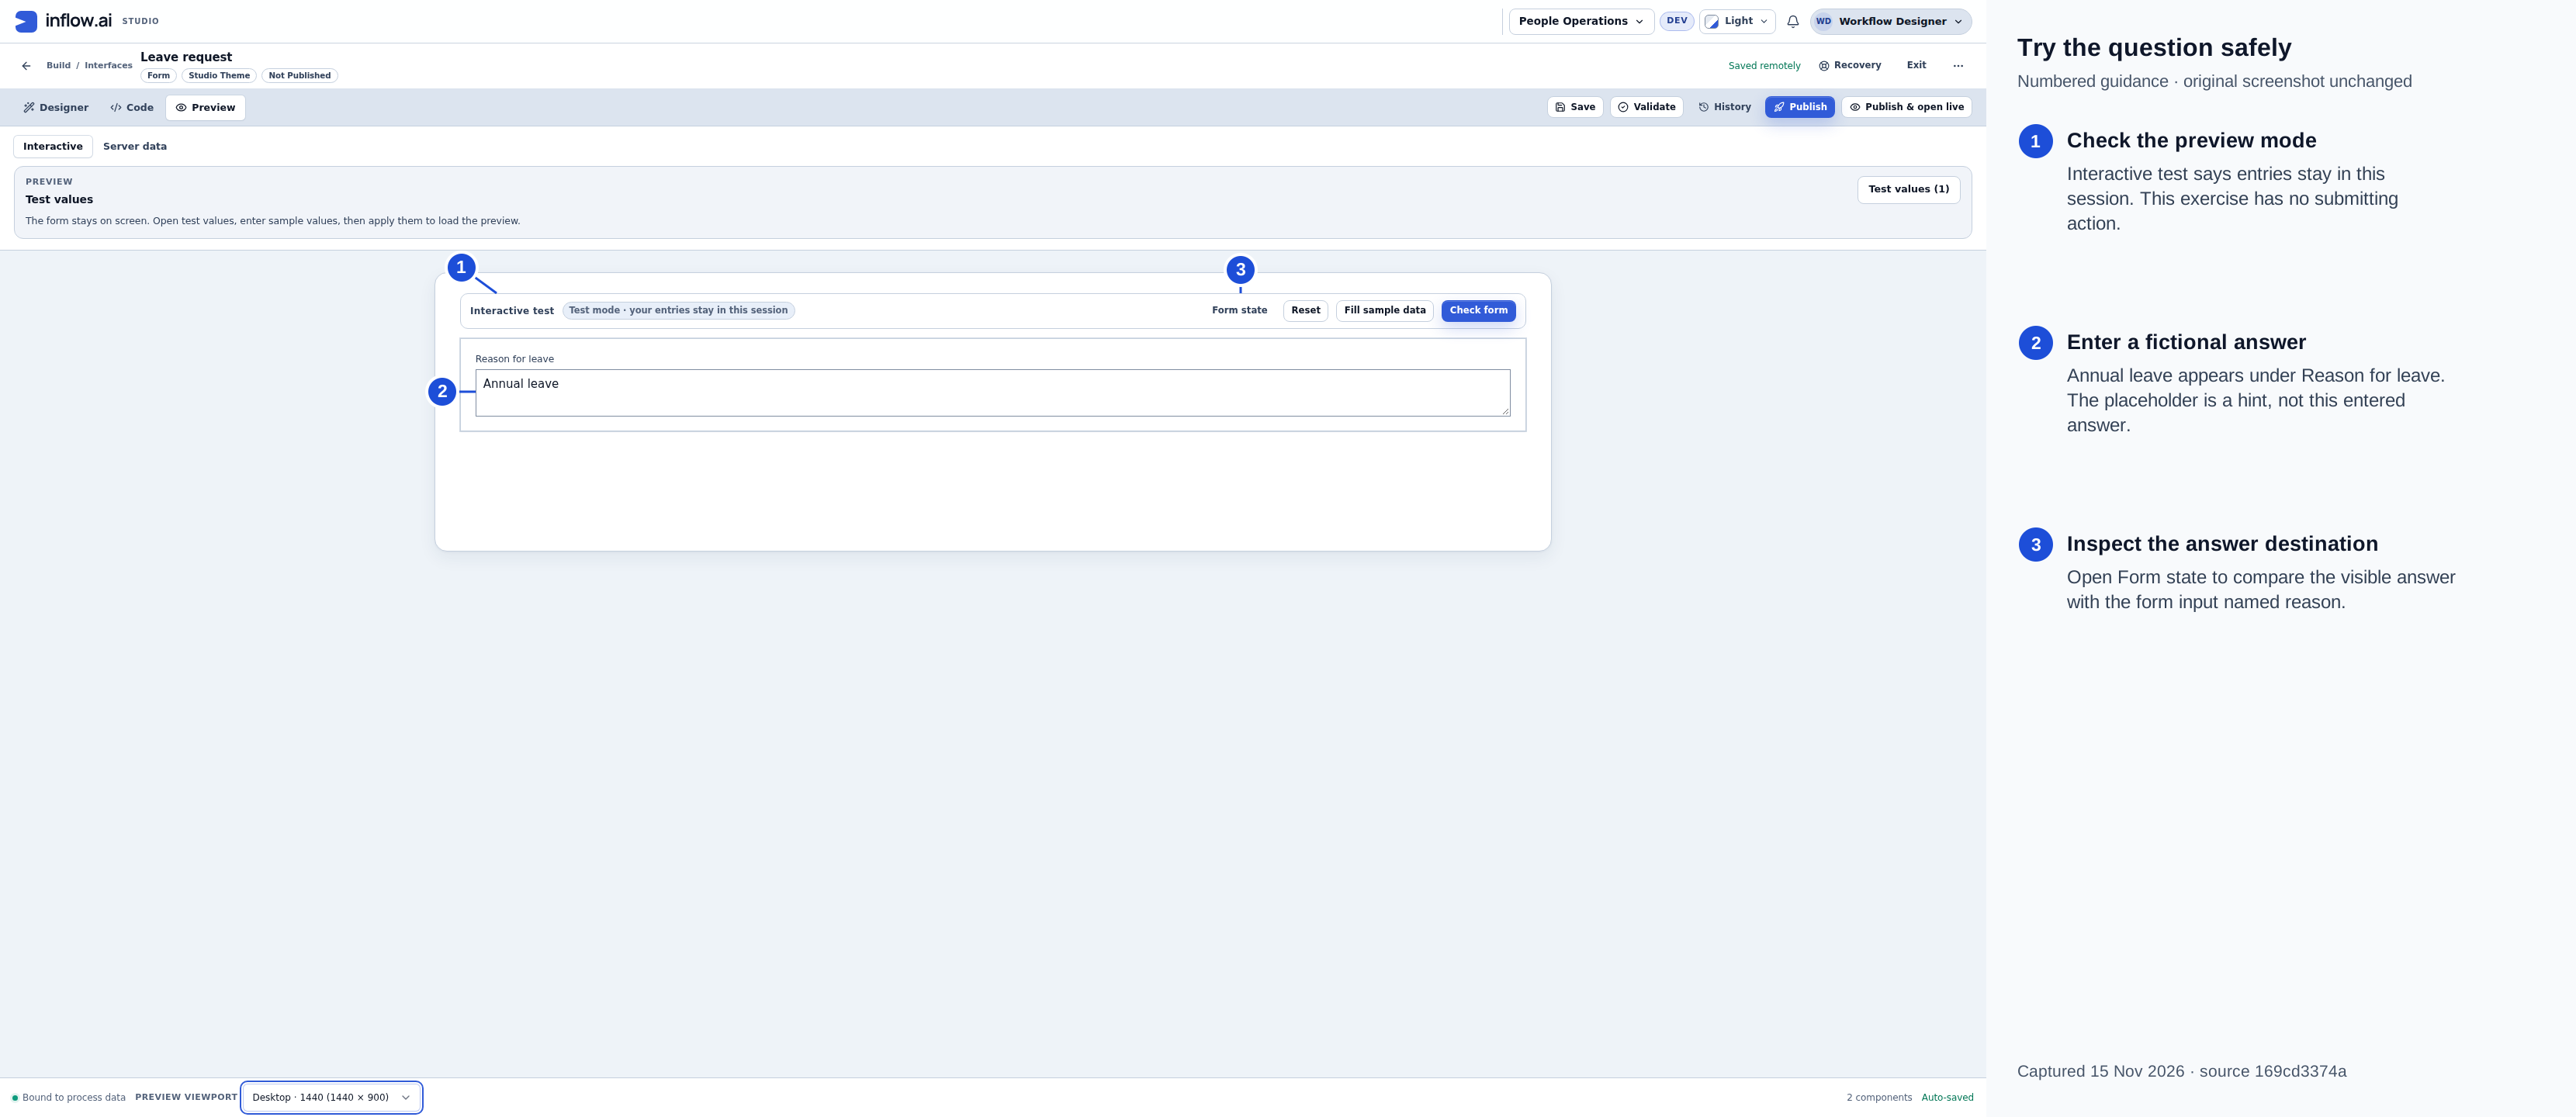
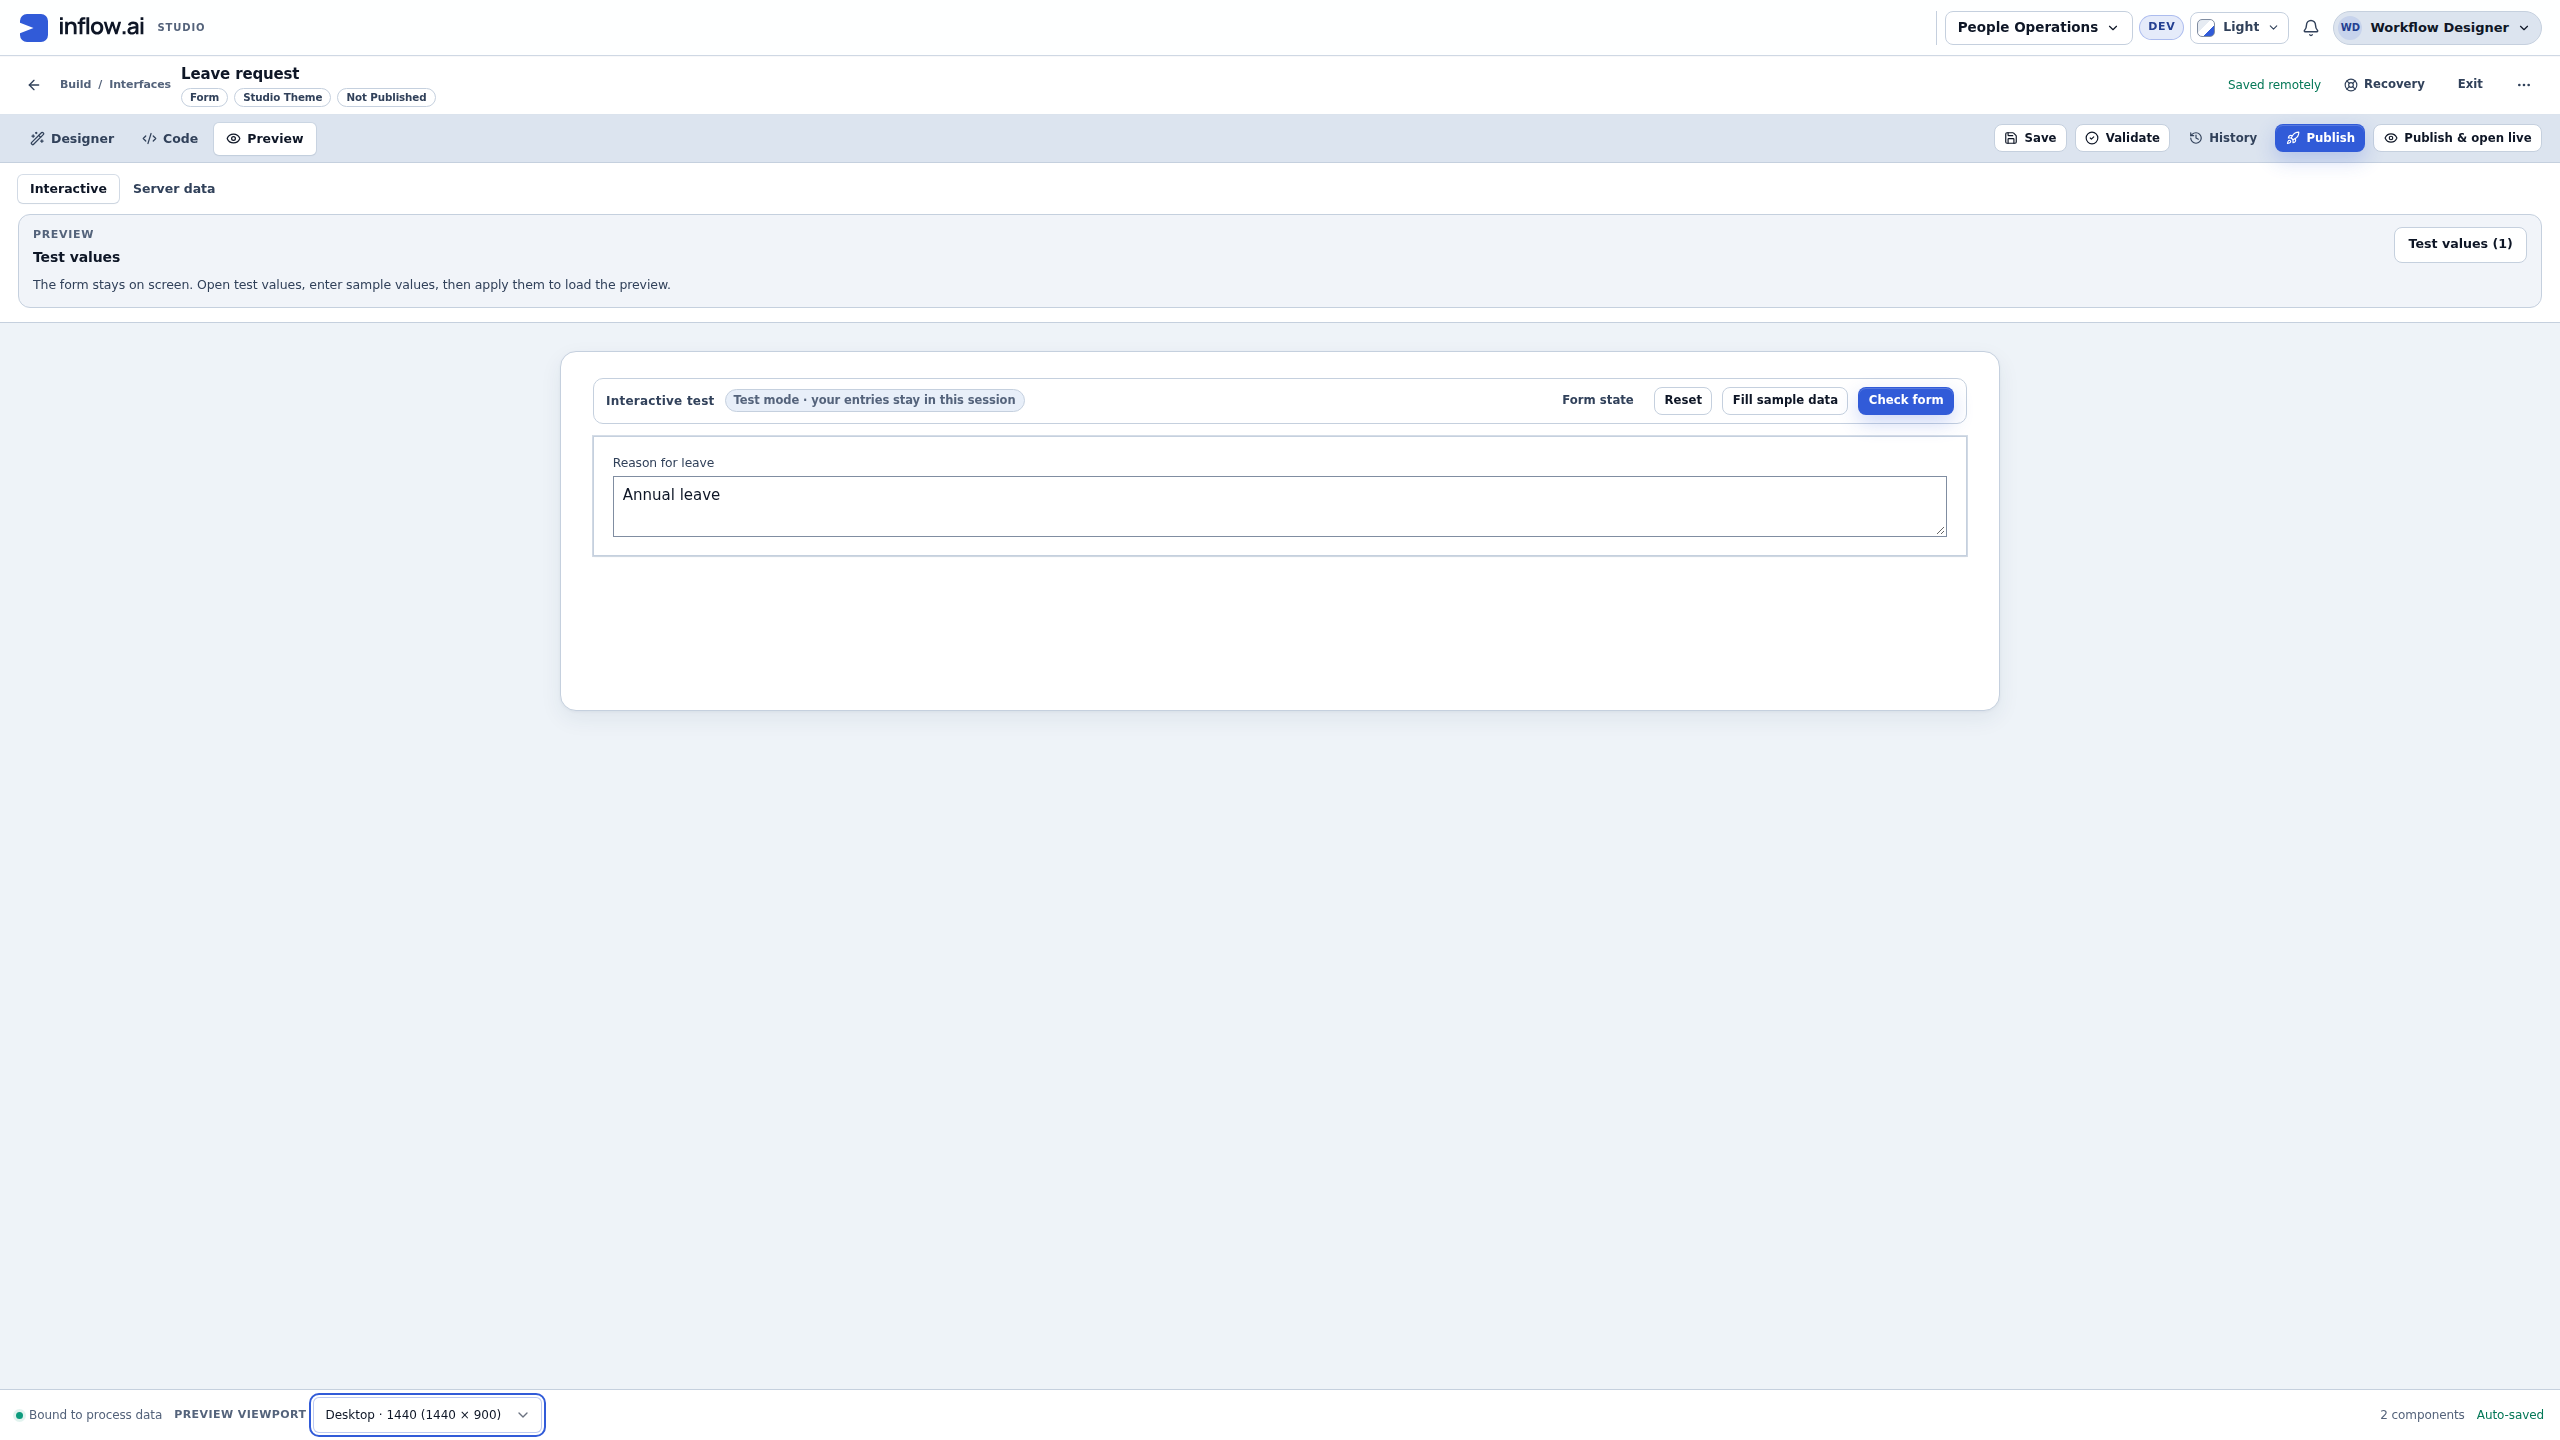
Captured 15 November 2026 from source 169cd3374a. Numbered guidance is editorial; the native 2560×1440 original is unchanged. The question accepts the fictional answer in the draft Preview.
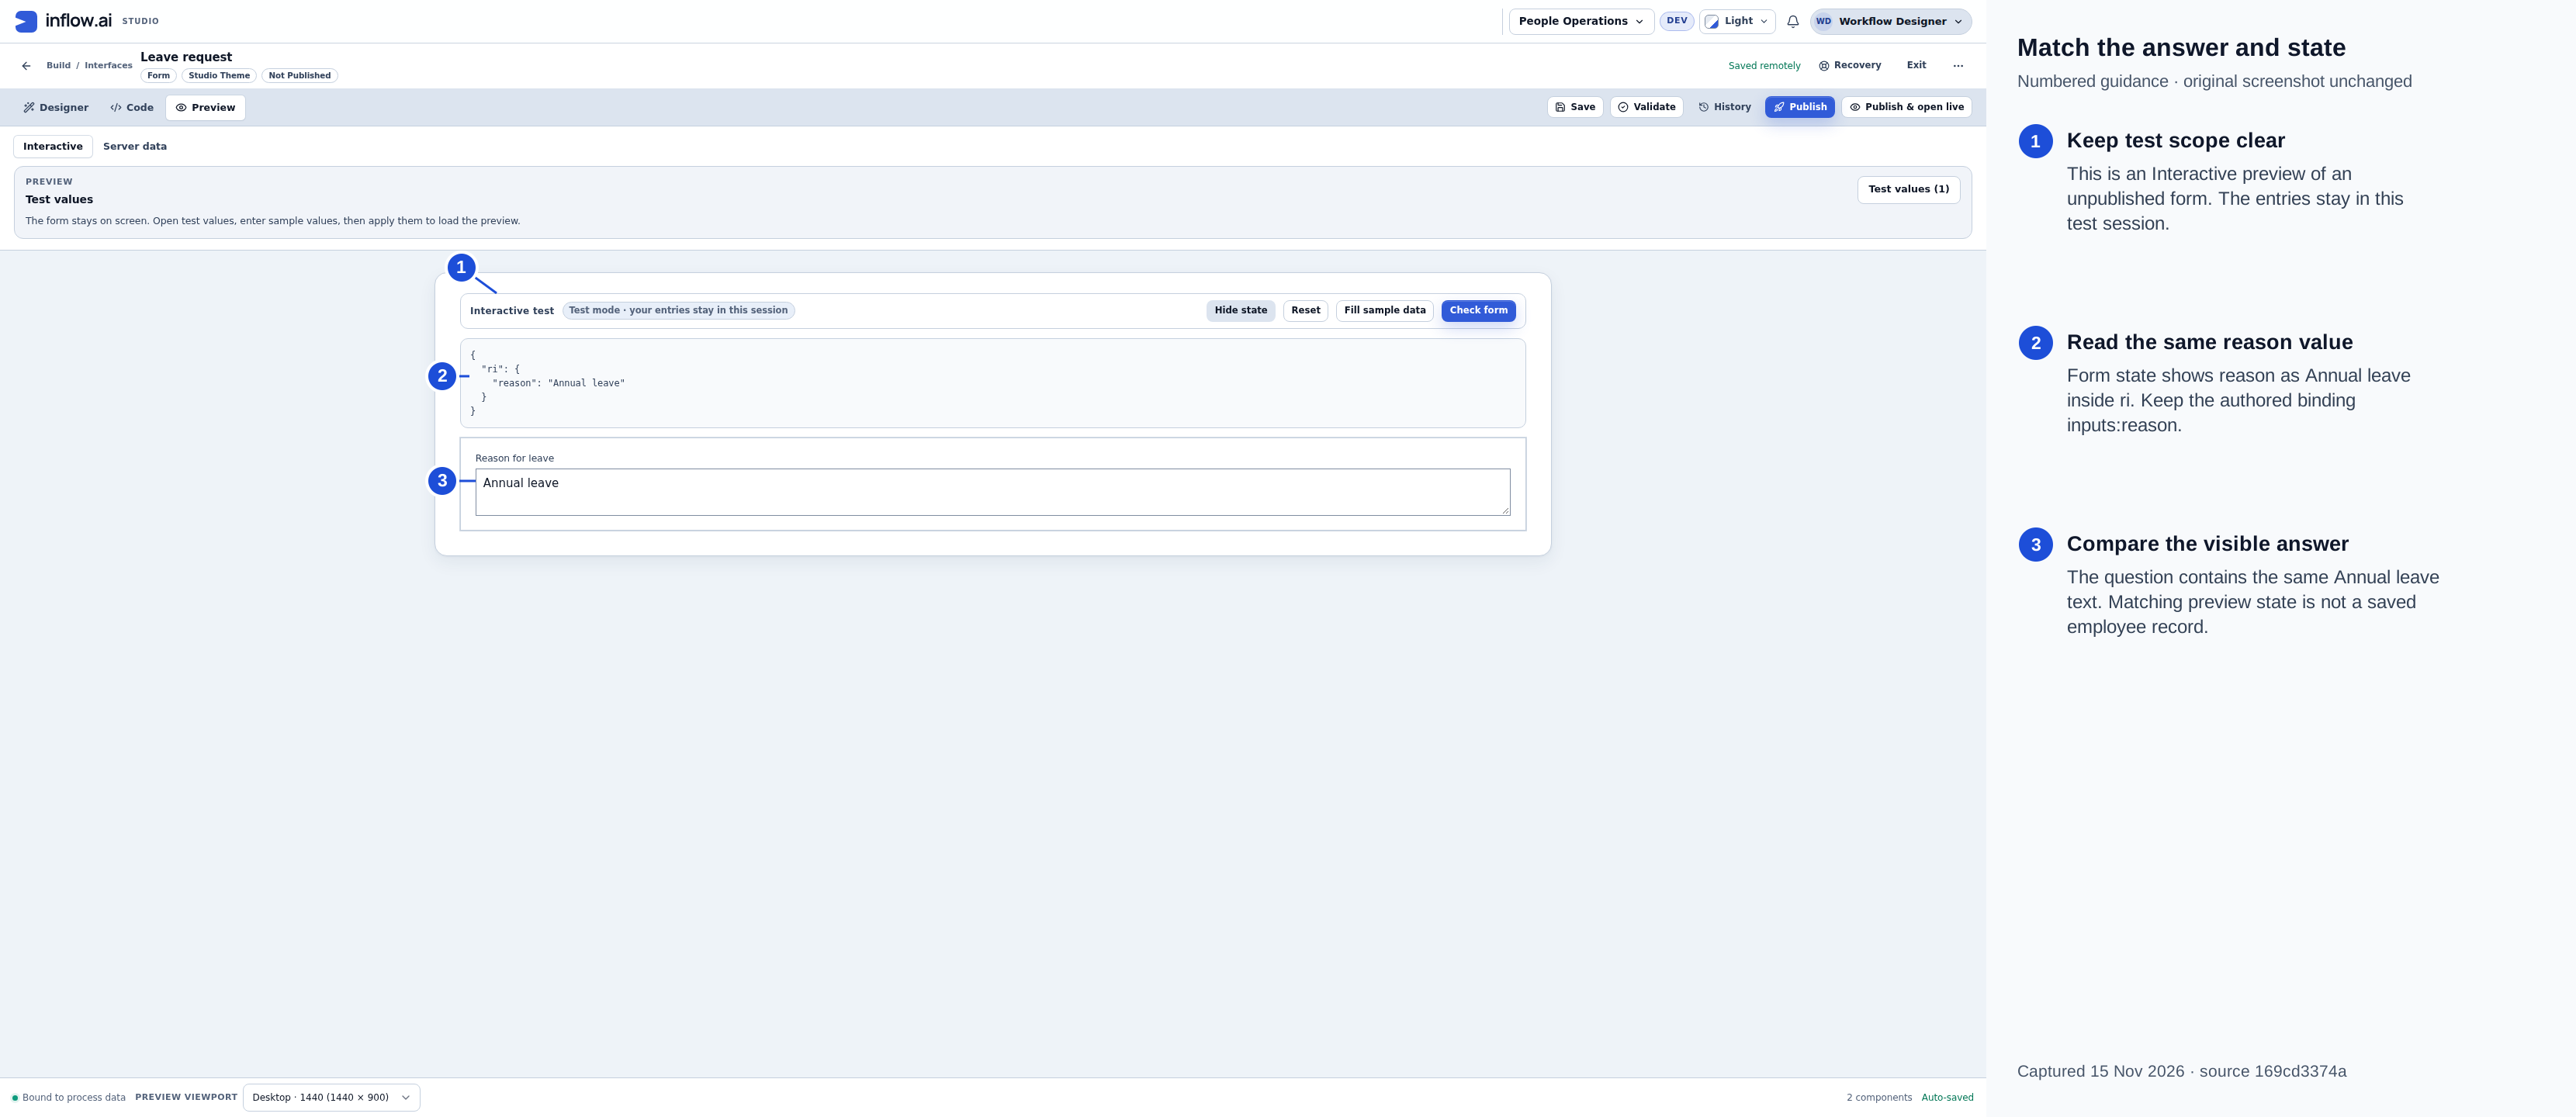
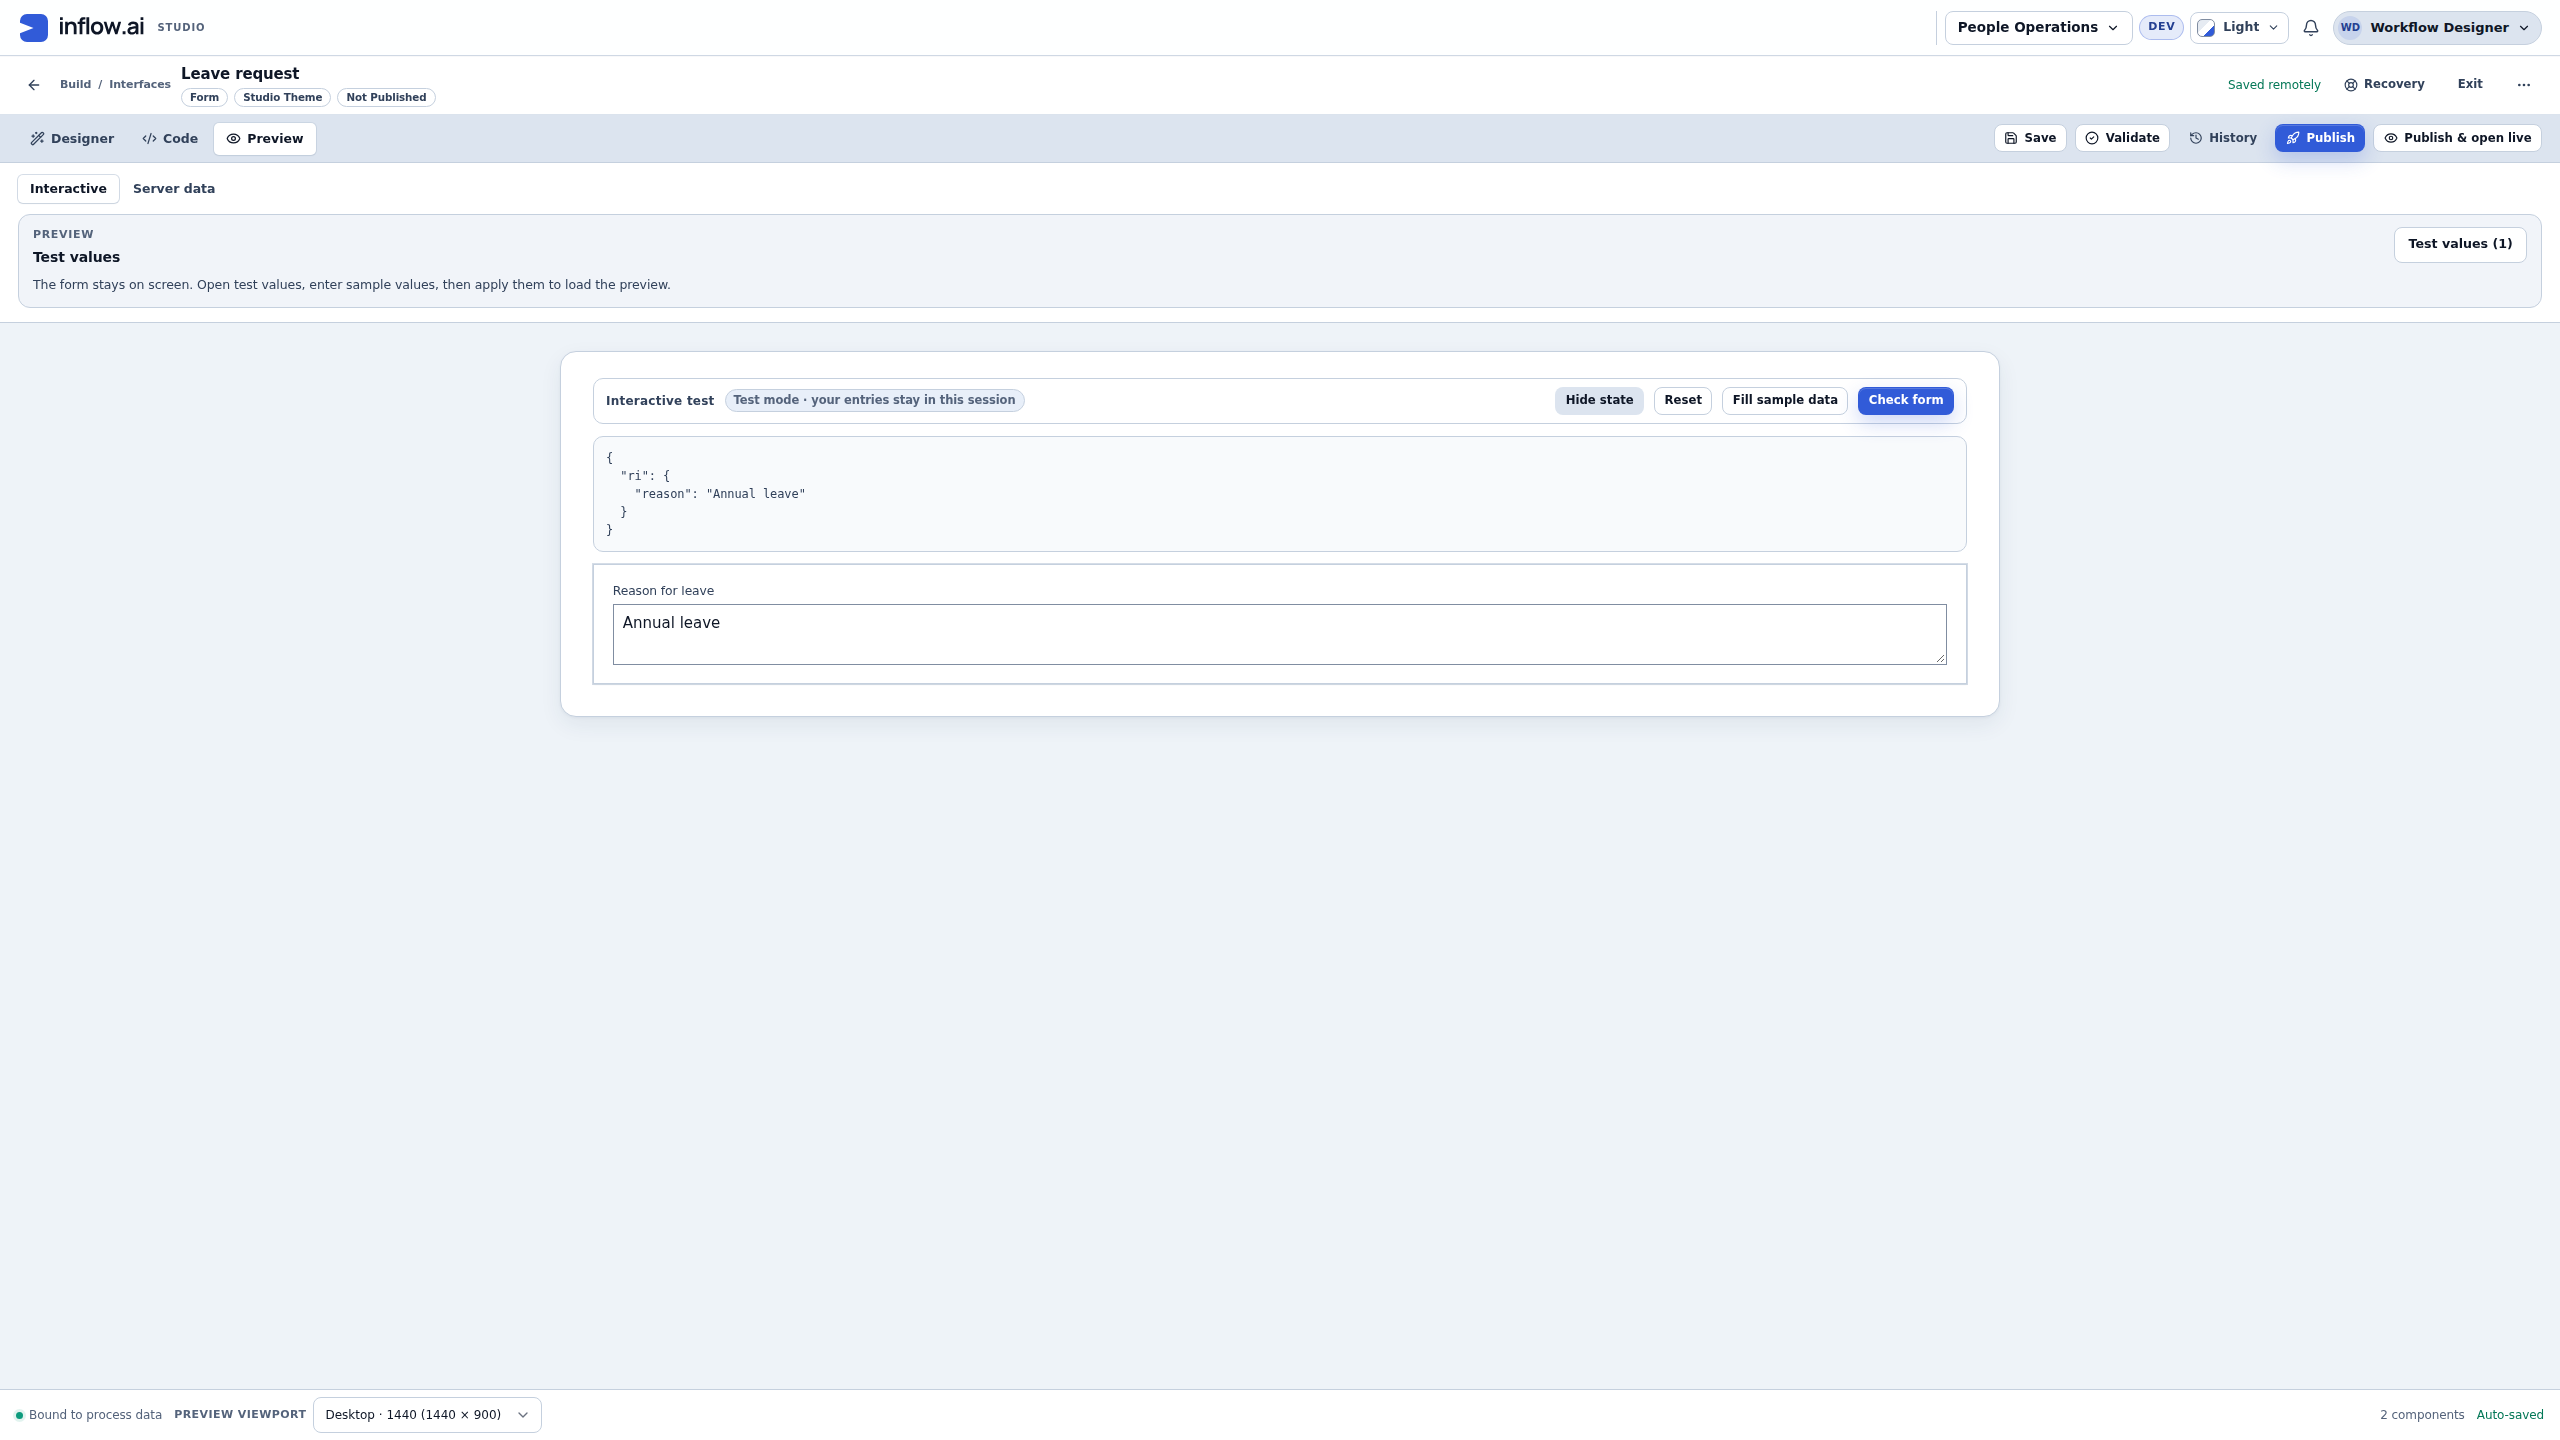
Captured 15 November 2026 from source 169cd3374a. Numbered guidance is editorial; the native 2560×1440 original is unchanged. The state panel groups the input under ri. Keep using the selected inputs:reason binding in Properties; you do not need to edit this state panel.
Check the result: the label is readable, the question accepts text, and its answer reaches reason. Interactive Preview says the entries stay in this session. This has not submitted an employee request or created Sara's approval task.
Reopen the saved design
- Return to Designer, choose Save if needed, and wait for Saved remotely.
- Reopen the same form. Select Reason for leave in Outline and check its Label and Store value in again.
- If the destination is missing, check the input's Name and Type in Inputs, then select the intended destination through the picker. Save and check again.
The saved binding figure above was captured after reloading this same draft. Its canvas chip and Store value in both show inputs:reason; the header reads Saved remotely and Not Published.
Check the saved design: the question and answer connection remain after reopening. The temporary Preview answer is separate from saving the form's design. Publication and business-record storage come in later lessons.
Check a narrow layout
- In Preview, choose Mobile in the bottom Preview viewport selector.
- Check that Reason for leave and the entered Annual leave text remain readable without covering other controls.
- Return to Desktop · 1440 for the next lesson. Checking this frame does not replace testing your eventual published application on its supported devices.
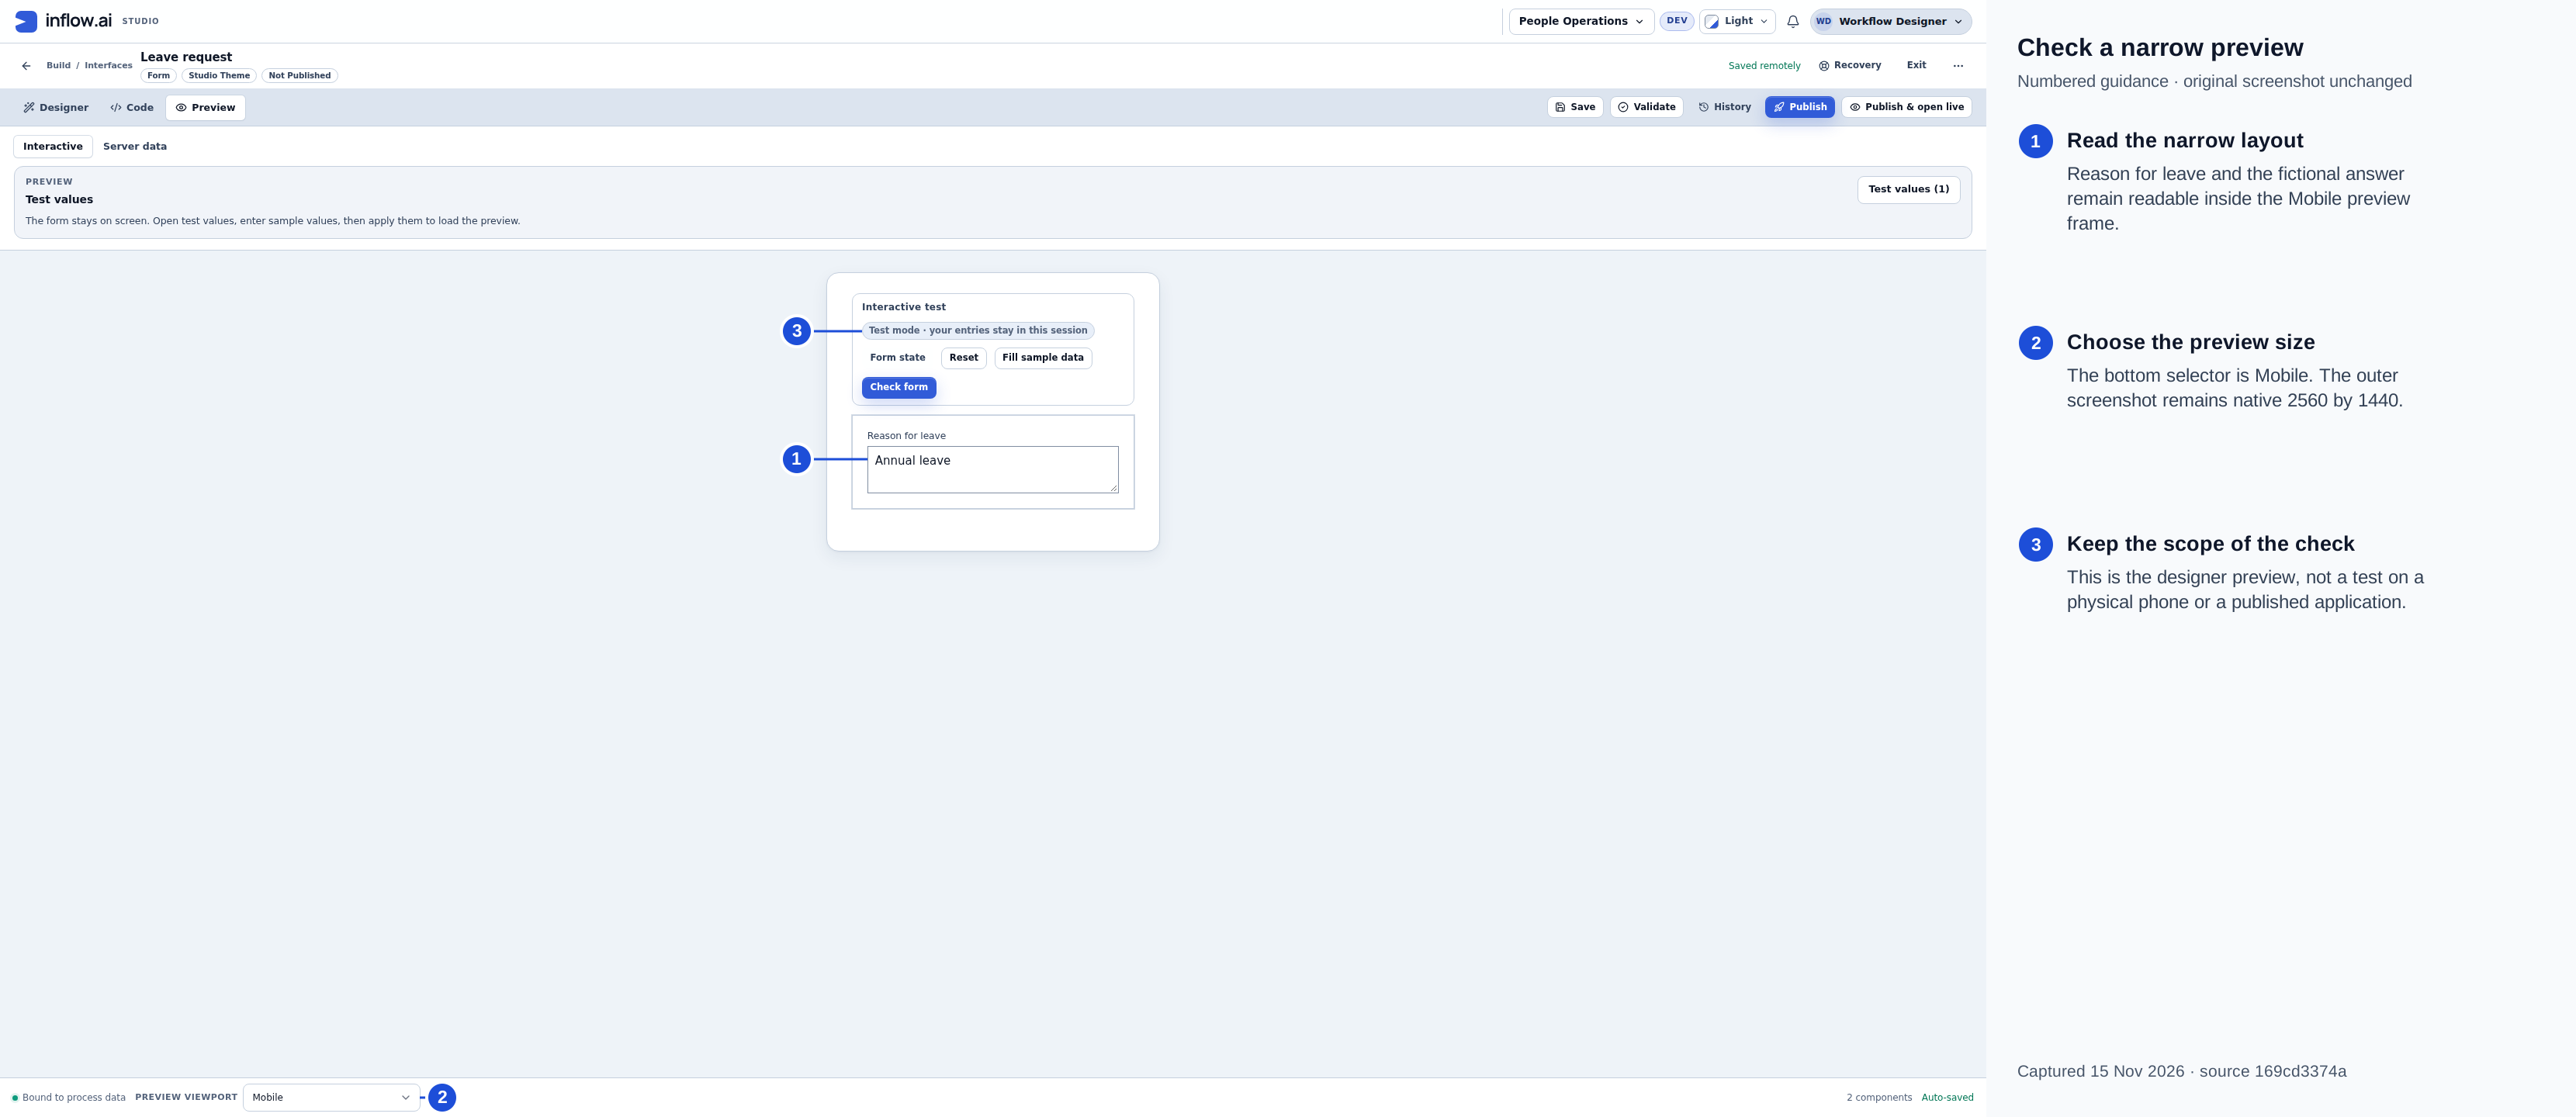
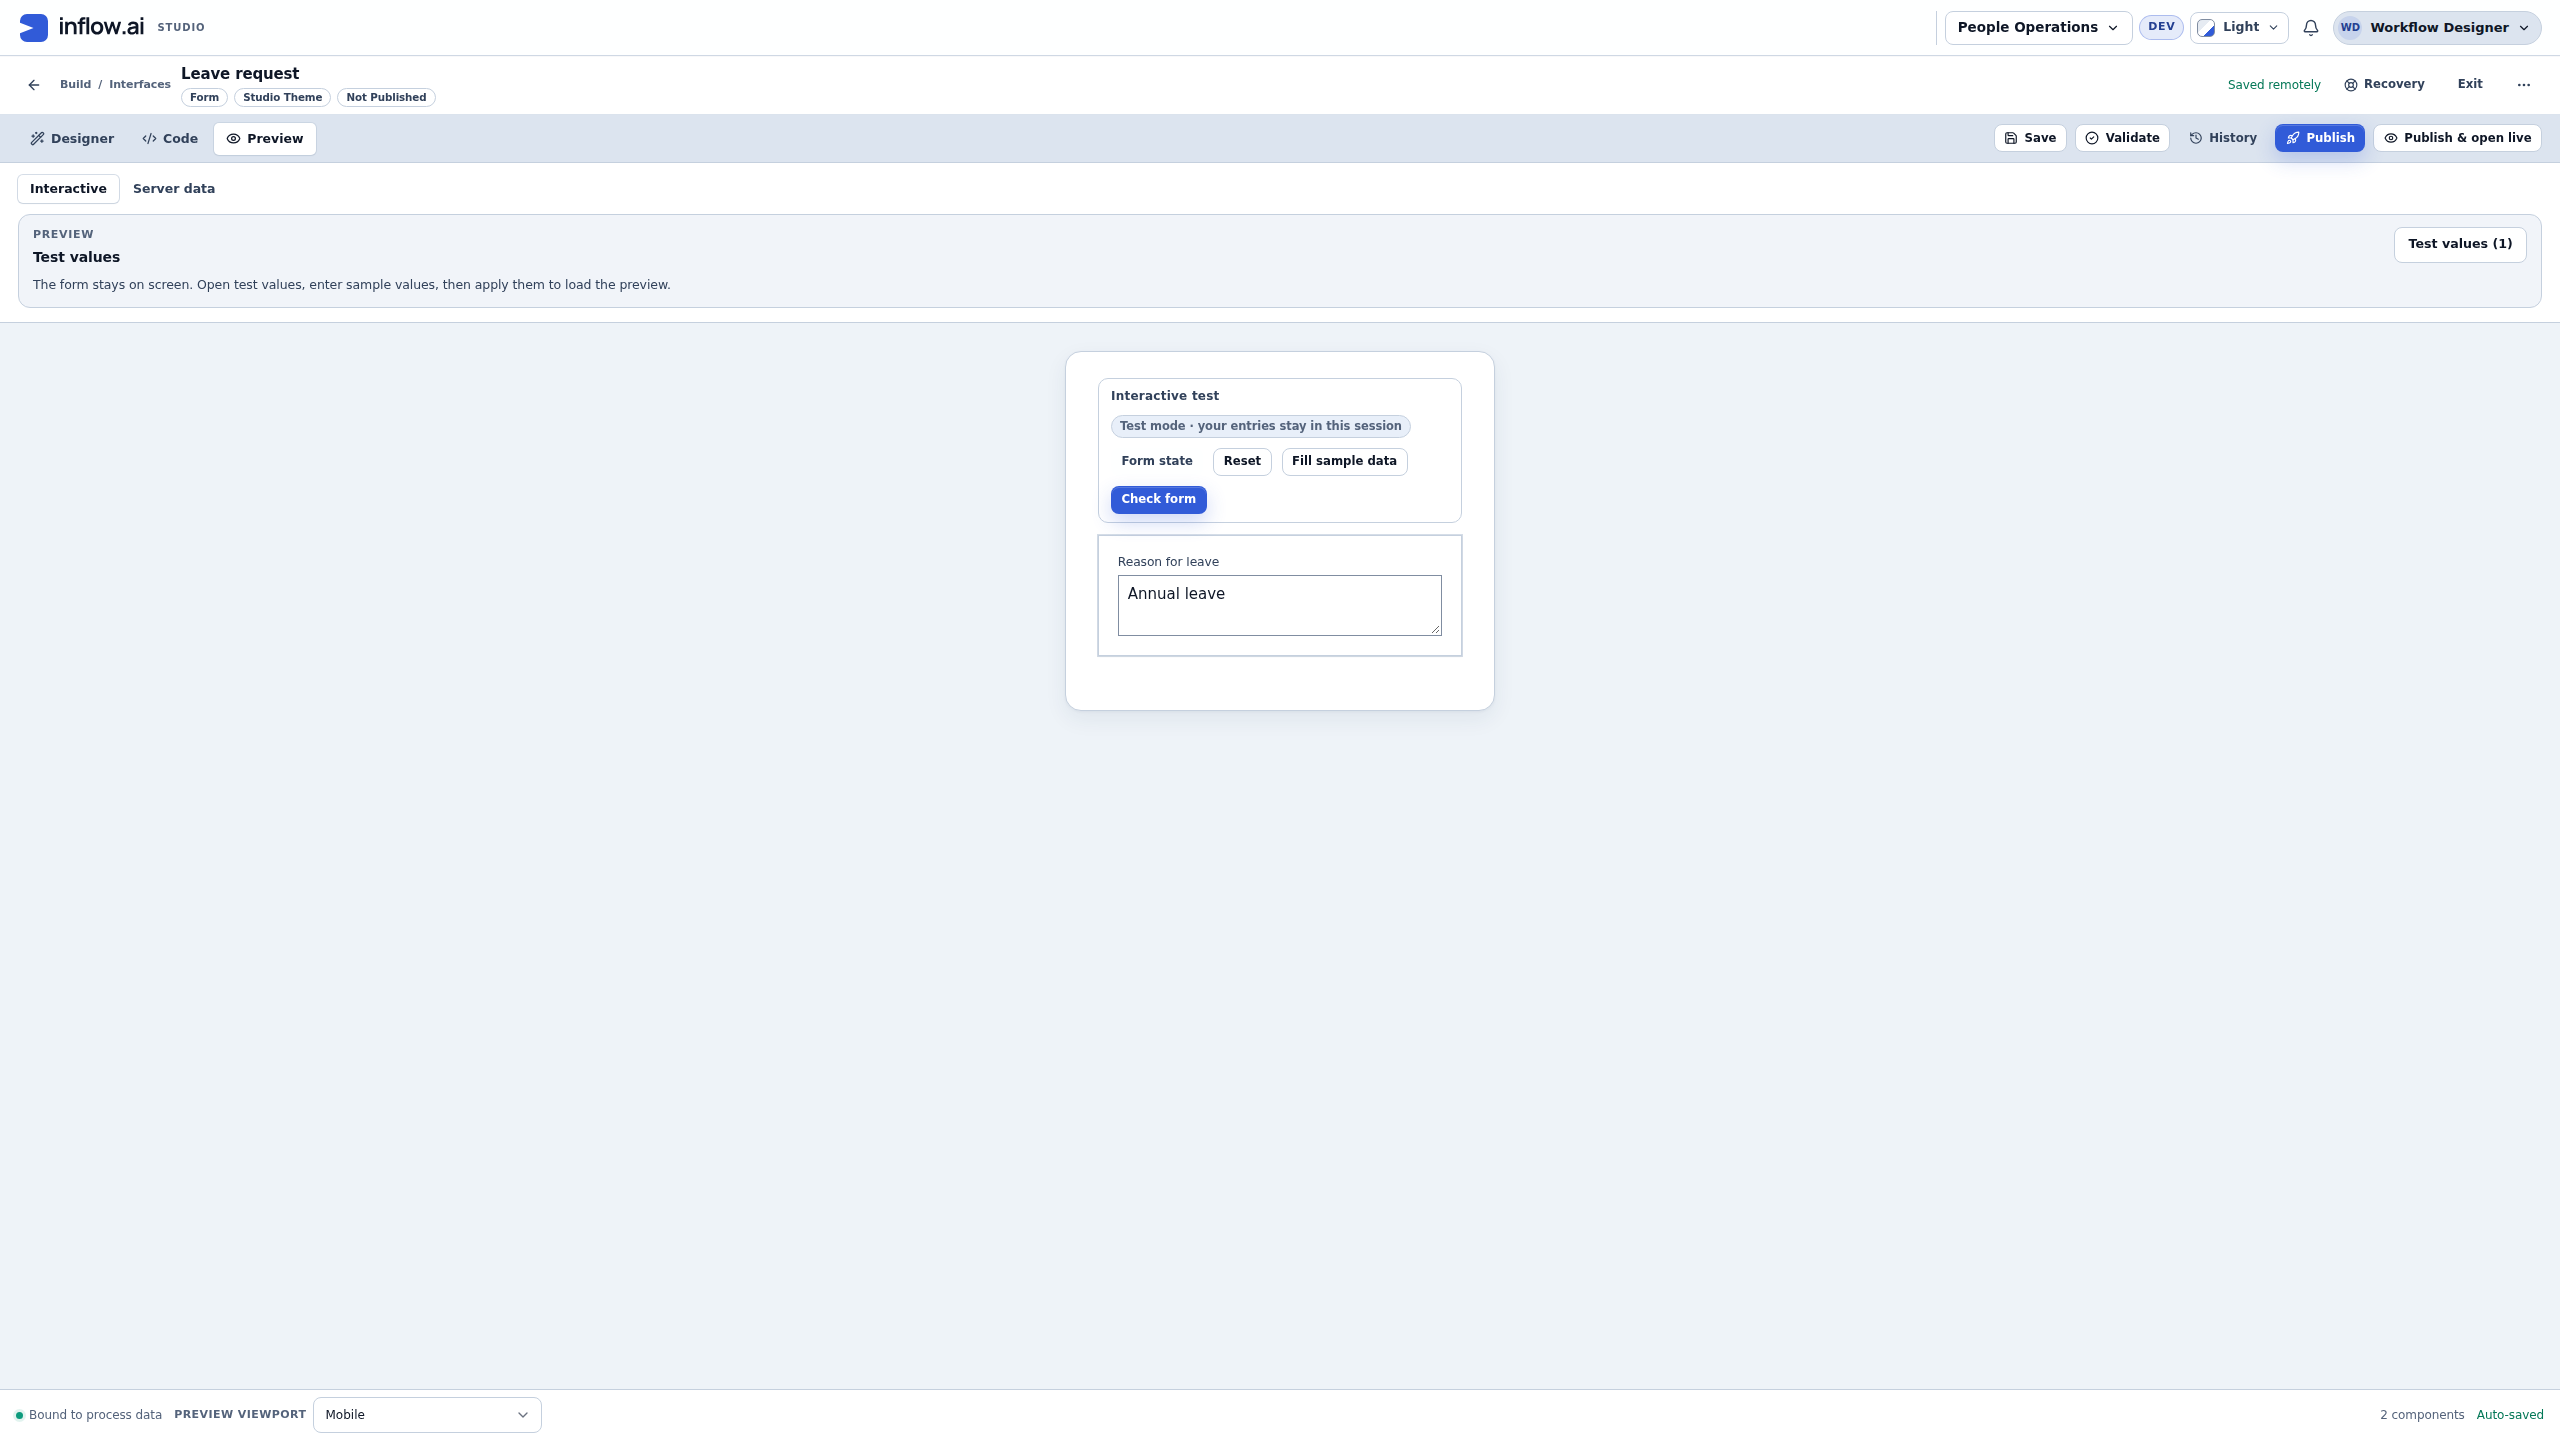
Captured 15 November 2026 from source 169cd3374a. Numbered guidance is editorial; the native 2560×1440 original is unchanged. This checks the narrow preview layout of this one question. No physical-phone or published-application test is claimed.
Common mistakes
- Wrong kind of screen: choose Form for a single data-entry surface, App Shell for pages/navigation and Dashboard for a reporting surface.
- Changing the wrong field: select it in Outline and check the highlighted control before editing Properties.
- Pasting a complete app into Code: use the visual lesson first. A copied document may refer to information your workspace does not have.
- Leaving before saving: read the status and the actual Stay/Save and leave choices. Do not discard work just because saving is slow.
Continue with Arrange fields and sections. The optional technical chapter is for advanced investigation.