Look up an employee and share the result with an approved system
This tutorial follows one business result through two boundaries. First, Inflow reads employee details from an approved directory. Later, an approved external application can call a published Inflow business API for its own narrow purpose.
A connection says where the outside service is and how to sign in. An integration is one action on that connection. A business API is the approved address another system can call. An API key is a secret credential for that caller. They are related, but they are not the same object.
Preview the API handoff before making changes
The final API handoff uses a different surface from Build → Connected systems. A connection and integration prepare the employee lookup. The workspace’s API management area prepares the address and the consuming system’s managed key.
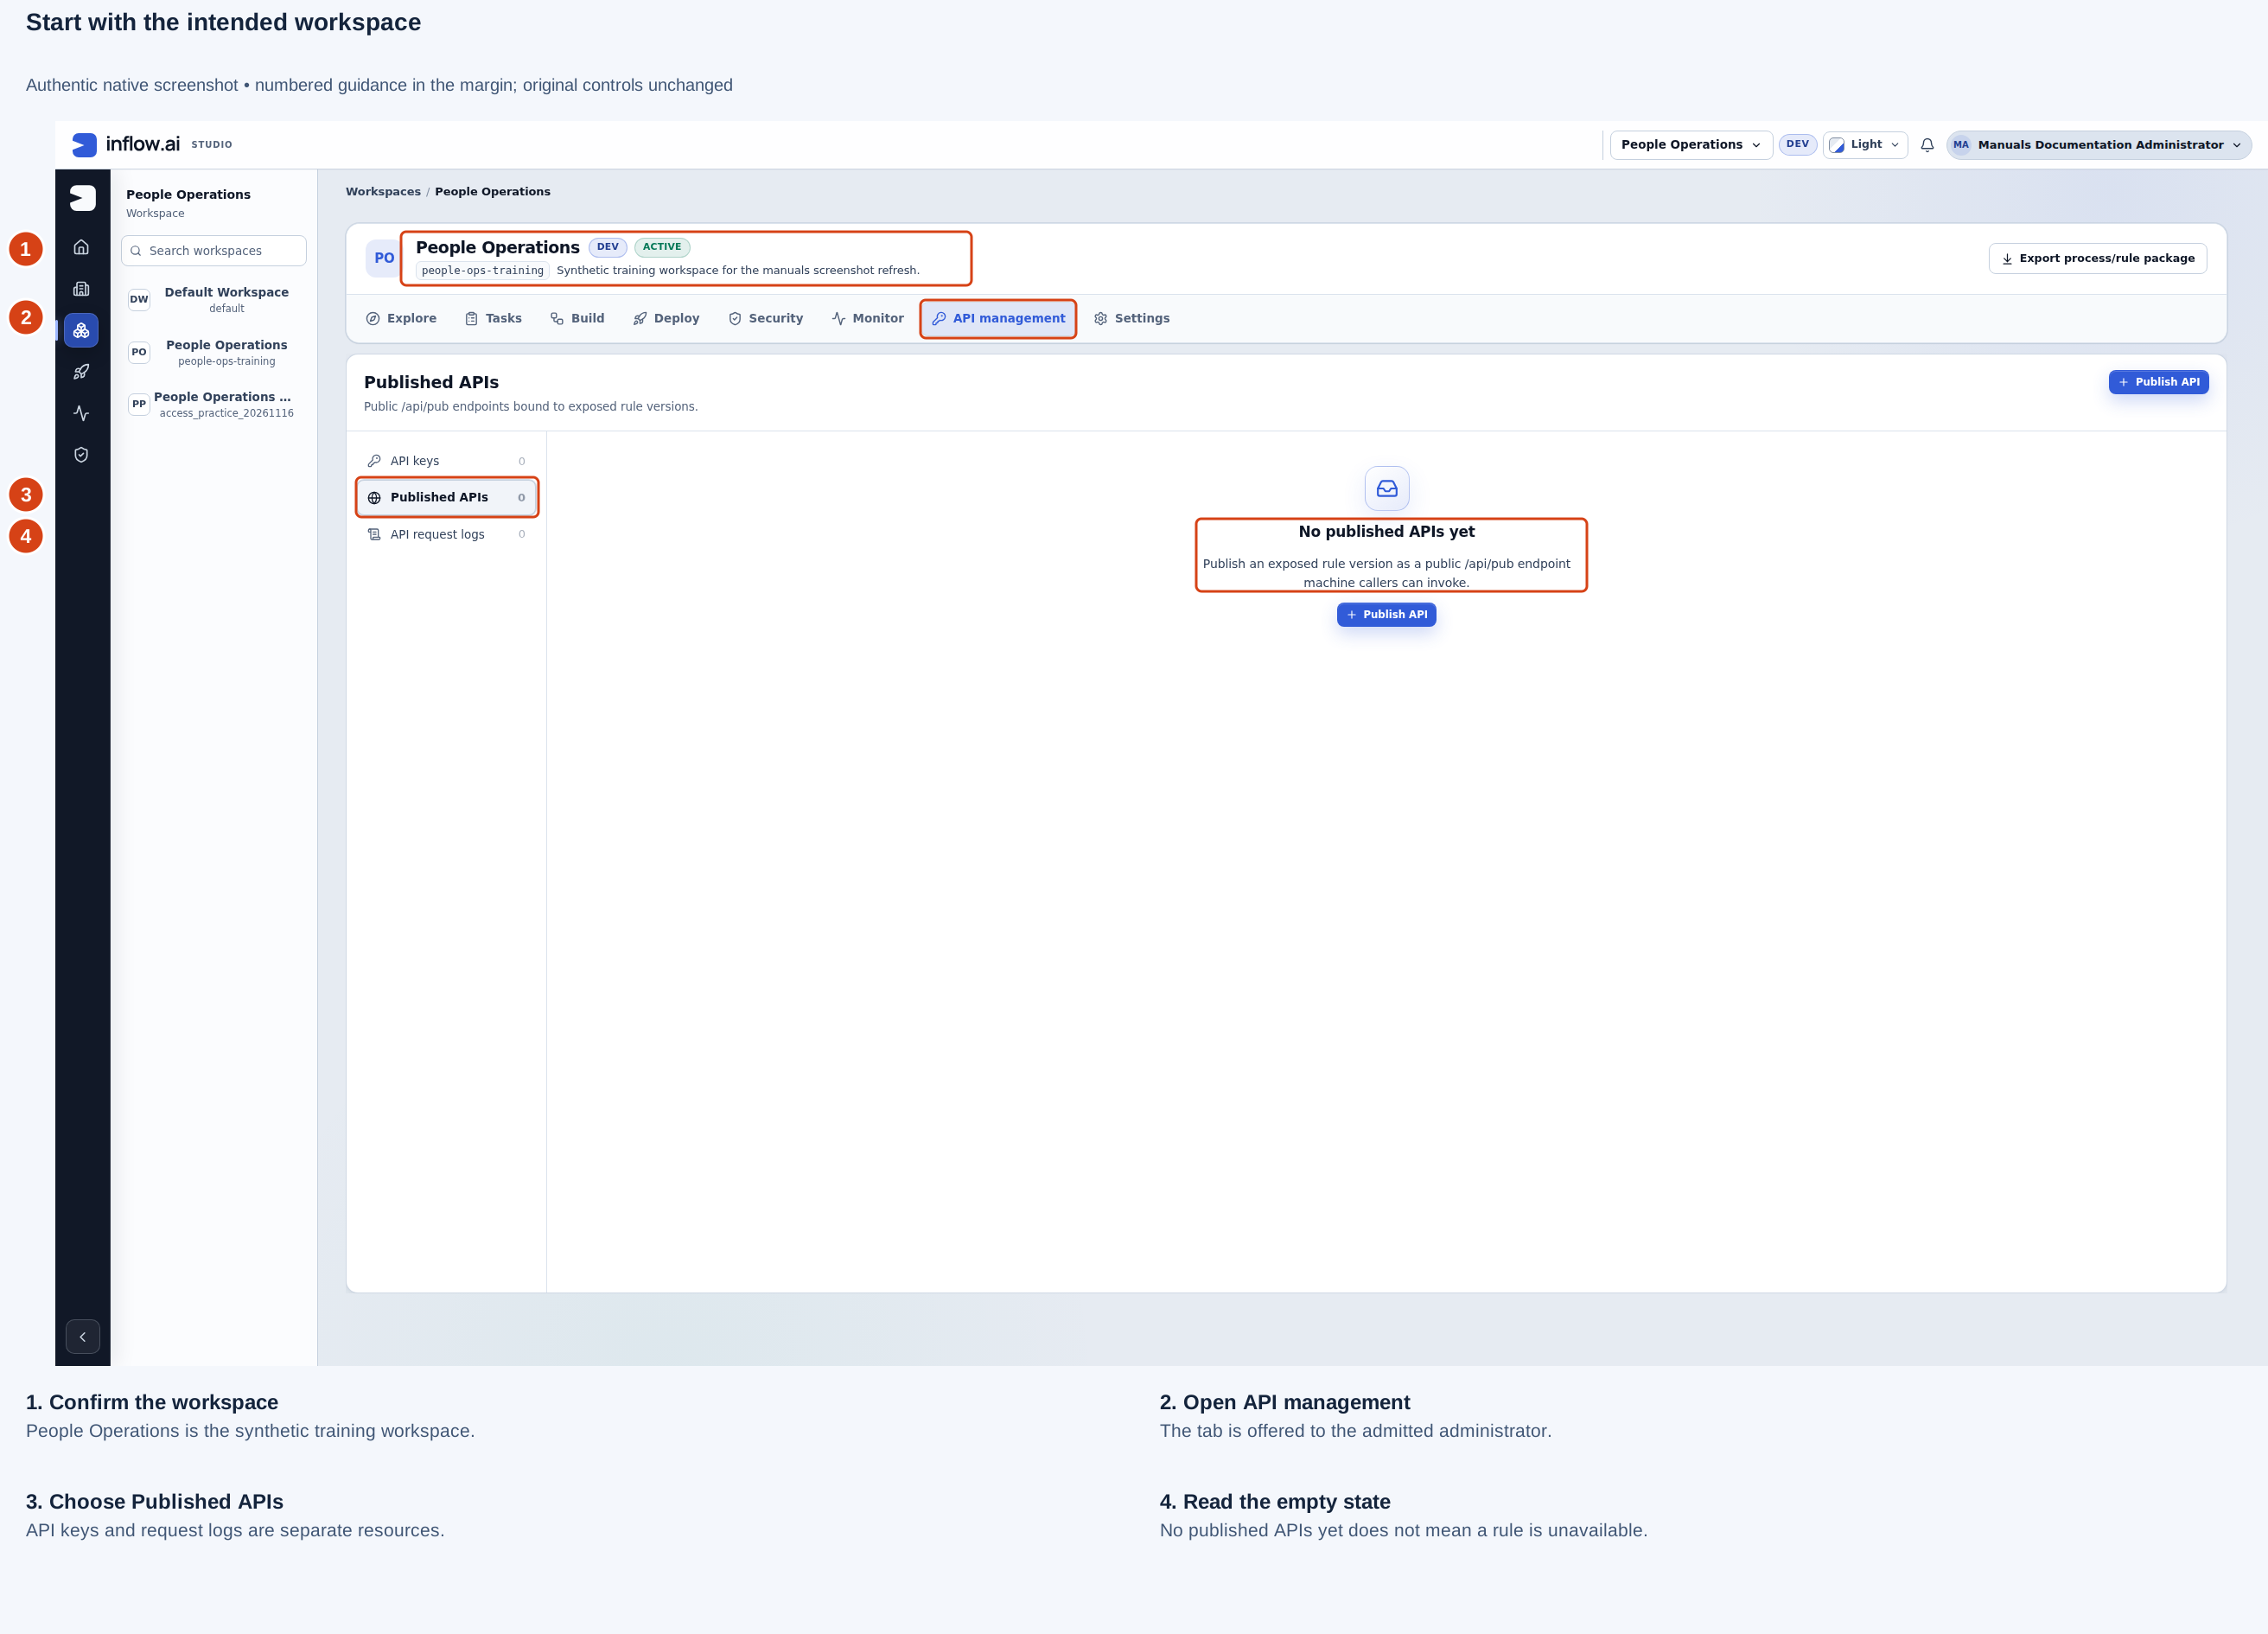
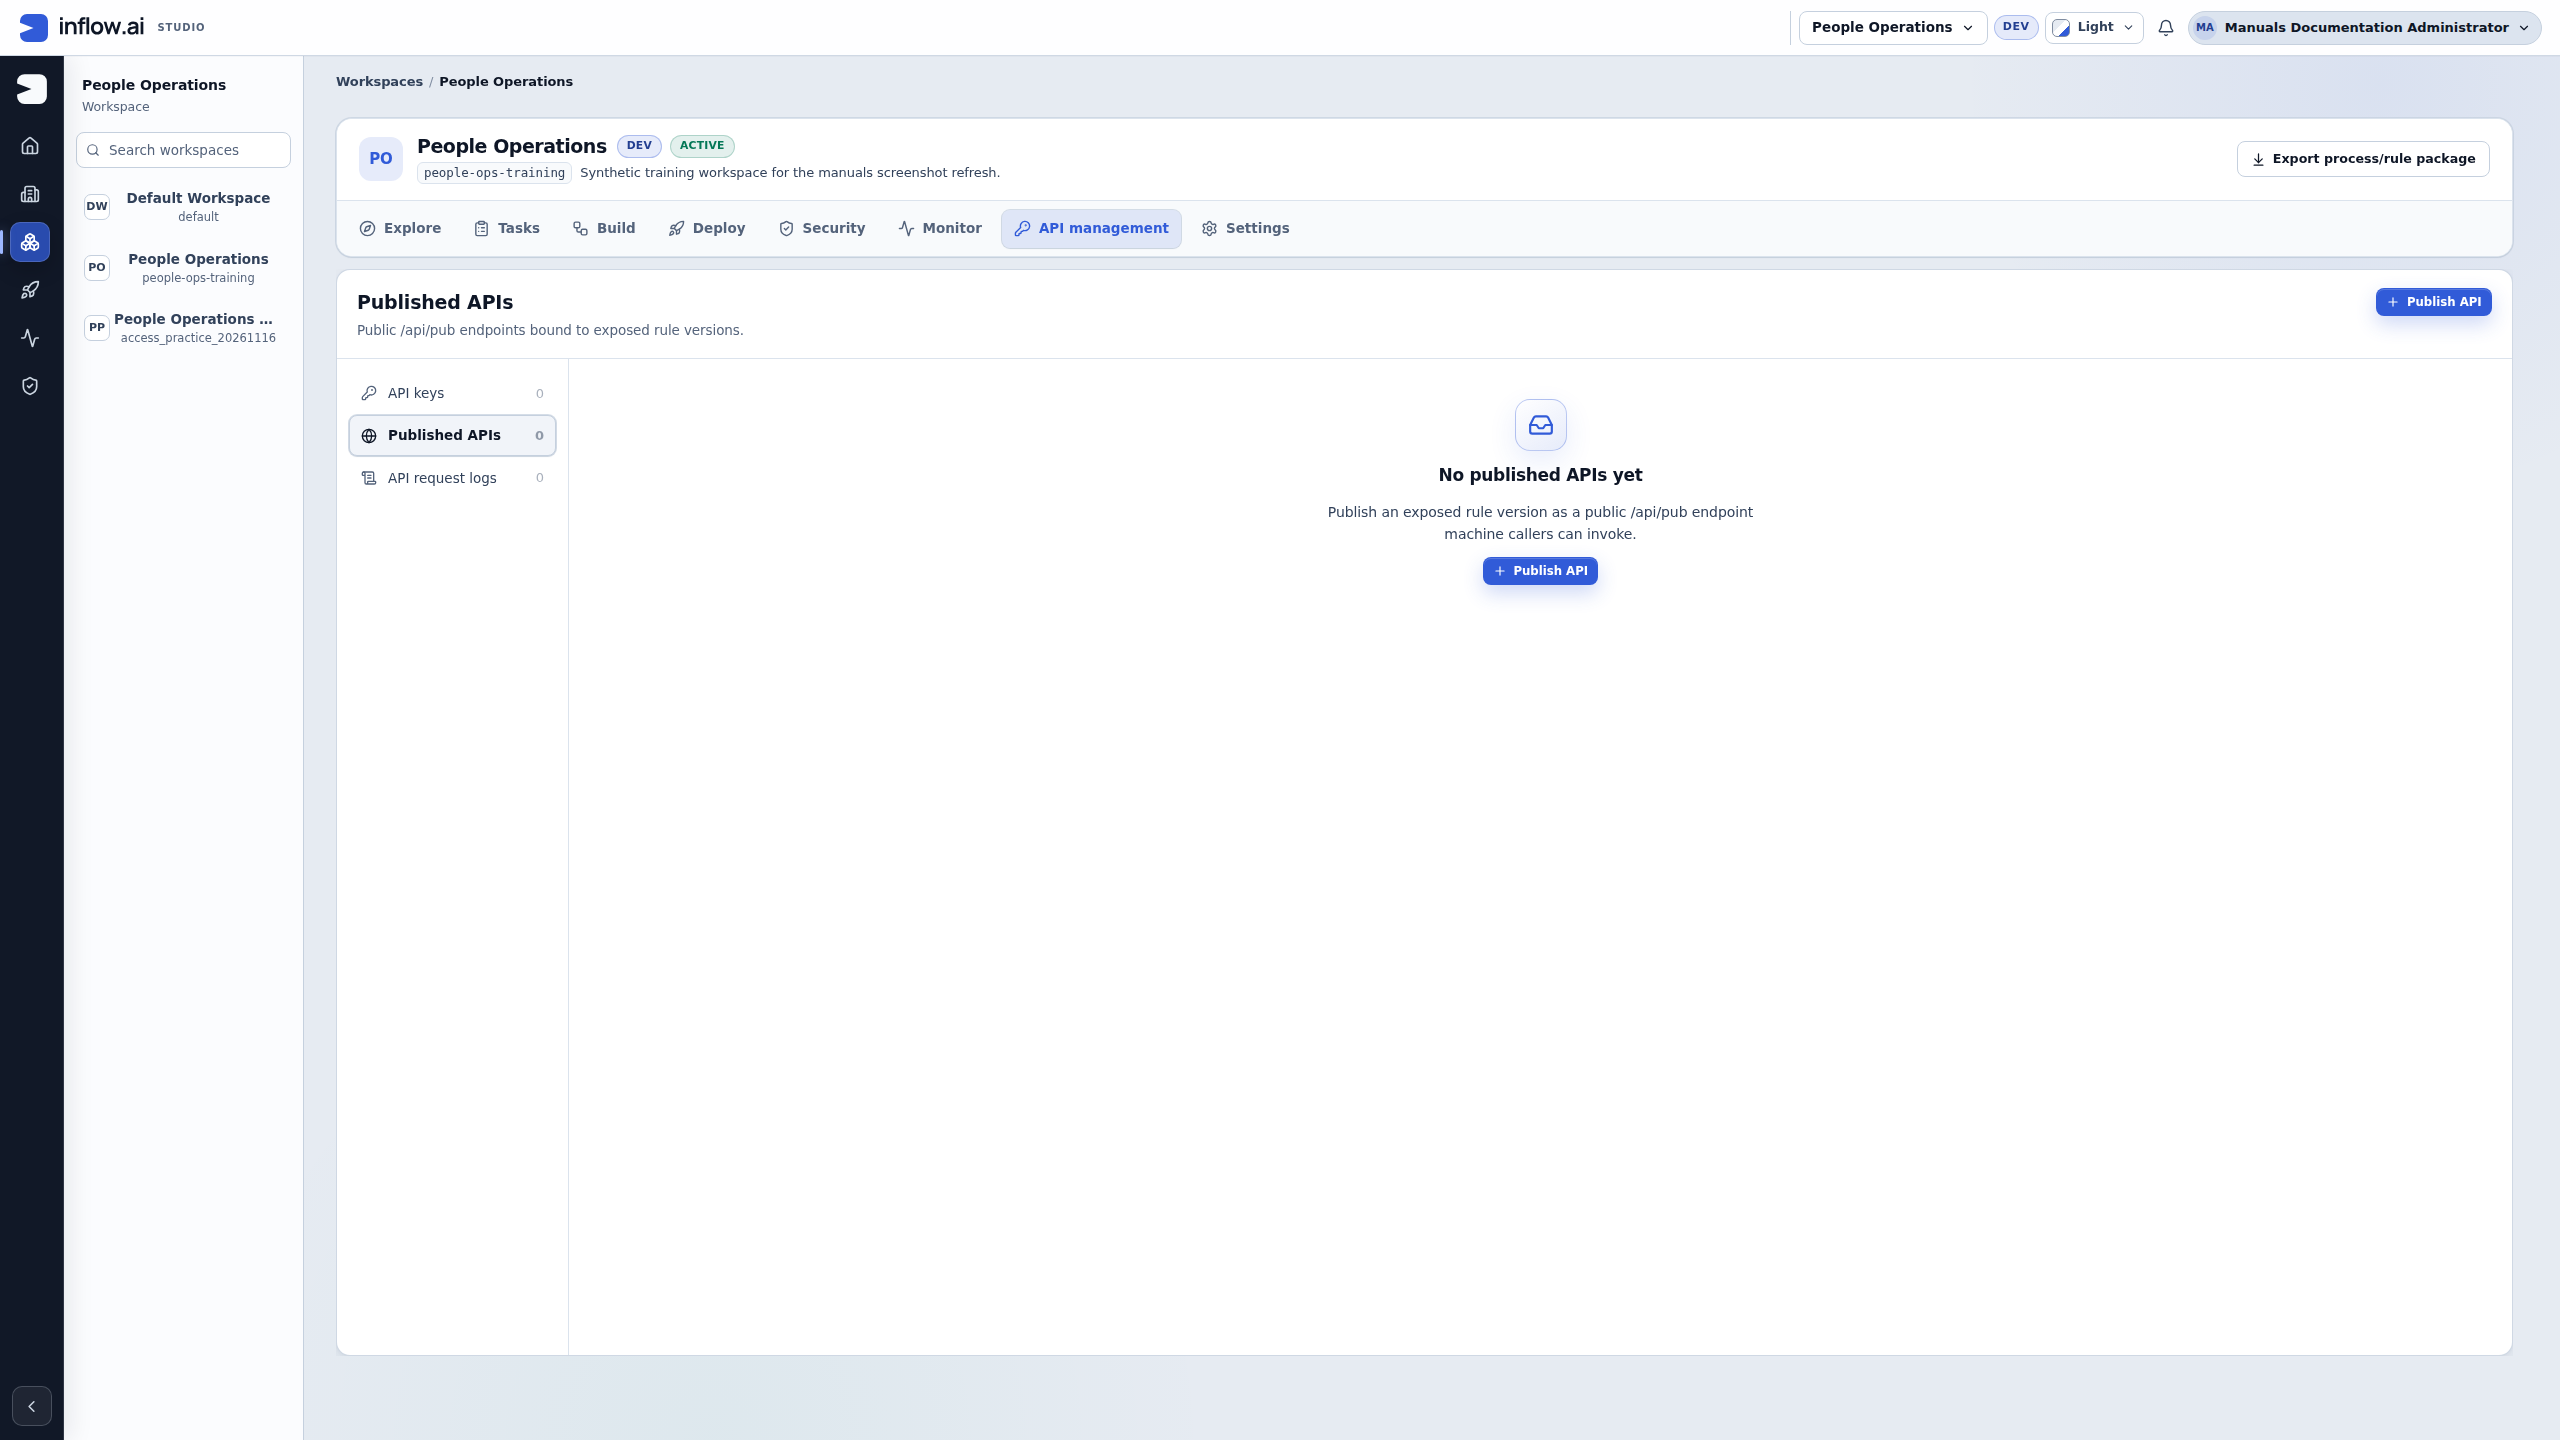
These actual administrator screenshots show a synthetic workspace before publication or credential issuance. They illustrate the preparation for steps 5 and 6 below. No endpoint was published, no key was created and no external consumer was called for the images.
First confirm the intended workspace, open its API management tab and select Published APIs. The example below shows the actual empty catalog. Publish API opens the preparation dialog shown next; it does not mean the intended employee lookup is already exposed.
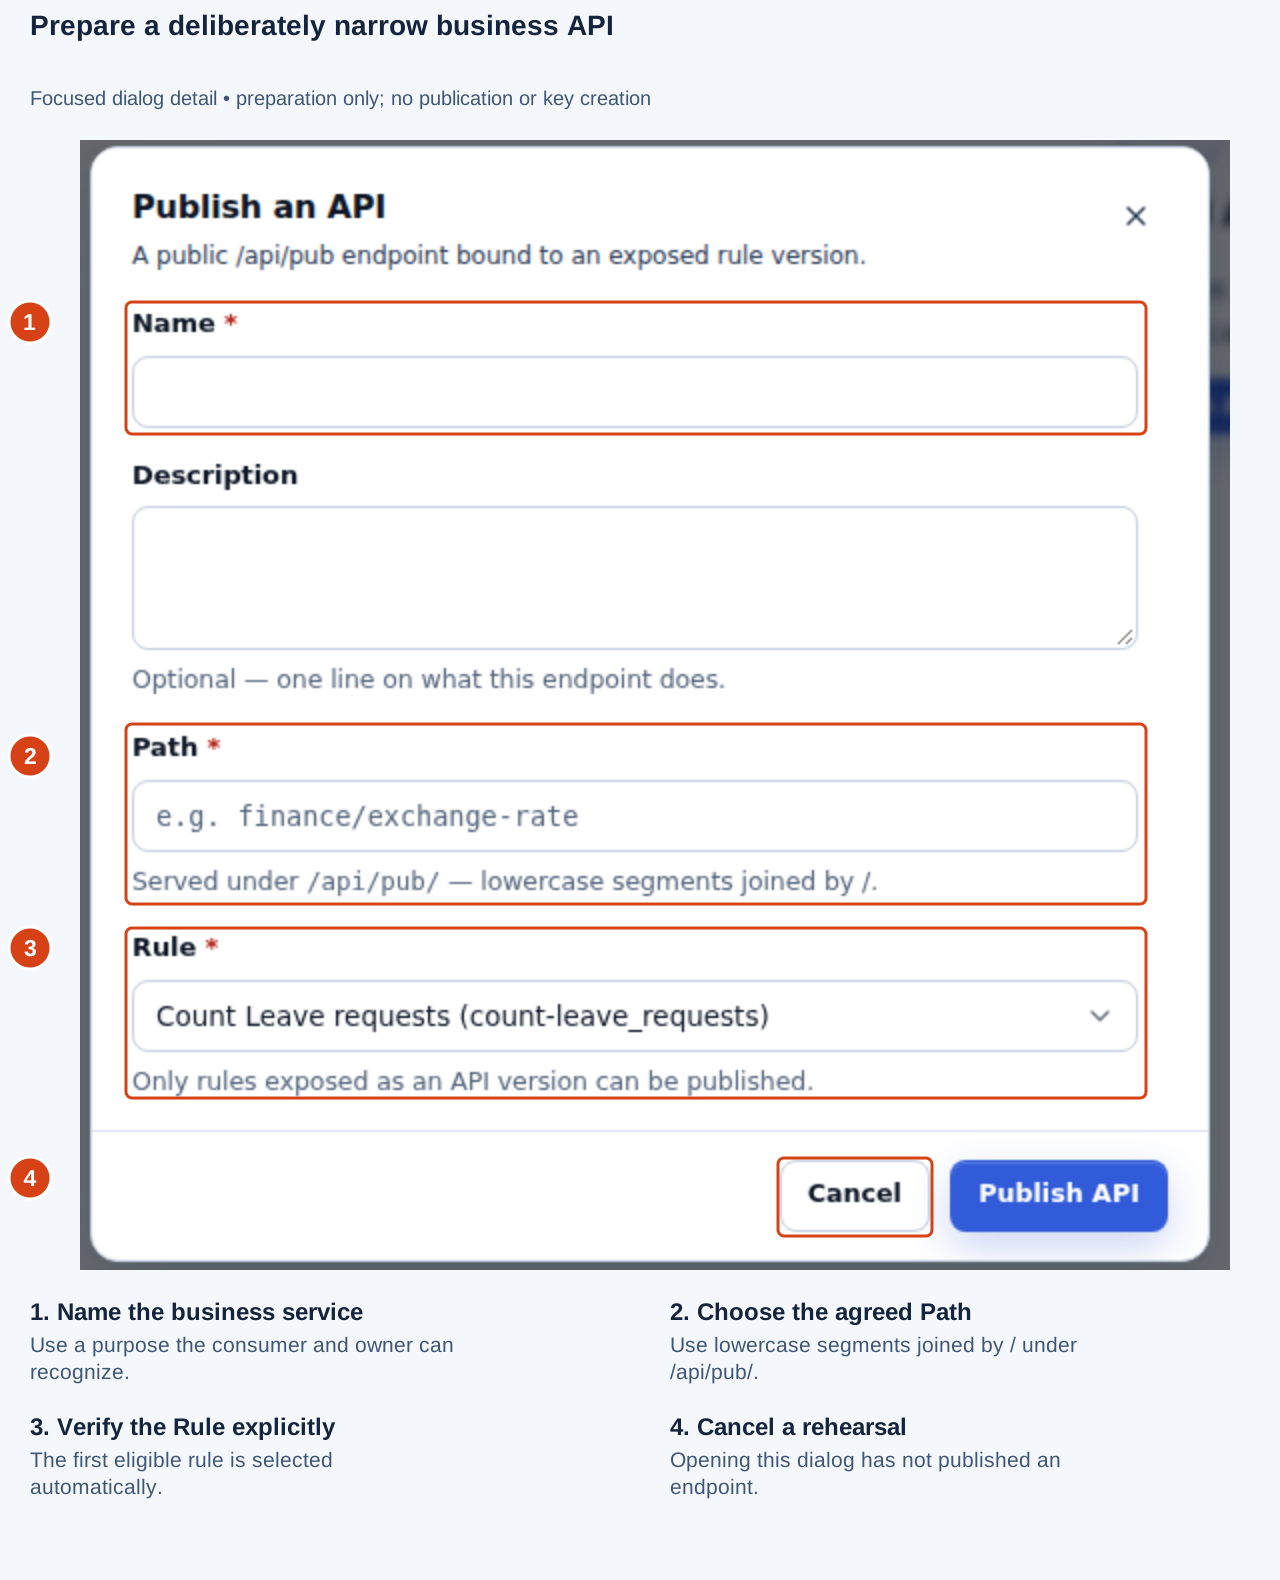
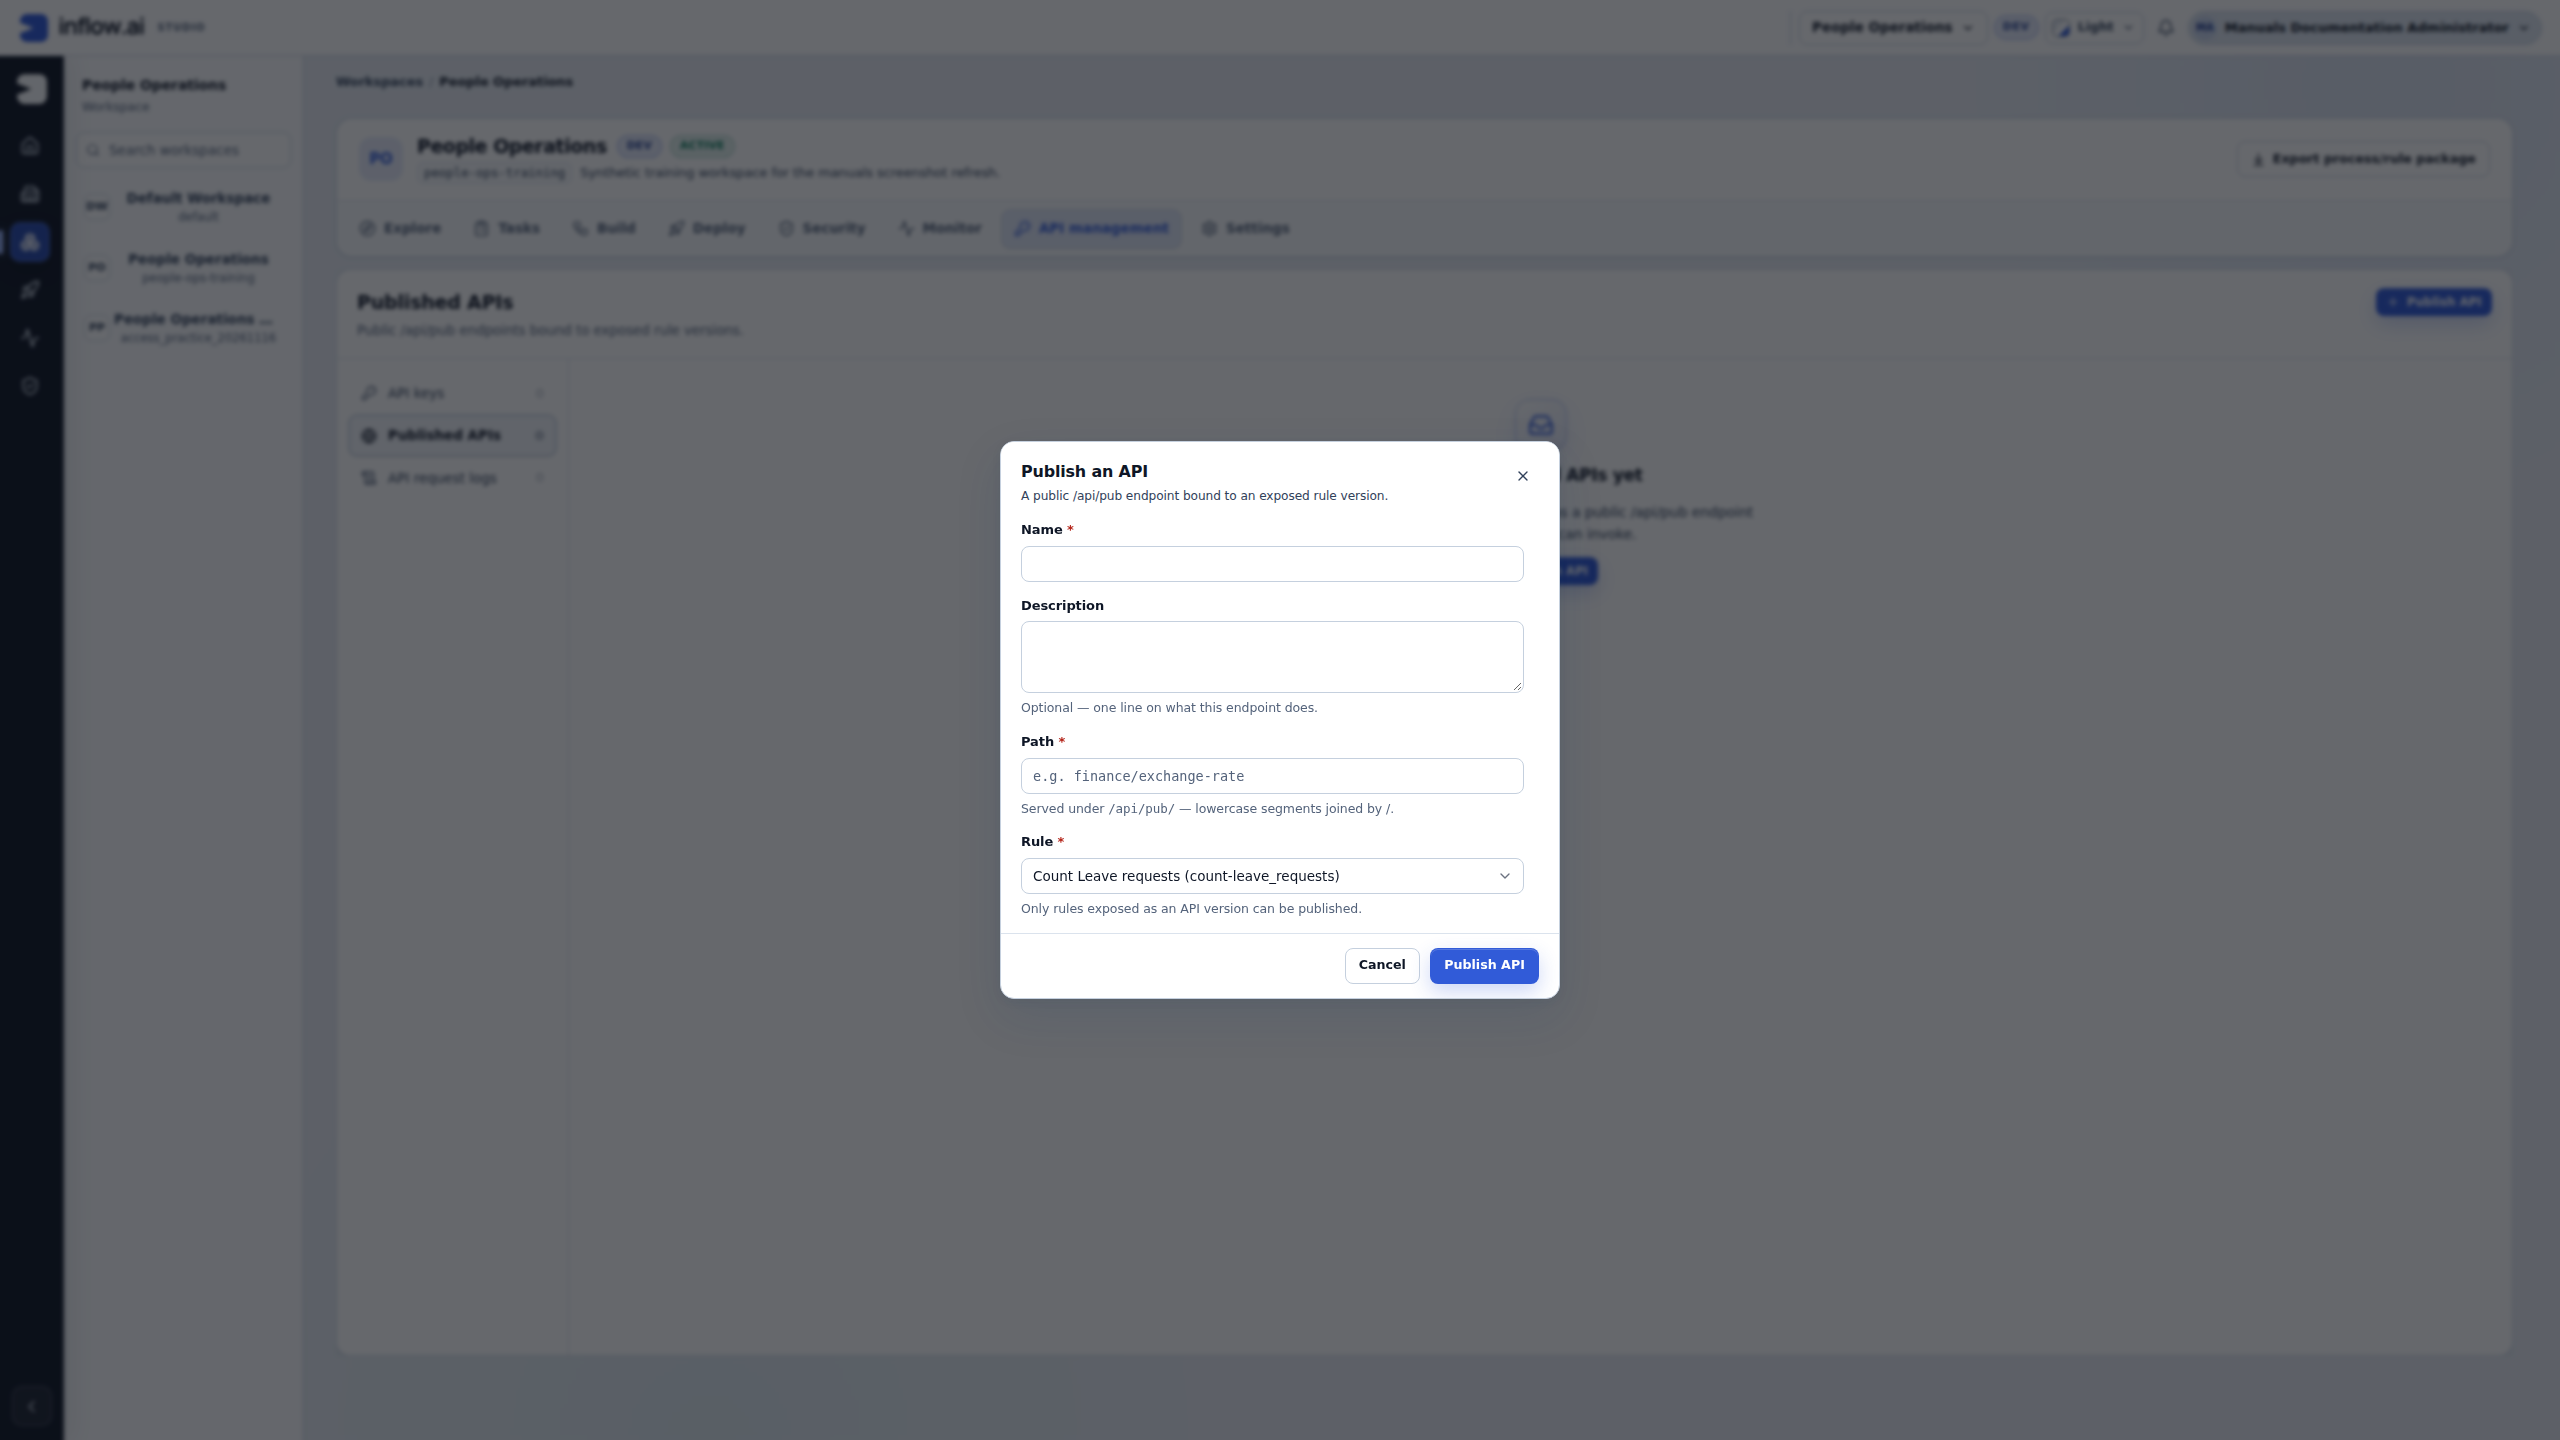
The Rule field automatically selects the first eligible exposed rule. Here it shows Count Leave requests, which is unrelated to this tutorial’s intended employee-name lookup. Do not accept that choice merely because it is offered. At step 5, select the actual reviewed Find employee details rule prepared in step 4. If it is missing, resolve its publication and API exposure first.
For example, the intended worksheet can say Name: Employee directory lookup, Path: directory/employee, input employeeNumber, and result employeeName plus managerName. These are fictional planning values; the lookup must exist, be tested and expose only its approved fields before the administrator publishes its address. The address itself is not a credential.
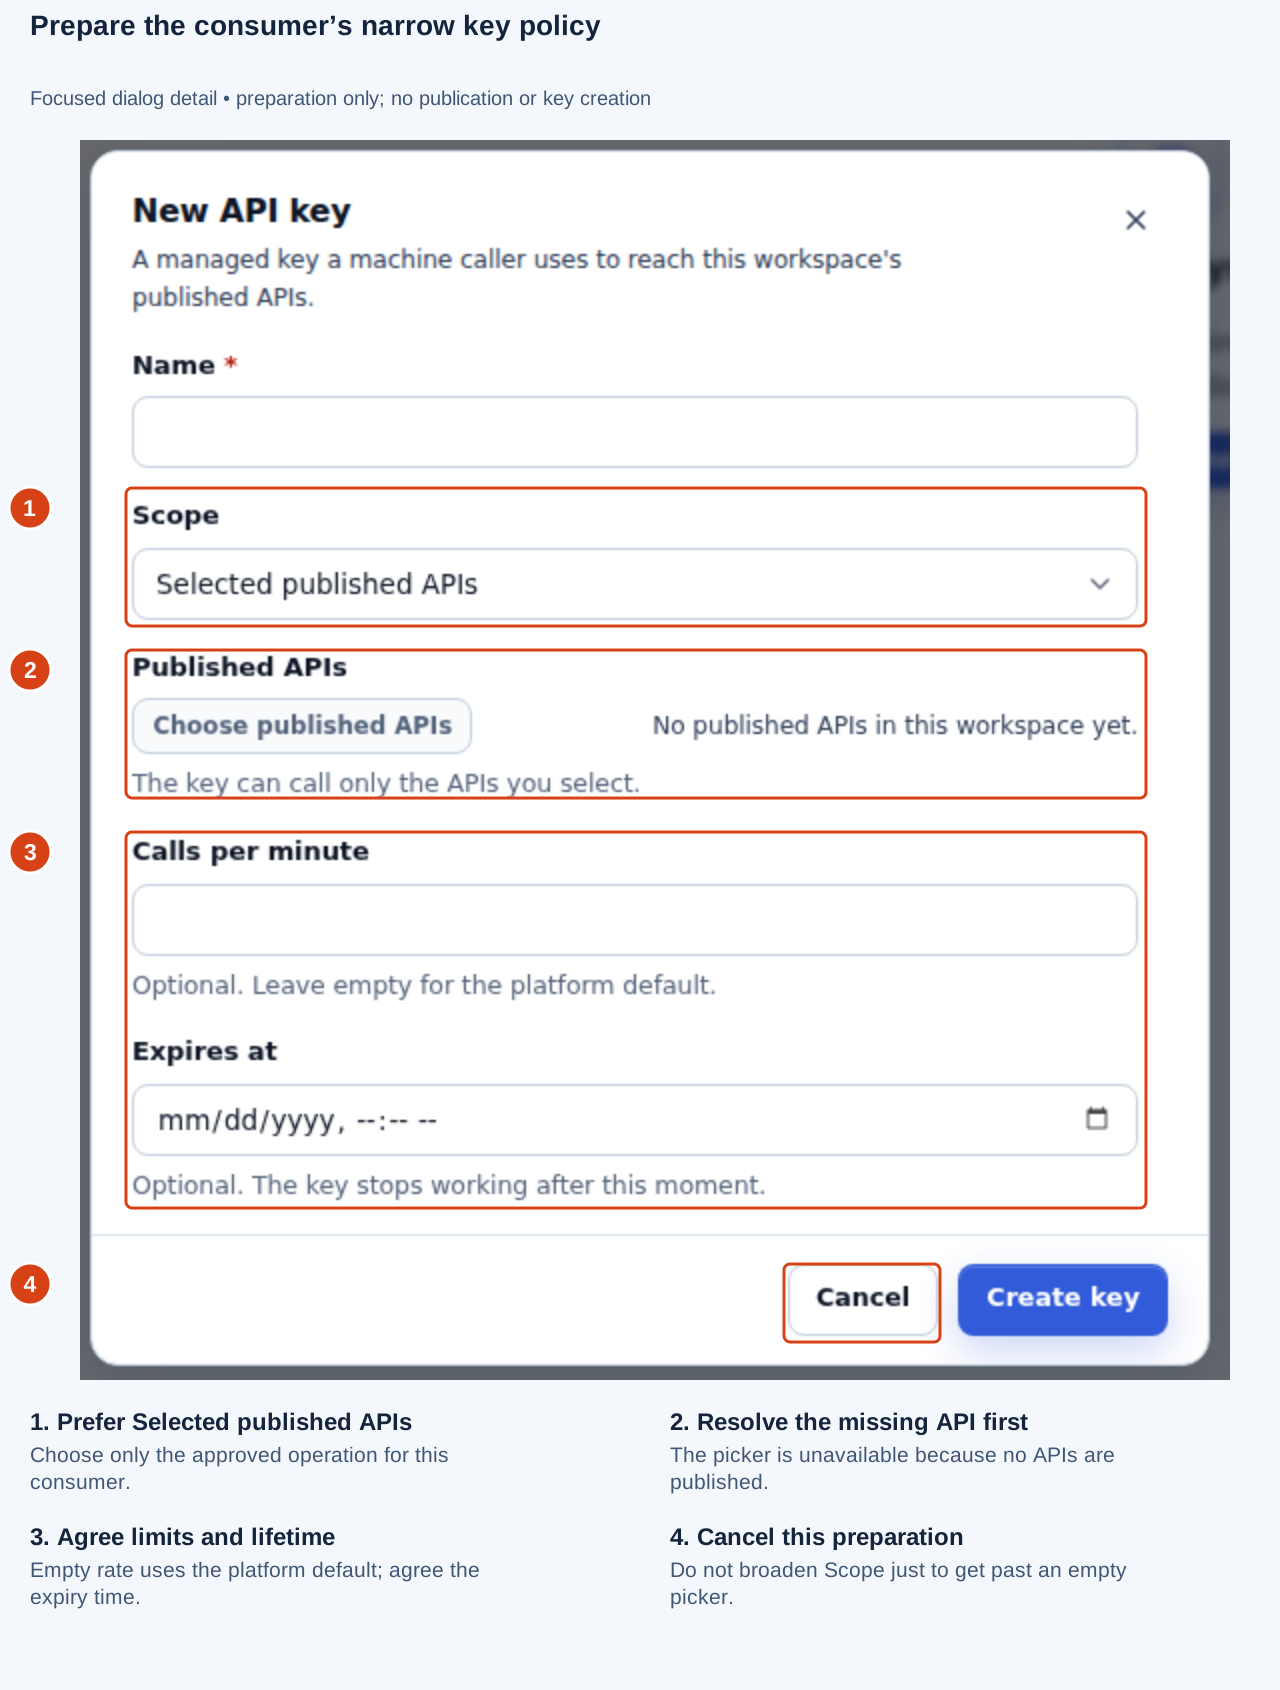
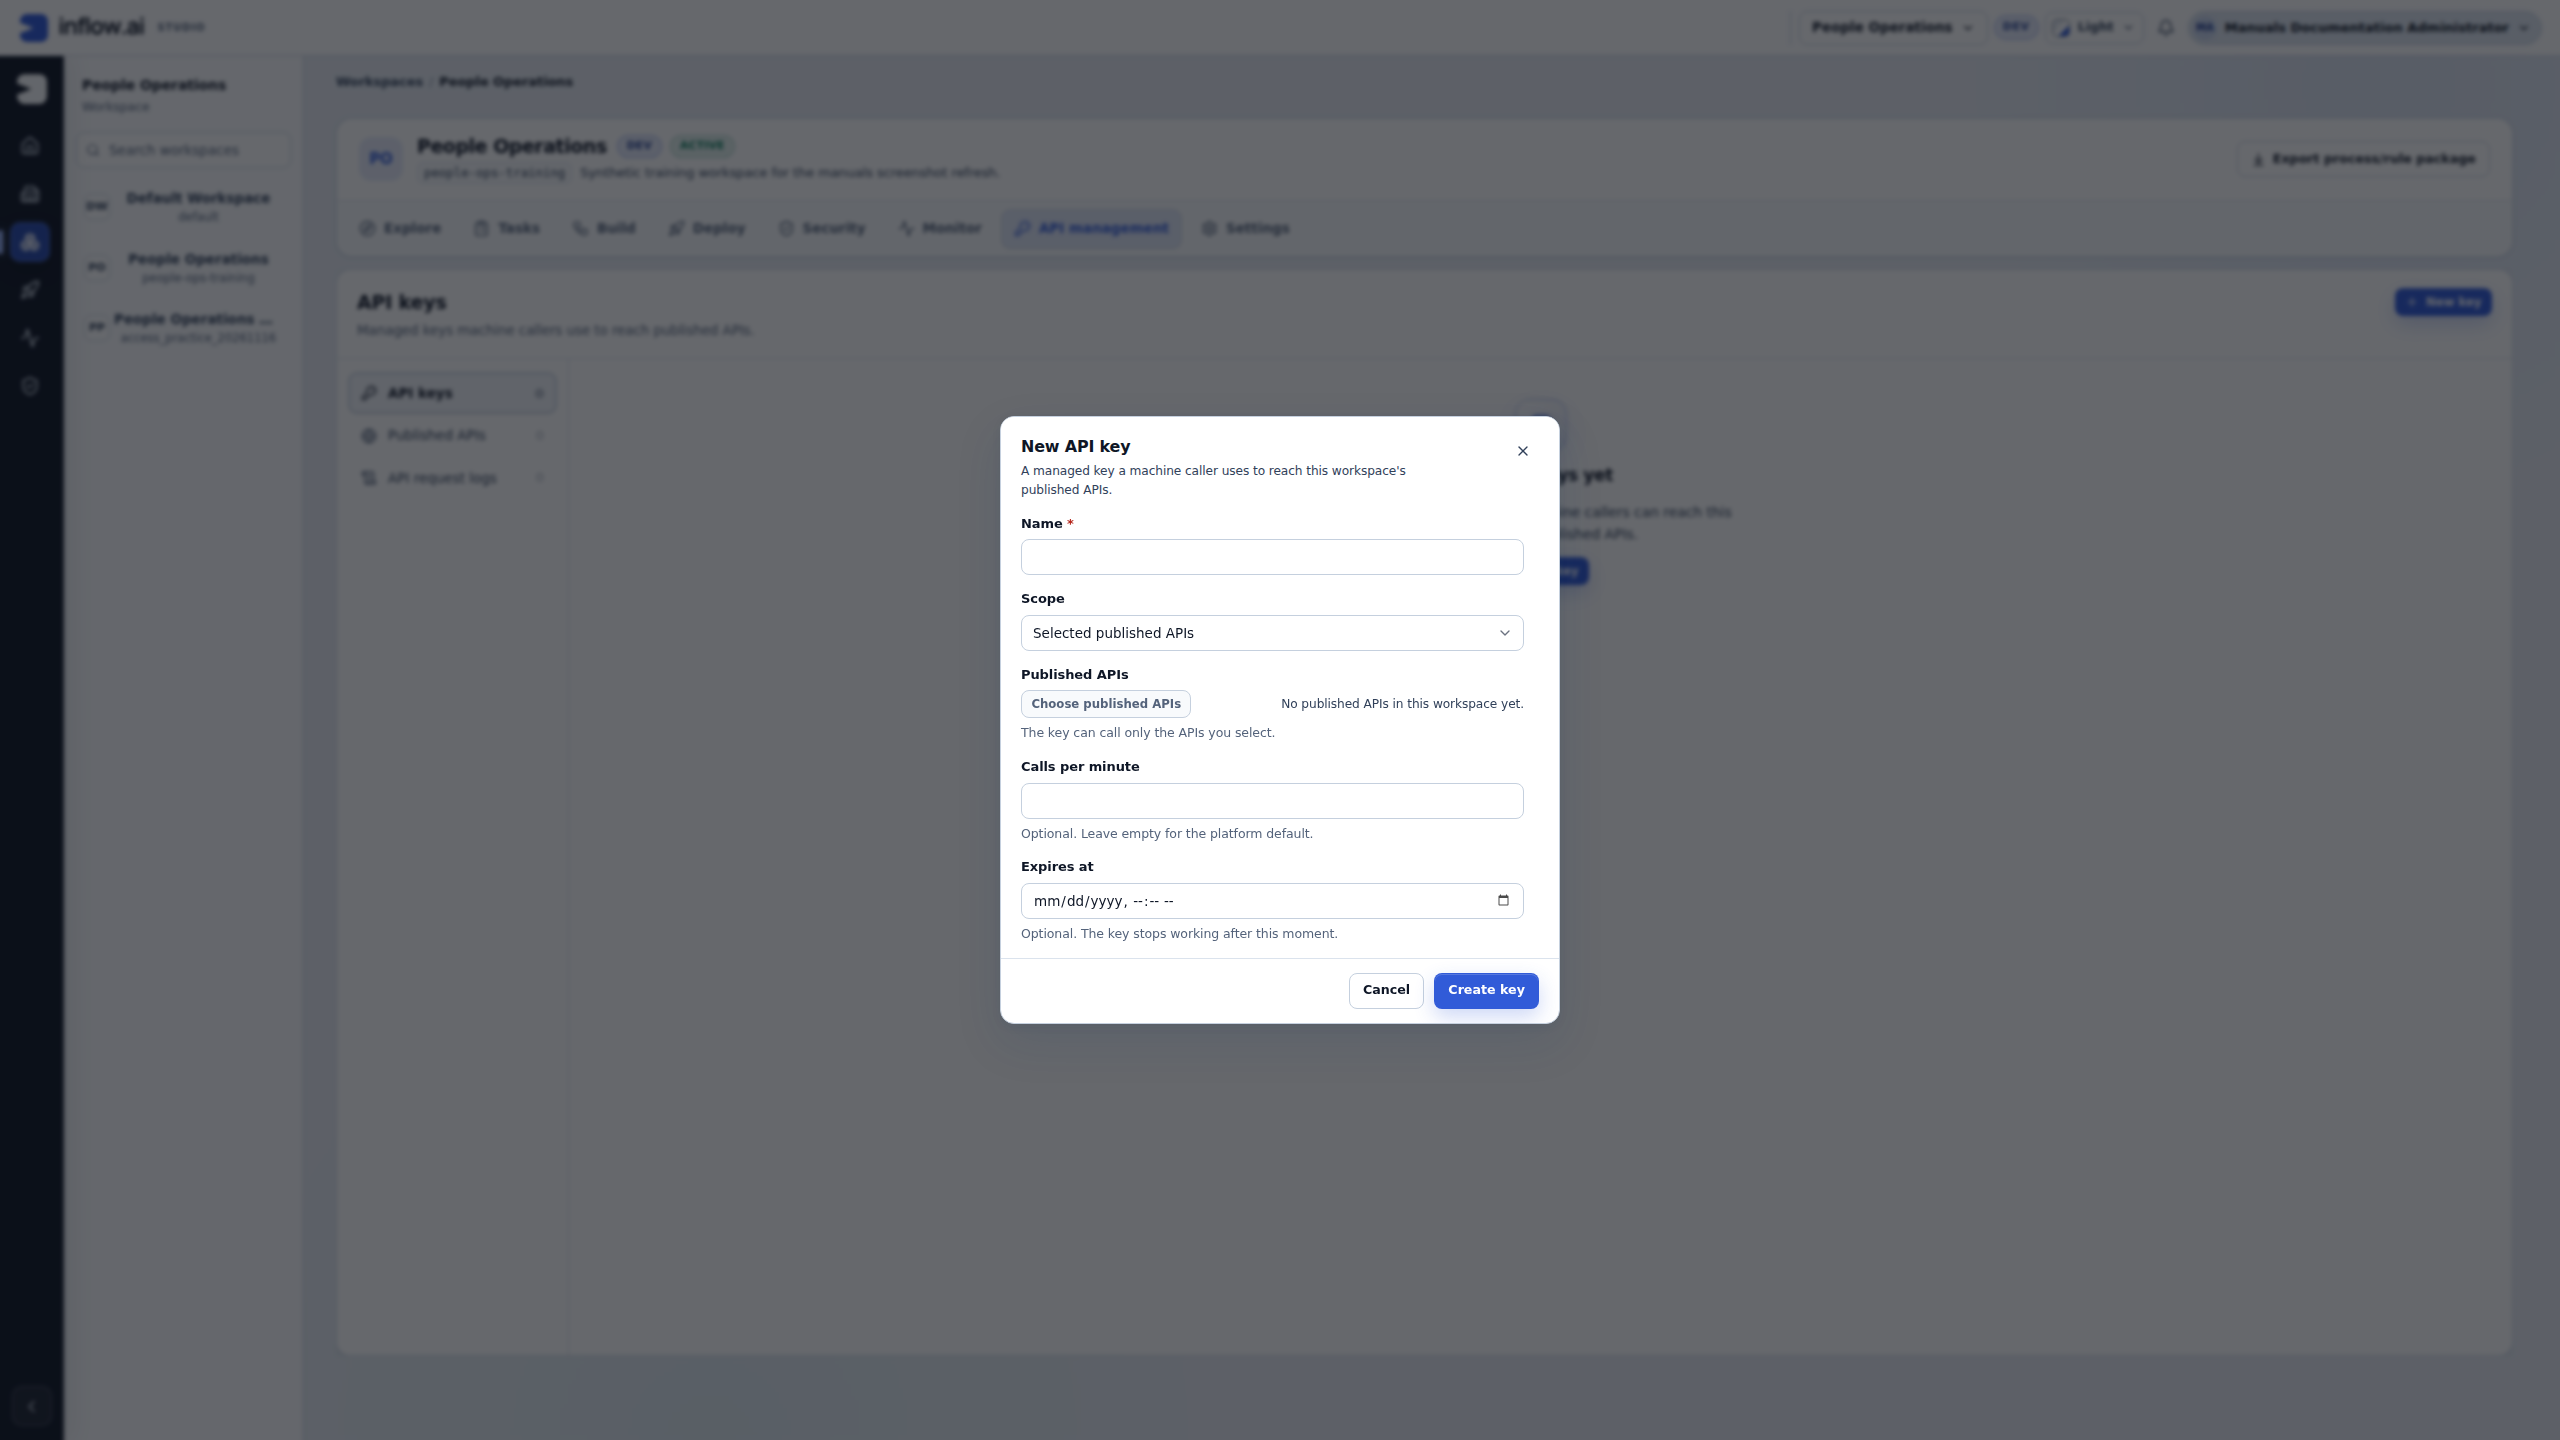
The key preparation shows Selected published APIs with an empty catalog. That is a prerequisite to resolve, not a reason to choose All published APIs. Publish the approved employee lookup, return to the key dialog and select that specific API for its consumer. Agree a limit, expiry and protected secret destination with the consuming system owner before creation.
At this point, the handoff is still preparation. It becomes a checked consumer journey only when the owner privately installs the resulting credential, performs an approved normal call and reads the expected permitted result with its matching request-log entry. Continue through the steps below to keep connection testing, rule testing, endpoint publication and consumer verification distinct.
Before you begin
Ask the service owner for an approved test connection and fictional sample data. Confirm the intended operation is read-only. You need the relevant connection/integration rights; publishing an API and issuing a key also require their own management rights.
The consuming system's developer handles its client code and protected credential installation. This consultant lesson does not require writing an HTTP client or pasting a token into a command.
Example — Find Mohammad in the directory
The service owner provides fictional employee number M014. The business worksheet says the lookup should return Mohammad's display name and manager name. It should not return private employee data the application does not need.
| Item | Agreed example |
|---|---|
| Input | Employee number M014 |
| Operation | Read employee details |
| Useful result | Employee name and manager name |
| No match | A clear not-found result the application can handle |
| Change to the external system | None for this lesson |
Step 1 — Prepare the connection and action
- Open the workspace's Build → Connected systems area.
- Select the approved published Employee directory connection. If it does not exist, follow connection setup with its owner.
- Use Add template operations, a reviewed Discover operations choice or New integration, as appropriate for that connection.
- Name the draft Find employee and confirm which outside operation it will call.
- Check the required inputs and whether the chosen action reads or changes data before testing it.
Discovery and import can prepare a draft; they do not publish the business action automatically.
Step 2 — Define and test the request
- Open Define the request in the integration workbench.
- Add the employee-number input with the type and required setting supplied by the service description.
- Map it to the corresponding employee number in the request using the workbench's supported controls.
- Choose Save and continue to test.
- In Test the request, enter M014 using the approved fictional sample setup and run the test.
- Read the actual response and save an example that explains this found-employee case.
What you should see: the intended directory result or a useful failure you can investigate. A connection test only checks that connection; it does not replace testing this action and its input mapping.
If this is a database integration, the first stage is Query. For an incoming webhook, the workbench describes an event instead. Use that operation's guide and wording rather than treating every integration as an outbound employee lookup.
Step 3 — Choose the business result and publish
- Open Map the response.
- Select the employee name and manager name from the returned fields. Use readable business names and suitable types.
- Check what happens if an optional field is missing. Do not fill it with an invented person or an empty success that hides a failed lookup.
- Choose Save and continue to publish.
- Review the current request, successful test, saved example and mapping, then choose Publish version.
- Read back the published version and its intended result.
What you should see: a reusable published employee lookup with a small clear result. A later edit stays a draft until its own testing and publication are complete.
Example — No employee matches
The service owner supplies a harmless no-match test number. Use it to check the application's behavior rather than testing only M014.
- Run the current saved integration with that approved no-match input.
- Read whether the service returns no employee or a specific not-found result.
- Decide with the application owner how the form or workflow should explain it, such as asking the employee to check their number.
- Keep it distinct from an unavailable service or failed sign-in. Those do not establish that the employee does not exist.
- Save the appropriate example where the workbench supports it and test the consuming rule's handling.
What you should see: an honest business outcome. Do not automatically substitute a colleague, run the lookup under a stronger identity or use a guessed employee number to conceal the problem.
Step 4 — Prepare a narrow business rule for callers
The published integration knows how to contact the directory. An Integration rule gives the application a reusable business action with its own named input and result. Create that rule before offering it to an external caller.
- Return to the workspace's Build → Rules area and choose New rule.
- Under Look up and connect, choose Integration. Name the rule Find employee details, review its short key, and create the draft.
- In 1. Choose the capability, use Published integration to select Find employee under the approved Employee directory system. Select the actual version you published in step 3 of this tutorial; check its name and version rather than choosing a similar operation.
- Open 2. Map the inputs. Find the directory's employee-number input and choose Rule input as its source. This means the caller supplies a different employee number for each lookup, rather than the rule always looking up M014.
- If no suitable input is available, choose Declare a compatible Rule input. Give it the short name
employeeNumber, keep the offered compatible text type and required setting, then finish the declaration. Select that input in the mapping. If a suitable input already exists, select it instead of creating a duplicate. - Open 3. Return the result. For this example, the published integration should offer a record containing the two approved employee-name and manager-name fields. Choose Return selected fields with safe names, select only those fields and give them clear returned names, such as
employeeNameandmanagerName. Read the result preview. - If those fields are not offered, return to Map the response in the integration and resolve its published result with the service owner. Do not invent field names or publish the whole employee record to get past the problem. A single-value or list result needs its own deliberately designed mapping.
- Save and Validate the rule. Correct any missing or incompatible input/output mapping shown by the editor.
- In the rule's Live test, enter M014 for
employeeNumberand choose Run. Check that the returned names match the approved example and that private fields are absent. Repeat with the service owner's harmless no-match input and read its actual result. - Publish the checked rule through its publication controls. If this approved read-only action should be callable by the external consumer, choose Publish & expose as Web API rather than treating ordinary publication as external exposure.
- Note the exact published rule name/version for the next step. Identify the consumer and its allowed purpose before creating a key.
What you should see: a published Find employee details rule whose employee number comes from its caller and whose result contains only the agreed business information. It is ready to be selected in API management when its exposure is permitted. The original integration and the consuming rule are separate published items.
If the version or mapping becomes unavailable, resolve that specific publication or access issue and test again. Do not expose a general employee-data operation merely because one portal needs a display name.
Step 5 — Publish the API and key
- Open API management → Published APIs and choose Publish API.
- In Publish an API, enter a clear Name, Description and approved Path, then choose the intended exposed Rule.
- Review the published entry.
- Open API keys → New key. Name the actual consumer and use Selected published APIs when it only needs this narrow operation.
- Set the agreed call limit and expiry, then choose Create key.
- Store and transfer the one-time secret through the protected organizational channel. It cannot be read back as an ordinary field later.
See sharing a business API for the controls and key lifecycle in more detail.
Step 6 — Hand off and check a real consumer call
- Give the consumer owner the approved address and a simple worksheet of required inputs, allowed outputs and no-match behavior.
- Have that owner configure the credential privately and perform the agreed test.
- Use API request logs together to inspect the outcome and safe error information.
- Correct wrong inputs, credential scope, expiry or service availability at the actual boundary. Do not grant every API as a shortcut.
- Record who owns future connection, field or credential changes so the application can be maintained.
A lost reply from an action that changes something needs investigation before another attempt. This tutorial uses a read-only example; it does not authorize production writes, deletes or payments.
Continue
Use the published integration in the intended workflow or supported application feature. If the directory changes, revise and test a draft, review the consumers and publish deliberately. The optional technical integration/API walkthrough contains client and implementation detail for developers.