Prepare Leave requests for an approved release route
This tutorial prepares a built application for a reviewed release and records what happens at the target boundary. It does not promise that the direct package-import screen can deliver every application. Platform installation, database upgrades and server availability are separate administrator work.
Your goal is an honest handover: the source release is identified, the supported target route is confirmed, and delivery is either completed with the agreed user checks or left explicitly pending with an accountable next step.
Before you begin
Finish the connected leave application, including its employee form, manager decision form, workflow and application-access design. Agree the source workspace, a permitted development/staging target and the release owner.
The deployment administrator prepares the target, sender trust, deployment rights and any required connections. Use an approved normal test account and fictional request. This lesson does not ask you to change production settings or run server commands. Current-route limit: the direct package-import screen refuses releases that require governed deployment, and this server does not offer that route yet. The complete Leave requests application contains governed asset families, so plan to inspect and retain its signed source release, then leave target delivery pending unless its owner confirms a separately supported, authorized route for the exact release and build.
Stage 1 — Agree what a successful handover means
- Write the business example: Mohammad requests five days, Sara decides, and the intended separate action updates the business record if that is part of your design.
- List the visible artifacts: People Operations workspace, leave model/rules, employee and manager forms, App Shell and process.
- Agree the target environment and the people allowed to test it.
- Choose the checks that matter: normal login, record visibility, employee start, manager task, documents and important reports/integrations.
- Include a restriction check, such as an employee being unable to edit the application or view unrelated information.
Check: the release owner and consultant agree on business results, not just “the package downloaded.”
If something is missing: resolve that acceptance question before delivery. A successful import cannot define the intended business behavior for you. For this complete application, do not promise the target journey until its governed delivery route is confirmed.
Stage 2 — Finish and publish the source work
- Open the correct source workspace.
- Review the data model, rules and interfaces through their own save/validation/publication flows. A data model's published design and its live data destination are distinct steps.
- Confirm the workflow uses the intended published manager form and decision outputs.
- Check that the employee's start action selects the intended published process and that the task-host composition is configured.
- Review the completed application's intended group access with the administrator.
Check: the release can include actual published items. Unsaved or unpublished edits are not silently included because they are visible in the designer.
If it fails: return to the relevant feature lesson and finish its publication. Do not build repeated release files hoping that an unpublished change will appear.
Stage 3 — Confirm that the target is prepared
- Ask the deployment owner to confirm the exact target name and environment.
- Ask which delivery method is permitted for this target and who will perform its review/import.
- Confirm that its required data destinations, external connections, document capabilities and identity setup are prepared for this application's needs.
- Agree how source-specific choices will be matched to approved target resources.
- Confirm the normal-user test accounts and the expected starting page.
Check: you know which application content is travelling and which target setup belongs to an administrator. A release file is not a replacement for a missing service or a permission grant.
If it fails: record the specific missing prerequisite and let its owner prepare it. Do not change a production label or choose a different server just to bypass the refused path.
Read the administrator’s destination proposal
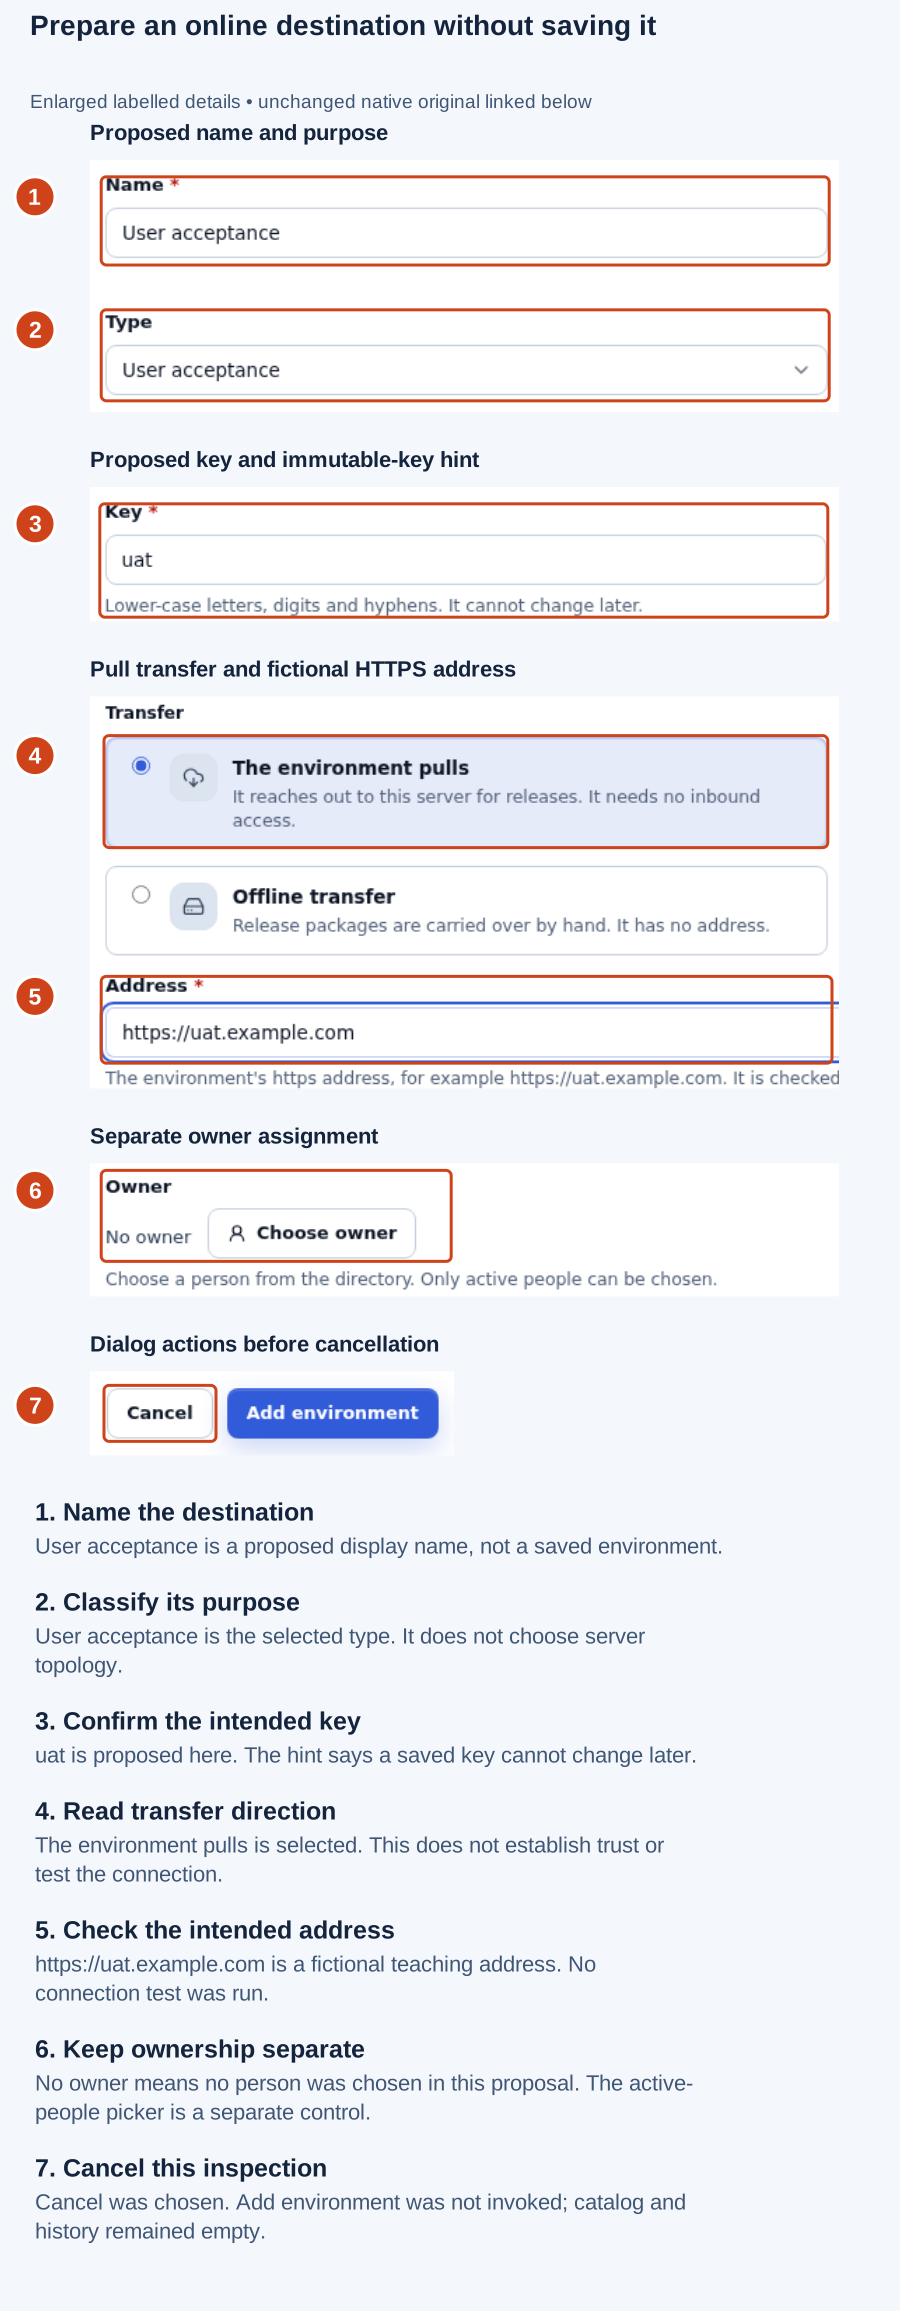
Preparation example: the administrator has entered a UAT name, key and example HTTPS address, with pull transfer selected. These are unsaved proposal values; they do not establish a reachable, paired or permitted target. The numbered guide enlarges labelled details from the same screenshot. Open the original screenshot.
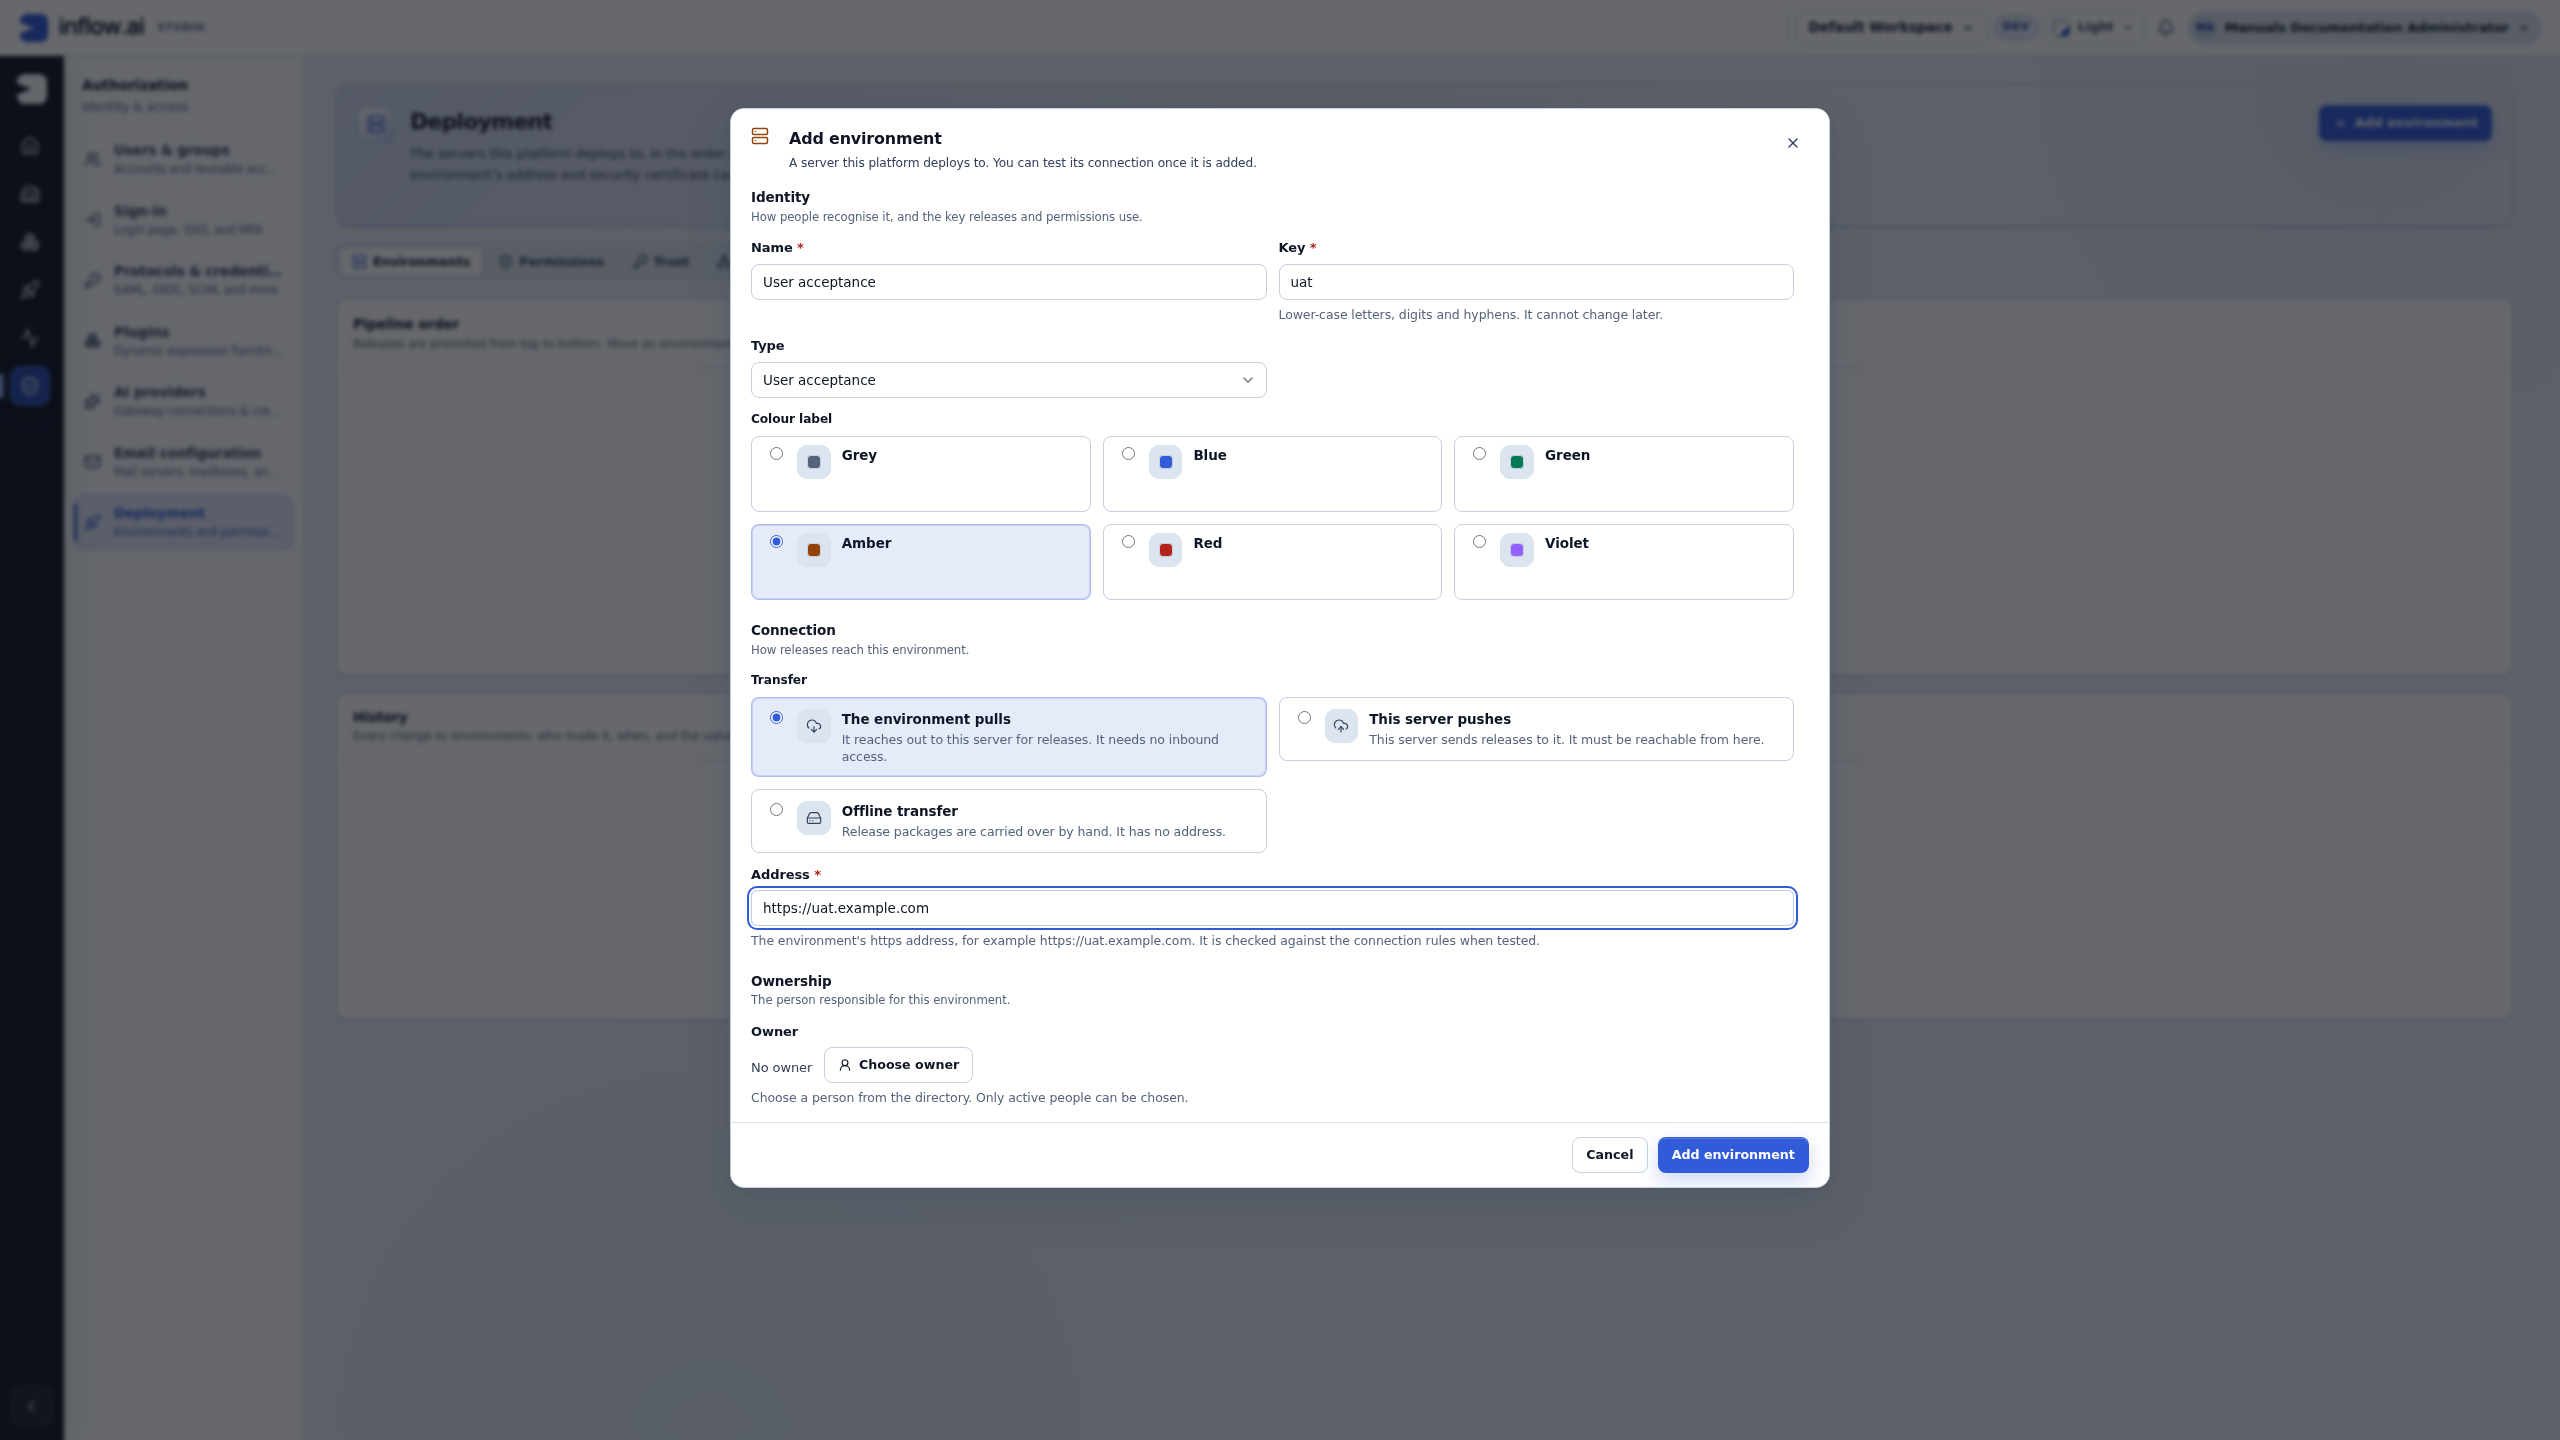
Use the marked fields to agree the intended destination with its owner. For the real handover, ask for the saved environment and the separate trust, action rights and target prerequisites. The practice form was cancelled, so it provides no target for this tutorial to deliver to.
Stage 4 — Build and inspect the release
First check that the intended release workspace is offered.
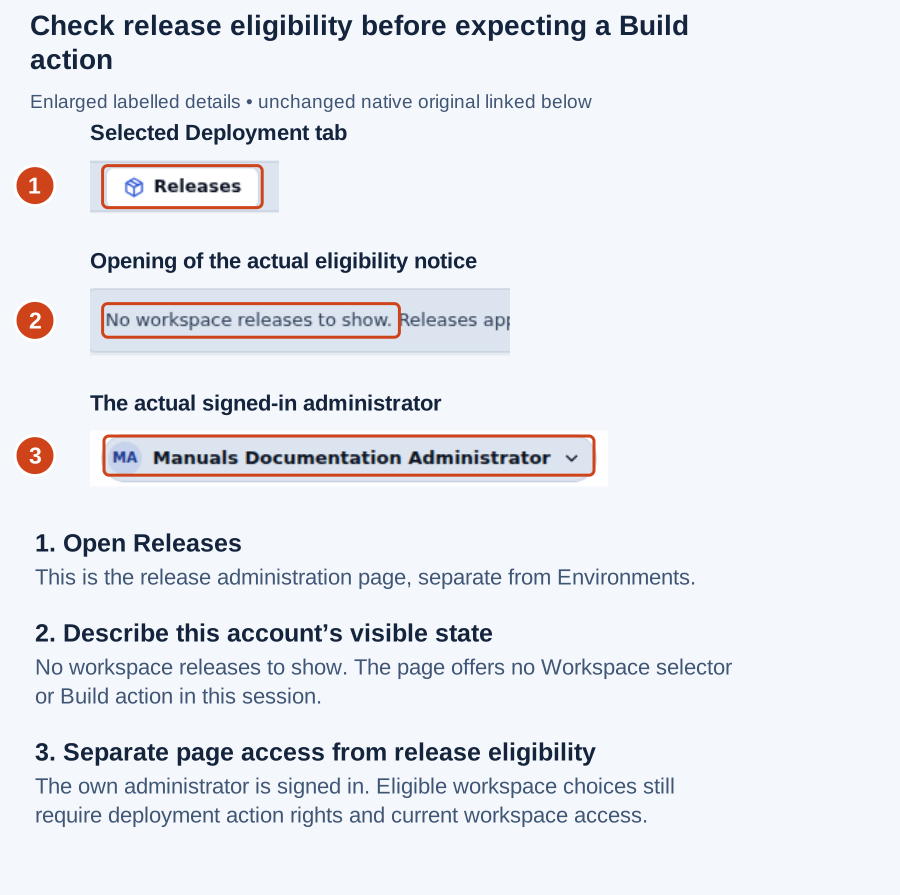
Actual practice boundary: this administrator sees No workspace releases to show, without a workspace selector or build action. This is account-specific eligibility, not proof that People Operations has no releases. The numbered guide enlarges labelled details from the same screenshot. Open the original screenshot.
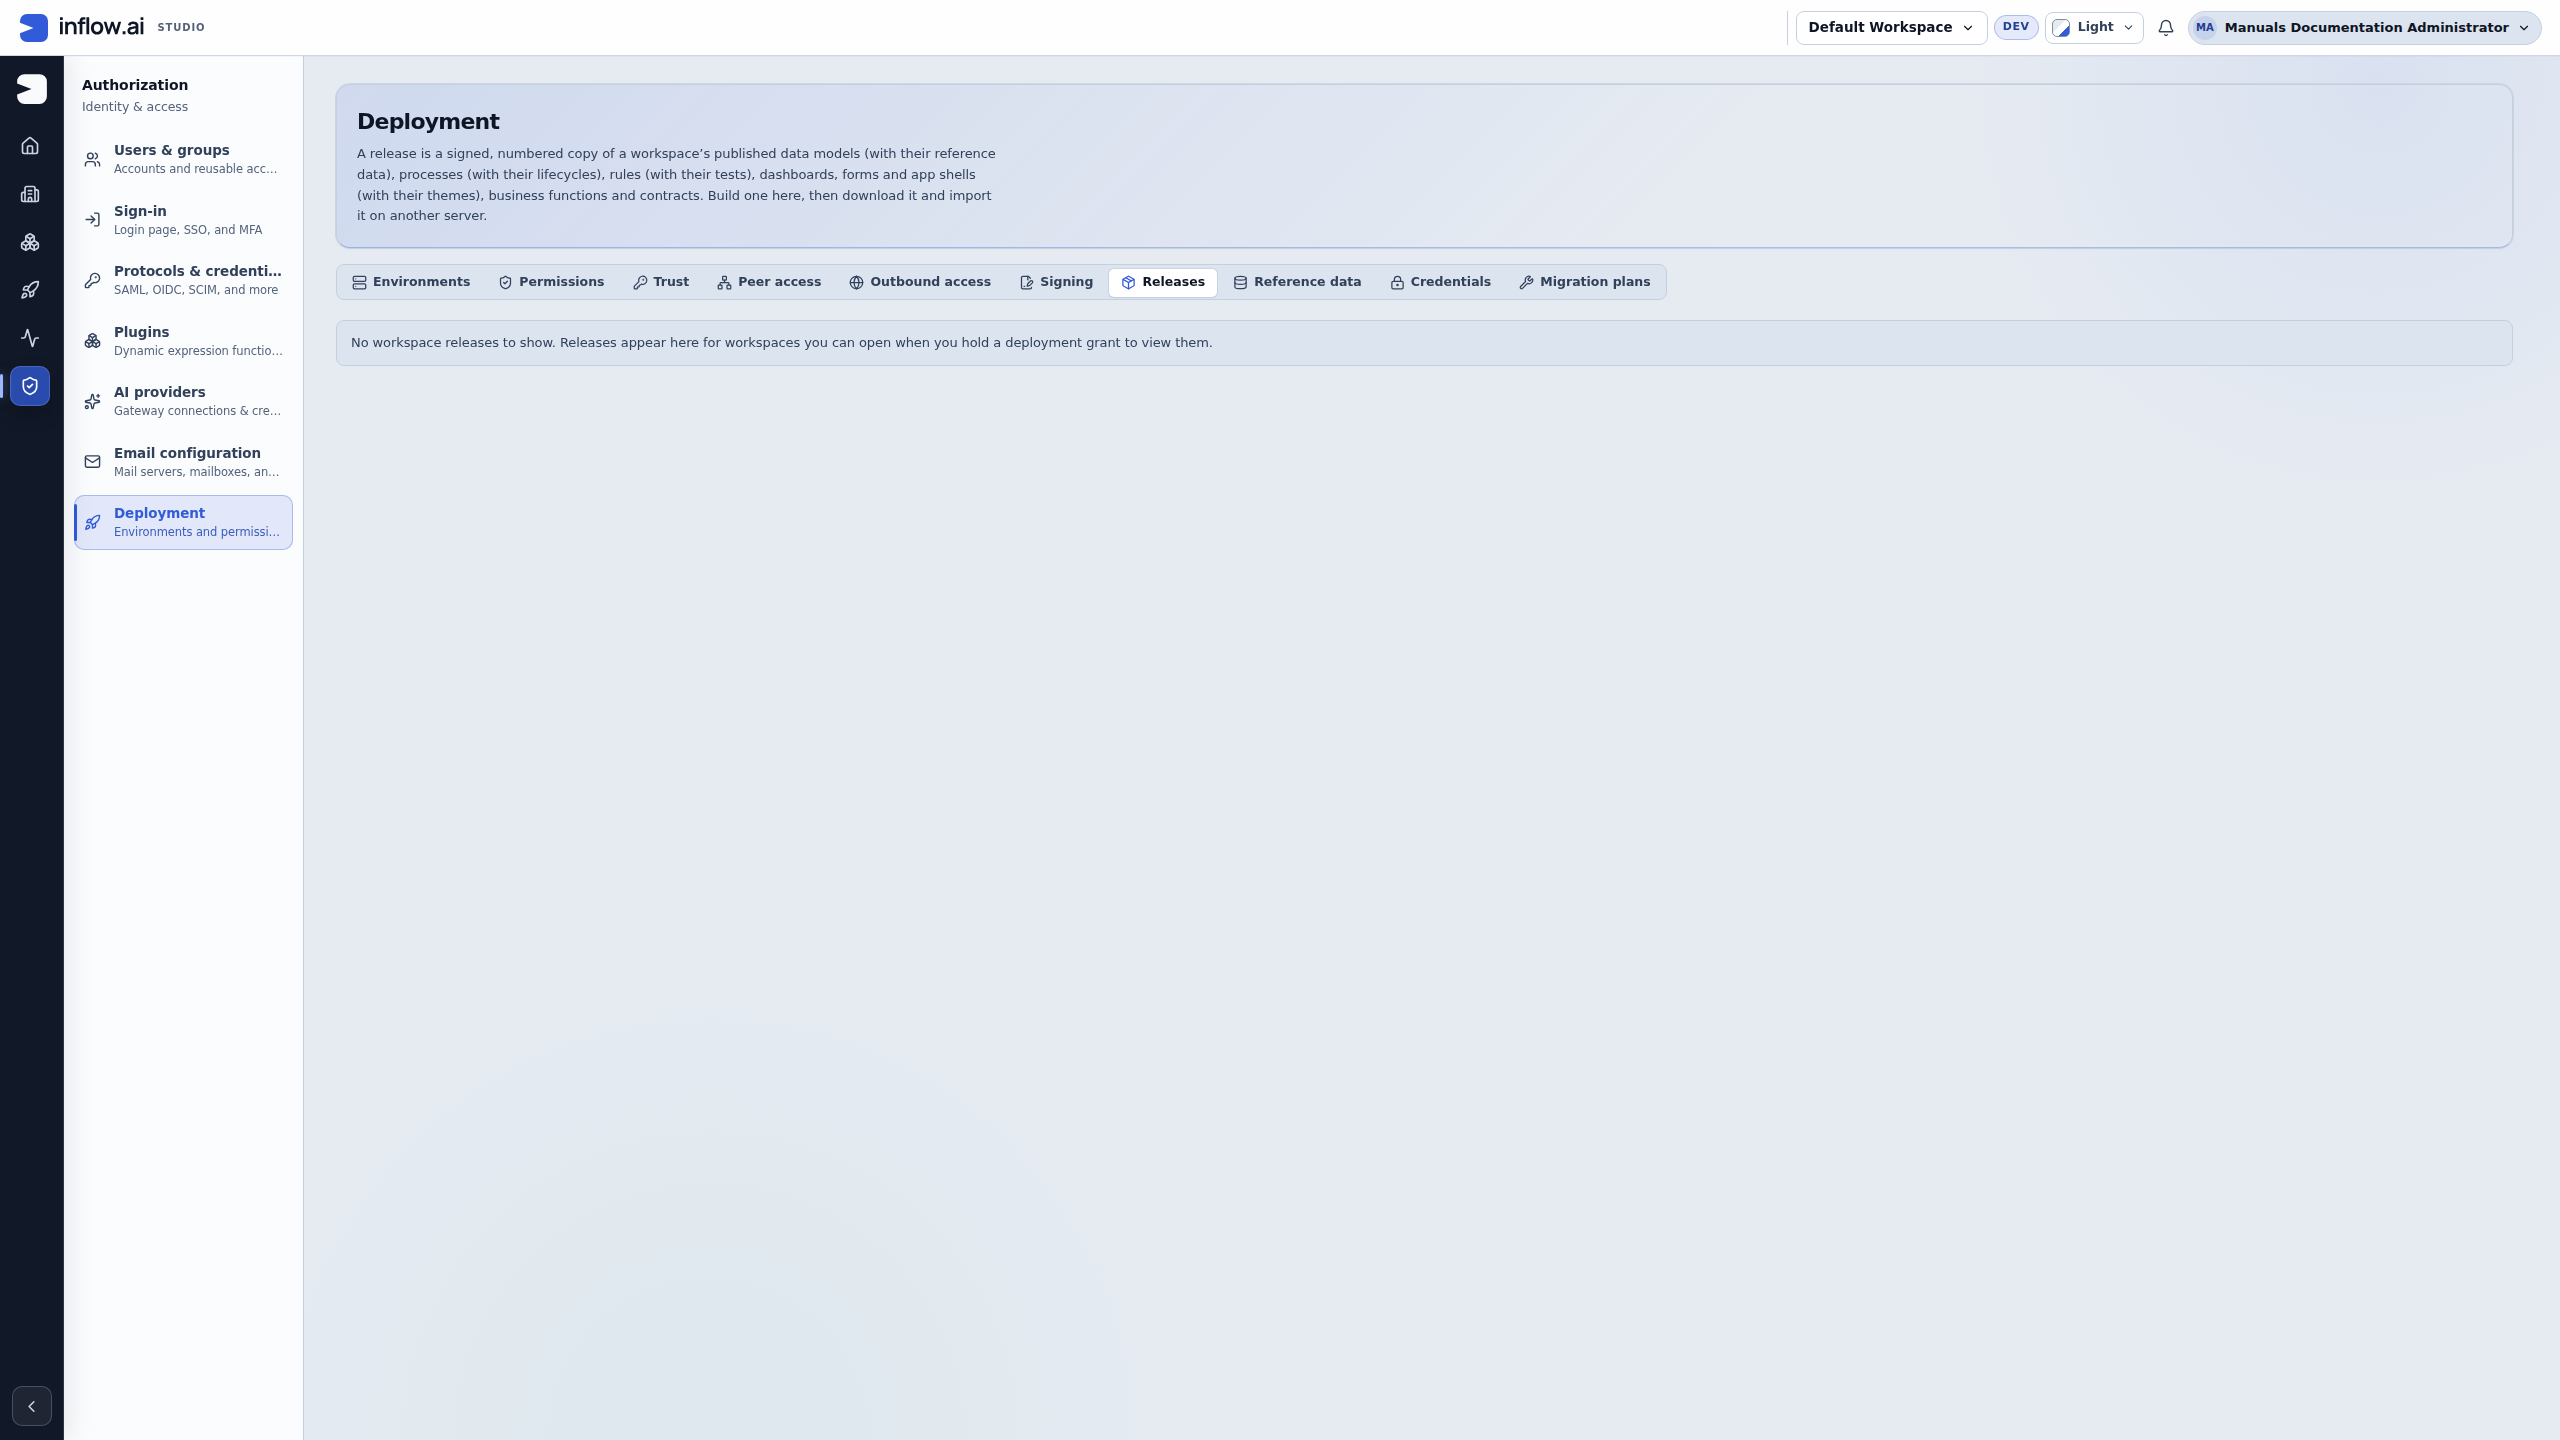
If this is your view, ask the deployment owner to check the active workspace, current workspace access and the relevant deployment action grant. VIEW and BUILD are separate; opening the administration page alone is insufficient. Continue the steps below only when the intended workspace and build action are offered. The screenshot walkthrough stops at this boundary; no build dialog, candidate picker or package creation was performed.
- Open Authorization → Deployment → Releases on the source.
- Select People Operations under Workspace, then choose Build a release.
- Choose The whole workspace for the full teaching application. Use Selected assets only when the release owner has agreed a smaller scope.
- Review the choice and choose Build and sign.
- Open the resulting numbered release. Read its included items and any explanation of dependencies.
- Read Configuration it needs if this build shows it. Review the release's connected-system settings and people/group references, plus the environments you may see. Not defined means there is no matching item in this workspace yet; an authorized configuration owner can choose Add to this workspace on a row, Add the missing item when only one item is missing, or Add all N missing items when several are missing (N is the displayed count). These actions create only the required keys and kinds, without values. The owner then enters approved environment values in Deploy → Configuration and picks offered people/groups from the paired receiving server. Adding an item does not populate a value or deliver it to a target.
- Download the release through its offered action when the delivery method needs the file. Keep that file unchanged.
Check: you have a numbered release of the intended published work and have distinguished defined requirements from values and target delivery. Signing lets the receiver check its sender and protected contents. It does not authorize every target or every operation.
If it fails: check the actual publication, selection or release permission that the screen identifies. If confirmation is lost, inspect the existing release list before building another one.
Stage 5 — Check the supported target route
An authorized operator checks the exact release against the intended target through Workspaces → Import release or package:
- They choose the agreed workspace in Import into and inspect the unchanged release or package.
- They read sender, contents, dependencies, conflicts and the route required for each governed item.
- If the review says the release can arrive only through a governed deployment that this server does not offer, they stop. The direct screen has no Import action for that release. They keep the signed file unchanged, record the refusal and owner, and leave delivery pending.
- If a separately supported governed route is available for this exact target and release, the deployment owner identifies it and authorizes the operator before any transfer. Follow that route's own review, approval and confirmation steps; this direct-import tutorial does not substitute for them.
Check: either there is an actual import result for the intended target, or the handoff records the governed-route refusal and next owner. Building, signing, downloading or inspecting a release does not mean that it arrived.
If it is refused: preserve the original signed release and displayed result. Do not edit the package, widen access, change environment classification or repeat the import to force success. Ask the release owner to identify an authorized supported route; until then, do not call the target ready.
Stage 6 — Check the real user journey when delivery is supported
Only continue after the owner confirms that the application was delivered through its supported route and gives you an approved target with normal test accounts. If the release remains pending at Stage 5, skip the target journey and keep the handoff pending; do not sign in and test an application that was not imported.
- Sign in through the target's normal test-user setup as Mohammad.
- Open the employee application, fill the fictional dates and request details, and perform the intended start action.
- Check the saved business information and actual running request separately.
- Sign in as Sara and open the task she is eligible to handle. Check the form's details, complete the intended decision and read the result.
- Inspect the intended final stage and any separately configured record update. Check important document/report/integration results within the agreed scope.
- Confirm the ordinary employee remains unable to perform unrelated builder or manager actions.
Check: the business journey works for the intended people after a supported delivery. Existing requests can retain their captured workflow or task-form versions; do not use a newly published page as proof that an old task changed.
If it fails: report the actual person, environment, action and non-secret message. If a decision's confirmation is missing, inspect the same existing task/request before repeating it. Have the appropriate owner resolve the specific application, access or target-dependency problem.
Stage 7 — Record delivery truthfully
If the route is still pending, record the source release and fingerprint, intended target, exact governed-route refusal, responsible release owner and next action. Mark the target import and user journey as not completed. Do not describe the application as ready for employees or managers.
If your organization keeps this handoff in an internal script, use the operator-owned wrapper report example as a format for its refused and unknown outcomes. It is an example of local reporting only; Inflow does not provide that wrapper or a full rollout CLI.
After an authorized route completes, give the owner this handover:
- Record the release number, source and target environment names, date and responsible release owner.
- List the business checks performed and their actual outcomes. Mark unfinished checks as unfinished.
- Explain where employees start, where managers find work and who supports the application.
- List known limitations and the owner/next action for each one.
- Keep private credentials and personal test information out of shared handover notes. Deliver only the information the audience is allowed to receive.
Check: the business owner knows what was delivered and what people can do. They can distinguish a release package, a successful import and an actually checked user journey.
If there is an unresolved issue: keep the current state clear. Do not describe the whole application as ready because one page loaded, and do not perform an unsupported rollback. A previous application release may not reverse database changes or external business effects; the authorized owner decides the supported recovery.
Keep the responsibilities clear
Consultants prepare and check application behavior. Deployment owners control target admission and delivery. Platform administrators operate servers and shared services. Use application release for the feature detail and the connected tutorials when you need to return to an earlier build stage.
Further reading
Optional technical reference — detailed contracts and implementation information for your administrator or developer. You do not need it to follow this lesson.