2. Arrange fields and sections
A clear form groups related questions, puts them in a sensible order and stays readable at a narrow width. A Section gives a group a visible title. Columns places related controls beside each other when space permits. Outline shows which control belongs to which parent, even when the canvas is crowded.
Screenshot context: These screenshots show the fictional People Operations practice draft captured on 15 November 2026. Numbered marks explain the action and its result; each figure links to the unchanged original and a full-size numbered guide. Open the guide to read small interface labels without losing the marks. They show a consultant building a form, followed by session-only Preview. They do not show an employee application, a submitted leave request or an approval.
This lesson continues Leave request, the small practice Form from Create your first form. It already contains Reason for leave, connected to the reason answer. Keep that question and its connection. This is a layout exercise in a draft; it does not create a business record, publish an application or assign an approval task.
Before you start
Open the intended People Operations workspace and Leave request in Designer. Check the title so you do not change the separate Leave request intake generated-form exercise.
Inspect Outline before adding anything. If Leave details, Columns, Start date, End date and Reason for leave already have the intended arrangement, retain them and go straight to Check the saved desktop and mobile arrangement. Add only missing controls. Do not create a second reason question or duplicate the layout merely to repeat the lesson.
The finished arrangement is:
| Parent | What belongs inside it |
|---|---|
| Form | Leave details Section |
| Leave details | Columns, followed by the existing Reason for leave question |
| Columns | Start date, then End date |
The two dates are new questions in this lesson. Their Store value in connection is still empty until you complete Properties and answers. A visible Date field is not a new database column. The existing reason remains connected to reason.
Example 1: build Leave details while preserving the existing question
Create the section and move the existing reason into it
- Select Form in Outline. In the Toolbox, choose Section.
- With the new Section selected, set its Title to Leave details in Properties, then leave the field to apply the wording.
- Inspect Outline. The newly added Section follows the existing Reason for leave question; adding a container has not automatically moved that question into it.
- Open Actions for Reason for leave, the question's row menu. Choose Move down so the existing question follows the new Section.
- Open the same question's menu again and find Nest into previous. At this point, Leave details is directly before the existing question. The screenshot below shows that intermediate state; choose Nest into previous to make the question a child of the Section.
- Check that Reason for leave is indented beneath Leave details and that its answer connection still shows inputs:reason. Do not re-create the question to achieve this grouping.
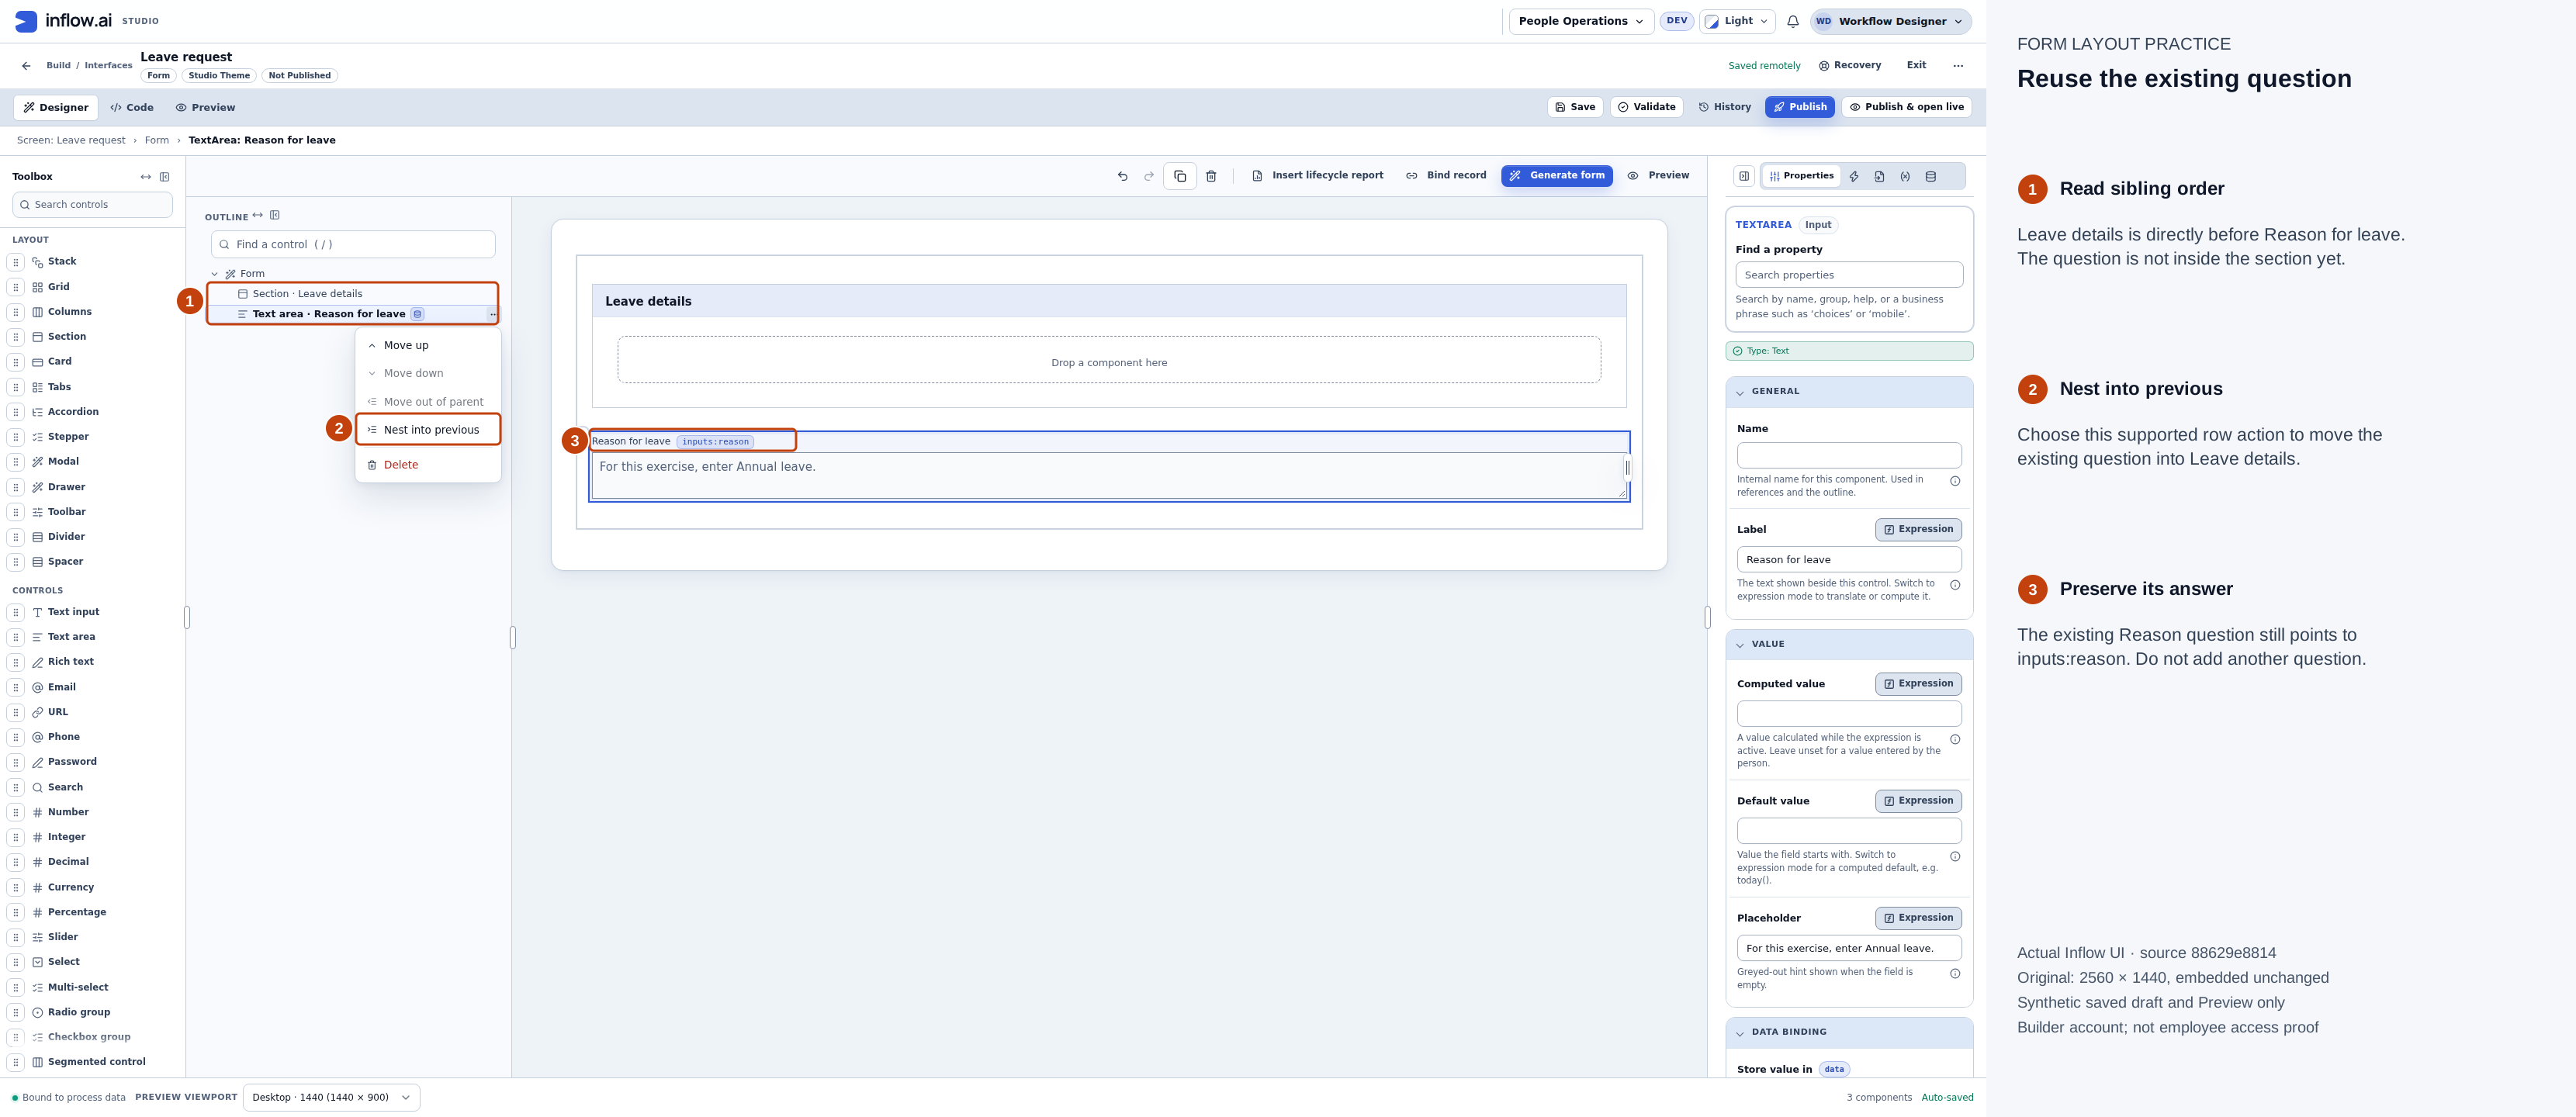
The existing question has moved below Leave details but is still its sibling. Choose Nest into previous to put that same question inside the section. The inputs:reason badge shows its answer connection is retained. Full-size numbered guide · Unchanged original screenshot.
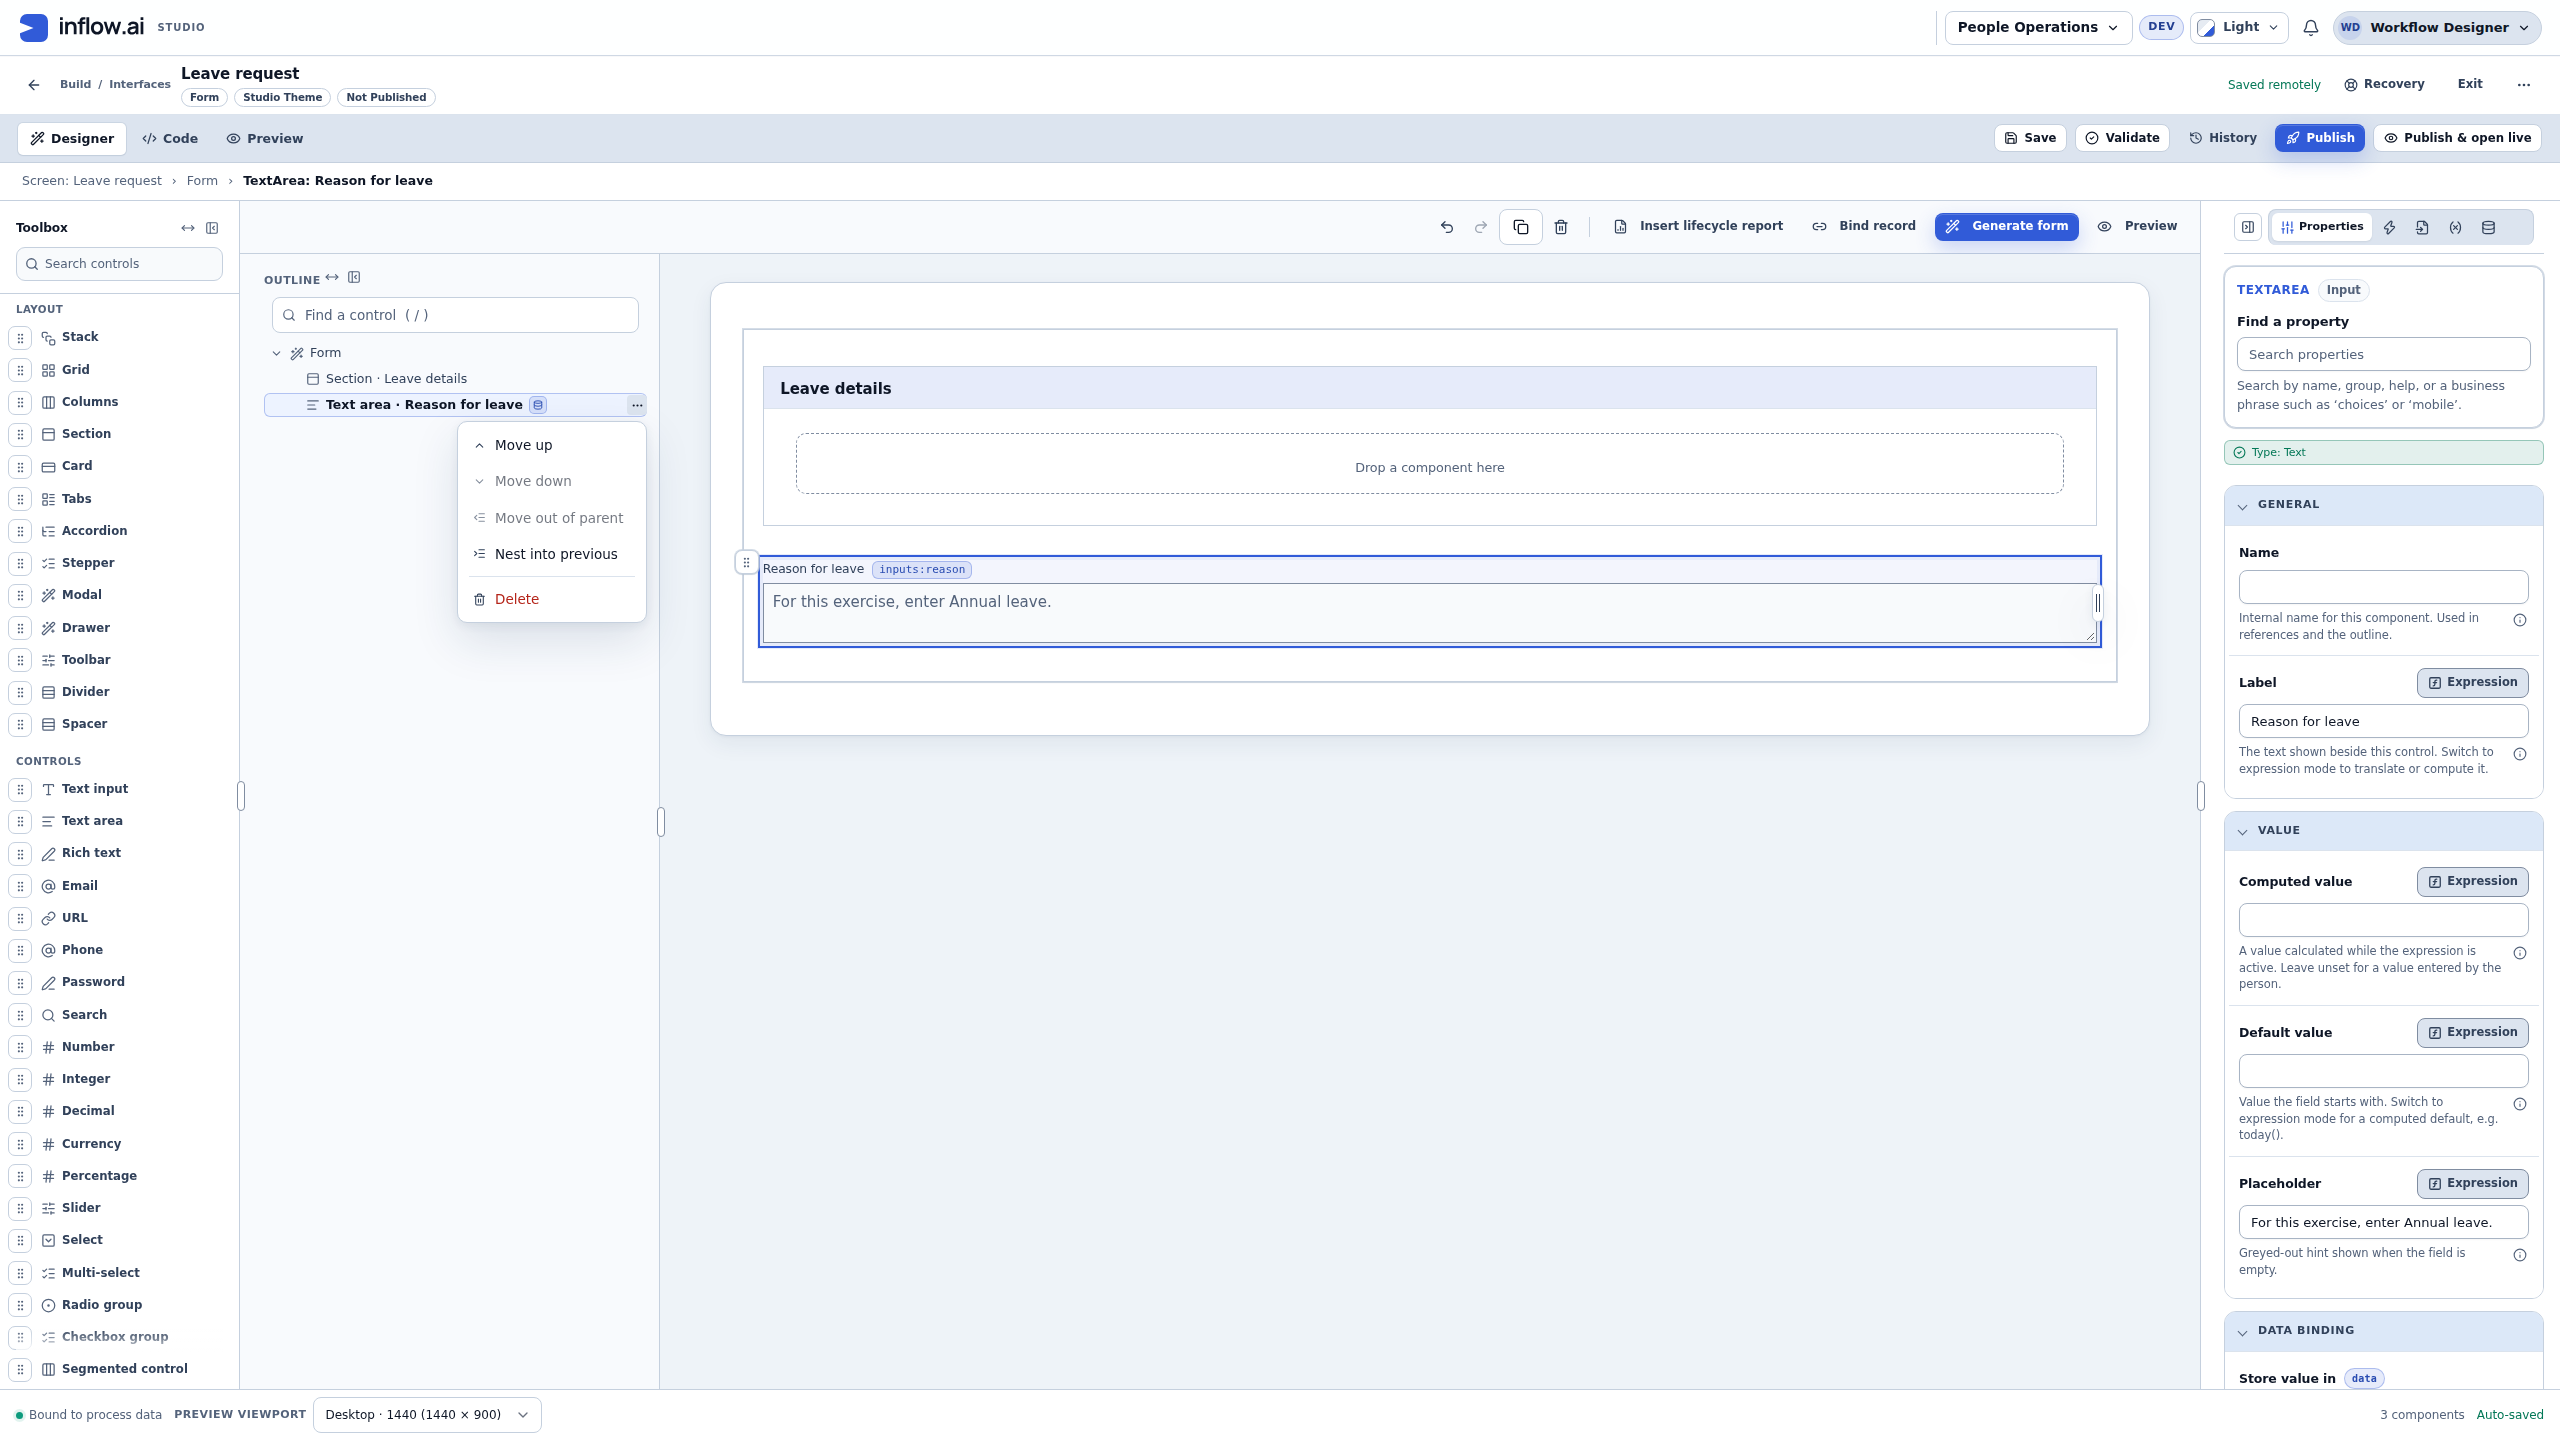
If Nest into previous is unavailable: inspect the immediately preceding sibling. It must be a container that can accept the selected control. Use the offered moves to put the intended container immediately before the field; do not force a question into a data grid or another leaf control.
Add the missing dates and place them in Columns
- Select Section · Leave details in Outline. Add Date from the Toolbox, then set its Label to Start date.
- Select Section · Leave details again. Add the second Date and label it End date. Selecting the intended parent before each addition makes the insertion deliberate.
- Select the Section again and add Columns. The new layout shows two empty column slots on the canvas.
- In Actions for Columns, use Move up until Columns is immediately before Start date. With the new controls added in the order above, this takes two moves; read Outline after each move rather than relying on a fixed count in a different draft.
- Open Actions for Start date and choose Nest into previous. The previous sibling is now Columns.
- Open Actions for End date and choose Nest into previous. Both Date questions should now be indented beneath Columns, in Start date then End date order.
- Use Actions for Columns → Move up to put the date group before Reason for leave, if it is not already there.
- Select each question and read its Label. Check the canvas: the dates share the row and the reason has room below them. Keep the original reason connection; connect the new dates in the next chapter.
- Choose Save and wait for Saved remotely.
Expected result: one Leave details Section contains a two-date Columns group followed by the one existing reason question. The designer has six components in this small example: Form, Section, Columns, two Dates and one Text area. The count is a useful check for this unchanged exercise, not a requirement for larger forms.
Read the full parent path
When you select End date, the breadcrumb should identify Form → Section: Leave details → Columns → Date: End date. Selecting the Section changes Properties to the Section's settings; selecting a Date changes it to that field's settings. Check the selection before changing a label or condition.
If long names are clipped in Outline, widen that panel using its divider. The keyboard resize handle supports Home and End for its minimum and maximum width. Widening the editor panel does not change the published form's width.
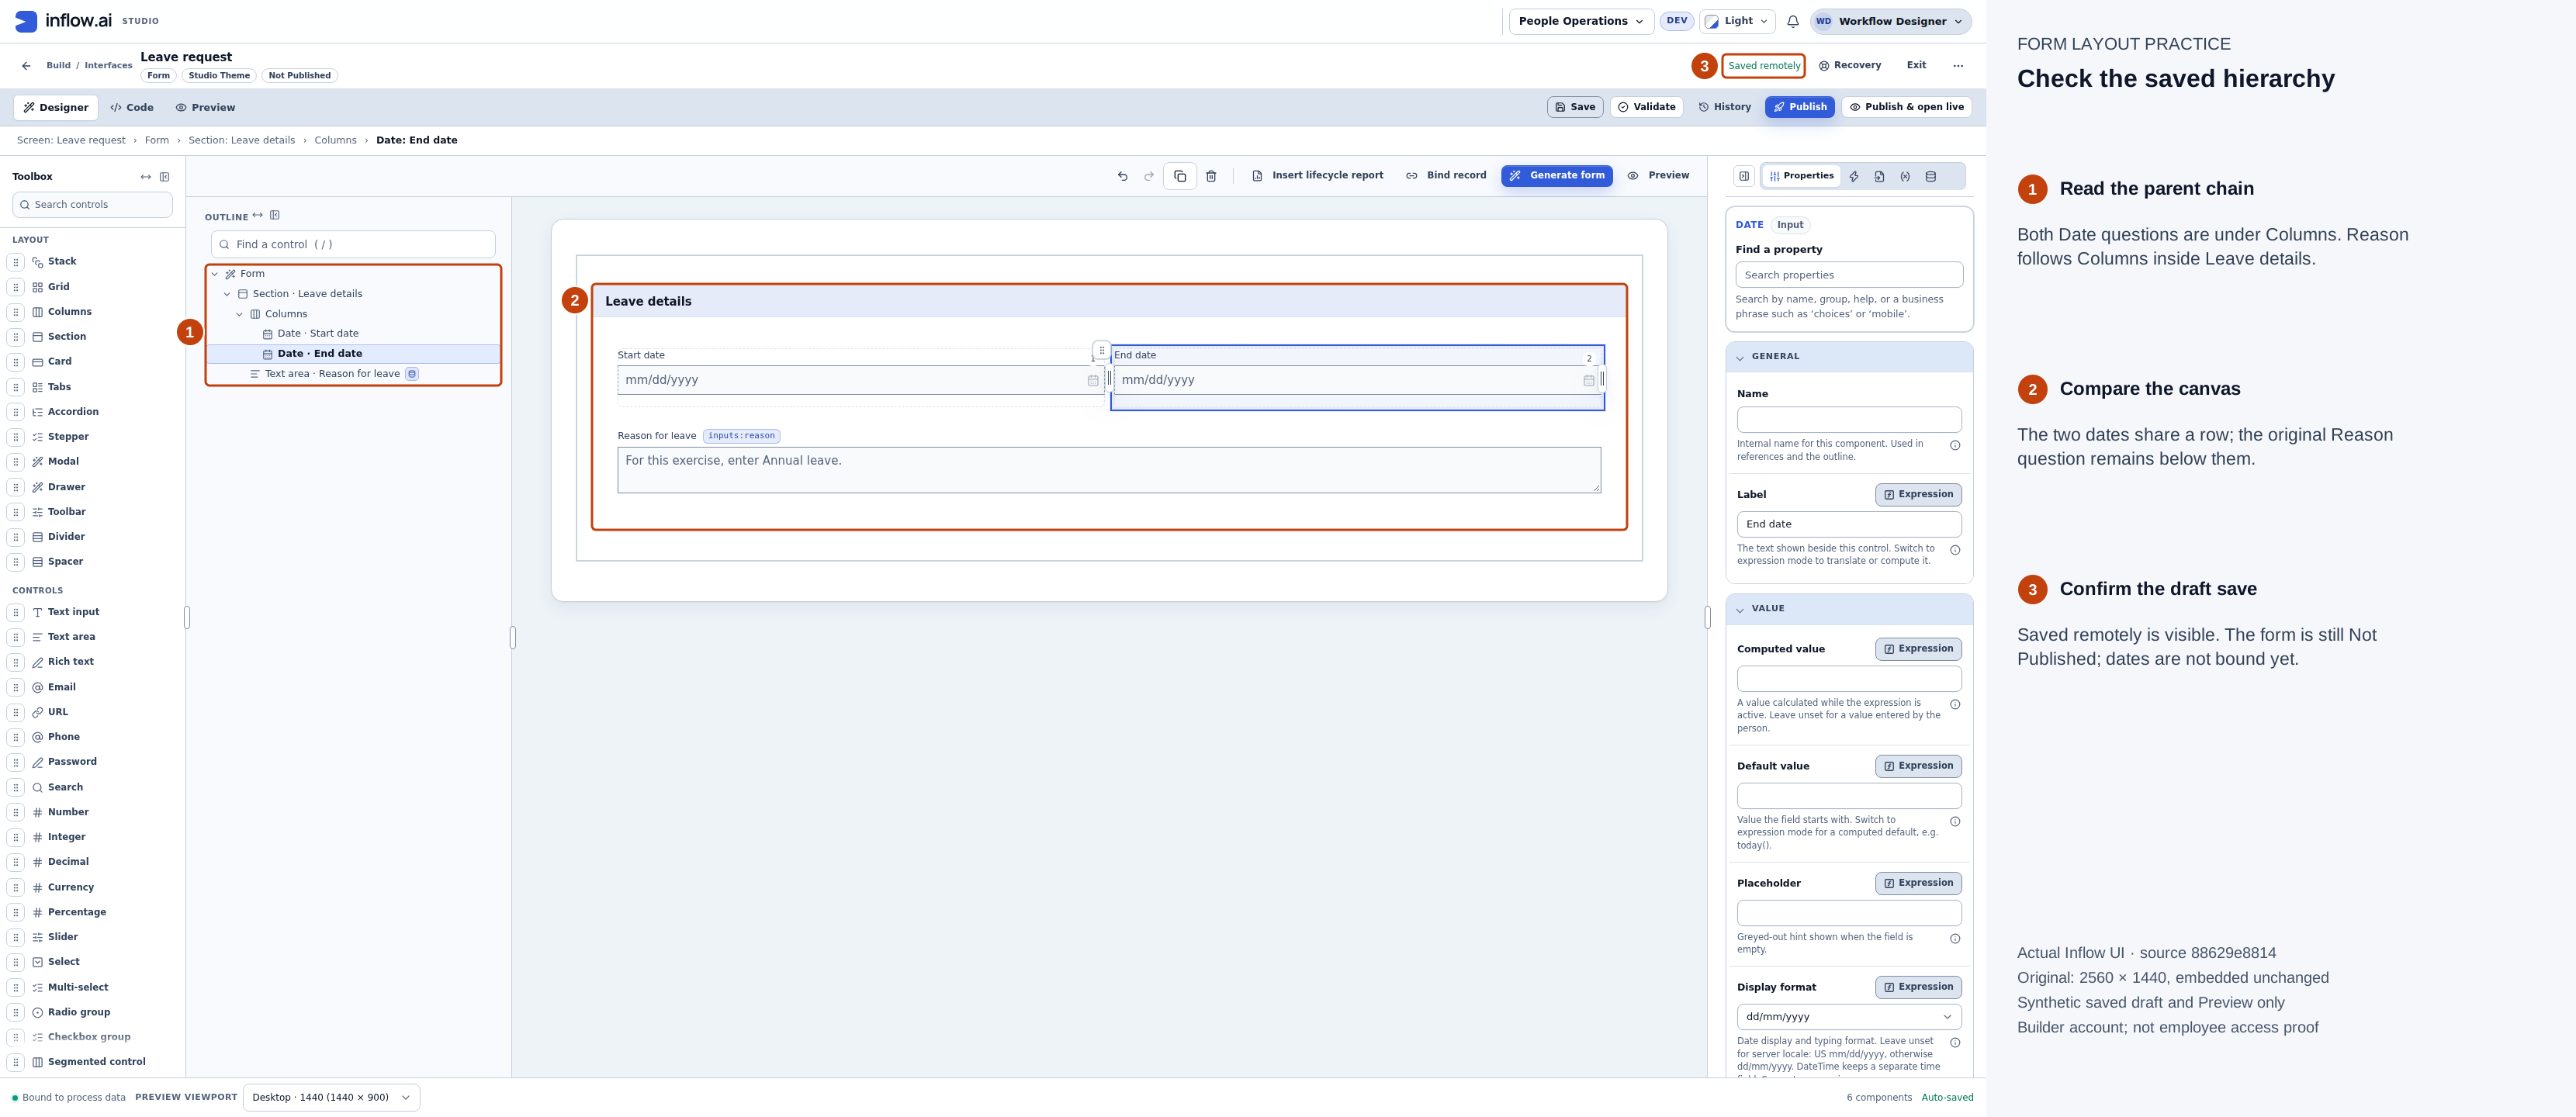
The saved draft contains one Section, one Columns group, two Date questions and the original Reason question. Read the selected End date path at the top and compare it with Outline. The dates are still unbound at this layout stage. Full-size numbered guide · Unchanged original screenshot.
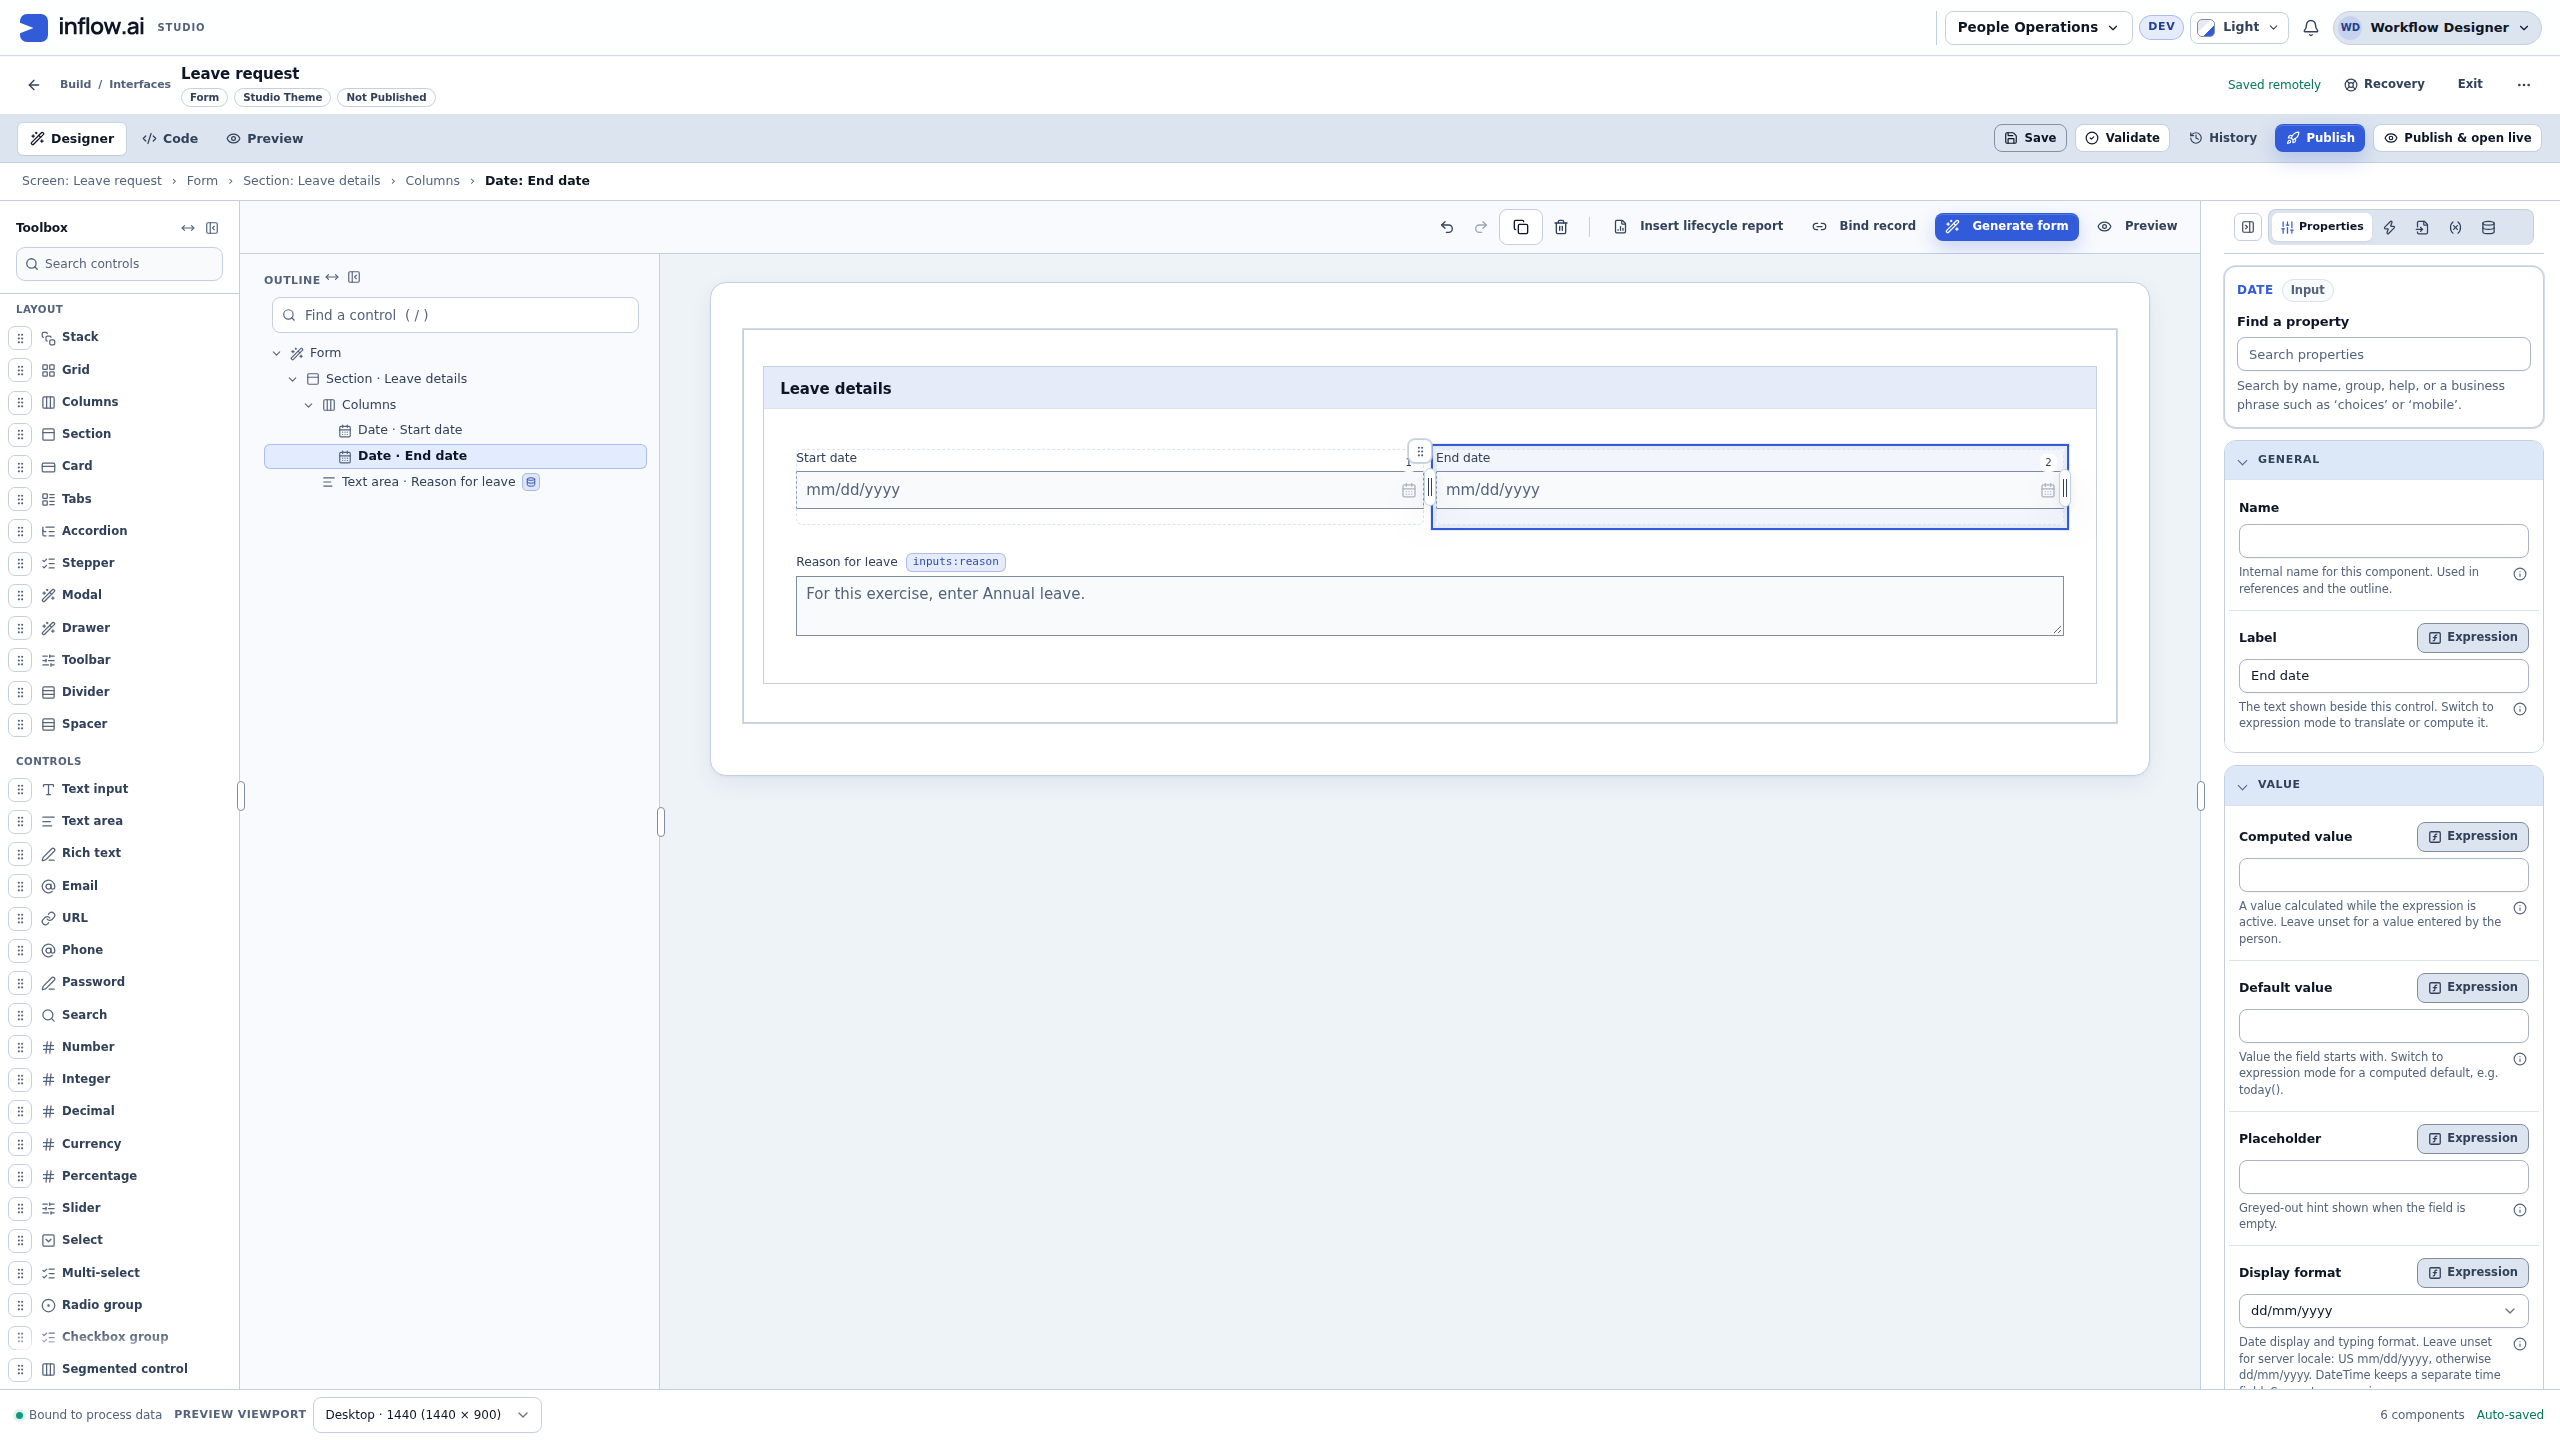
The visible Actions for… row menu provides the moves used above. A focused control also offers a context menu through the keyboard context-menu key or Shift+F10. Read the available actions for the actual selected control; a leaf question, layout container and data surface do not accept the same content.
Example 2: repair a date moved out of its column
This is an optional deliberate recovery exercise in the teaching draft. If your existing layout is already correct and you only want to check it, leave it intact and continue to the preview steps.
- Select End date in Outline and check that its current parent is Columns.
- Open Actions for End date → Move out of parent. Inspect the resulting mistake: End date now follows Columns as a sibling within Leave details, leaving the second column empty.
- Choose Undo once for that single move. Do this before making unrelated edits you would also have to undo.
- Inspect Outline and the breadcrumb. End date should again be beneath Columns, alongside Start date.
- Check that End date's label is unchanged and the original Reason for leave connection is still present.
- Save the restored arrangement and wait for Saved remotely. Do not delete and rebuild the field merely to fix its parent.
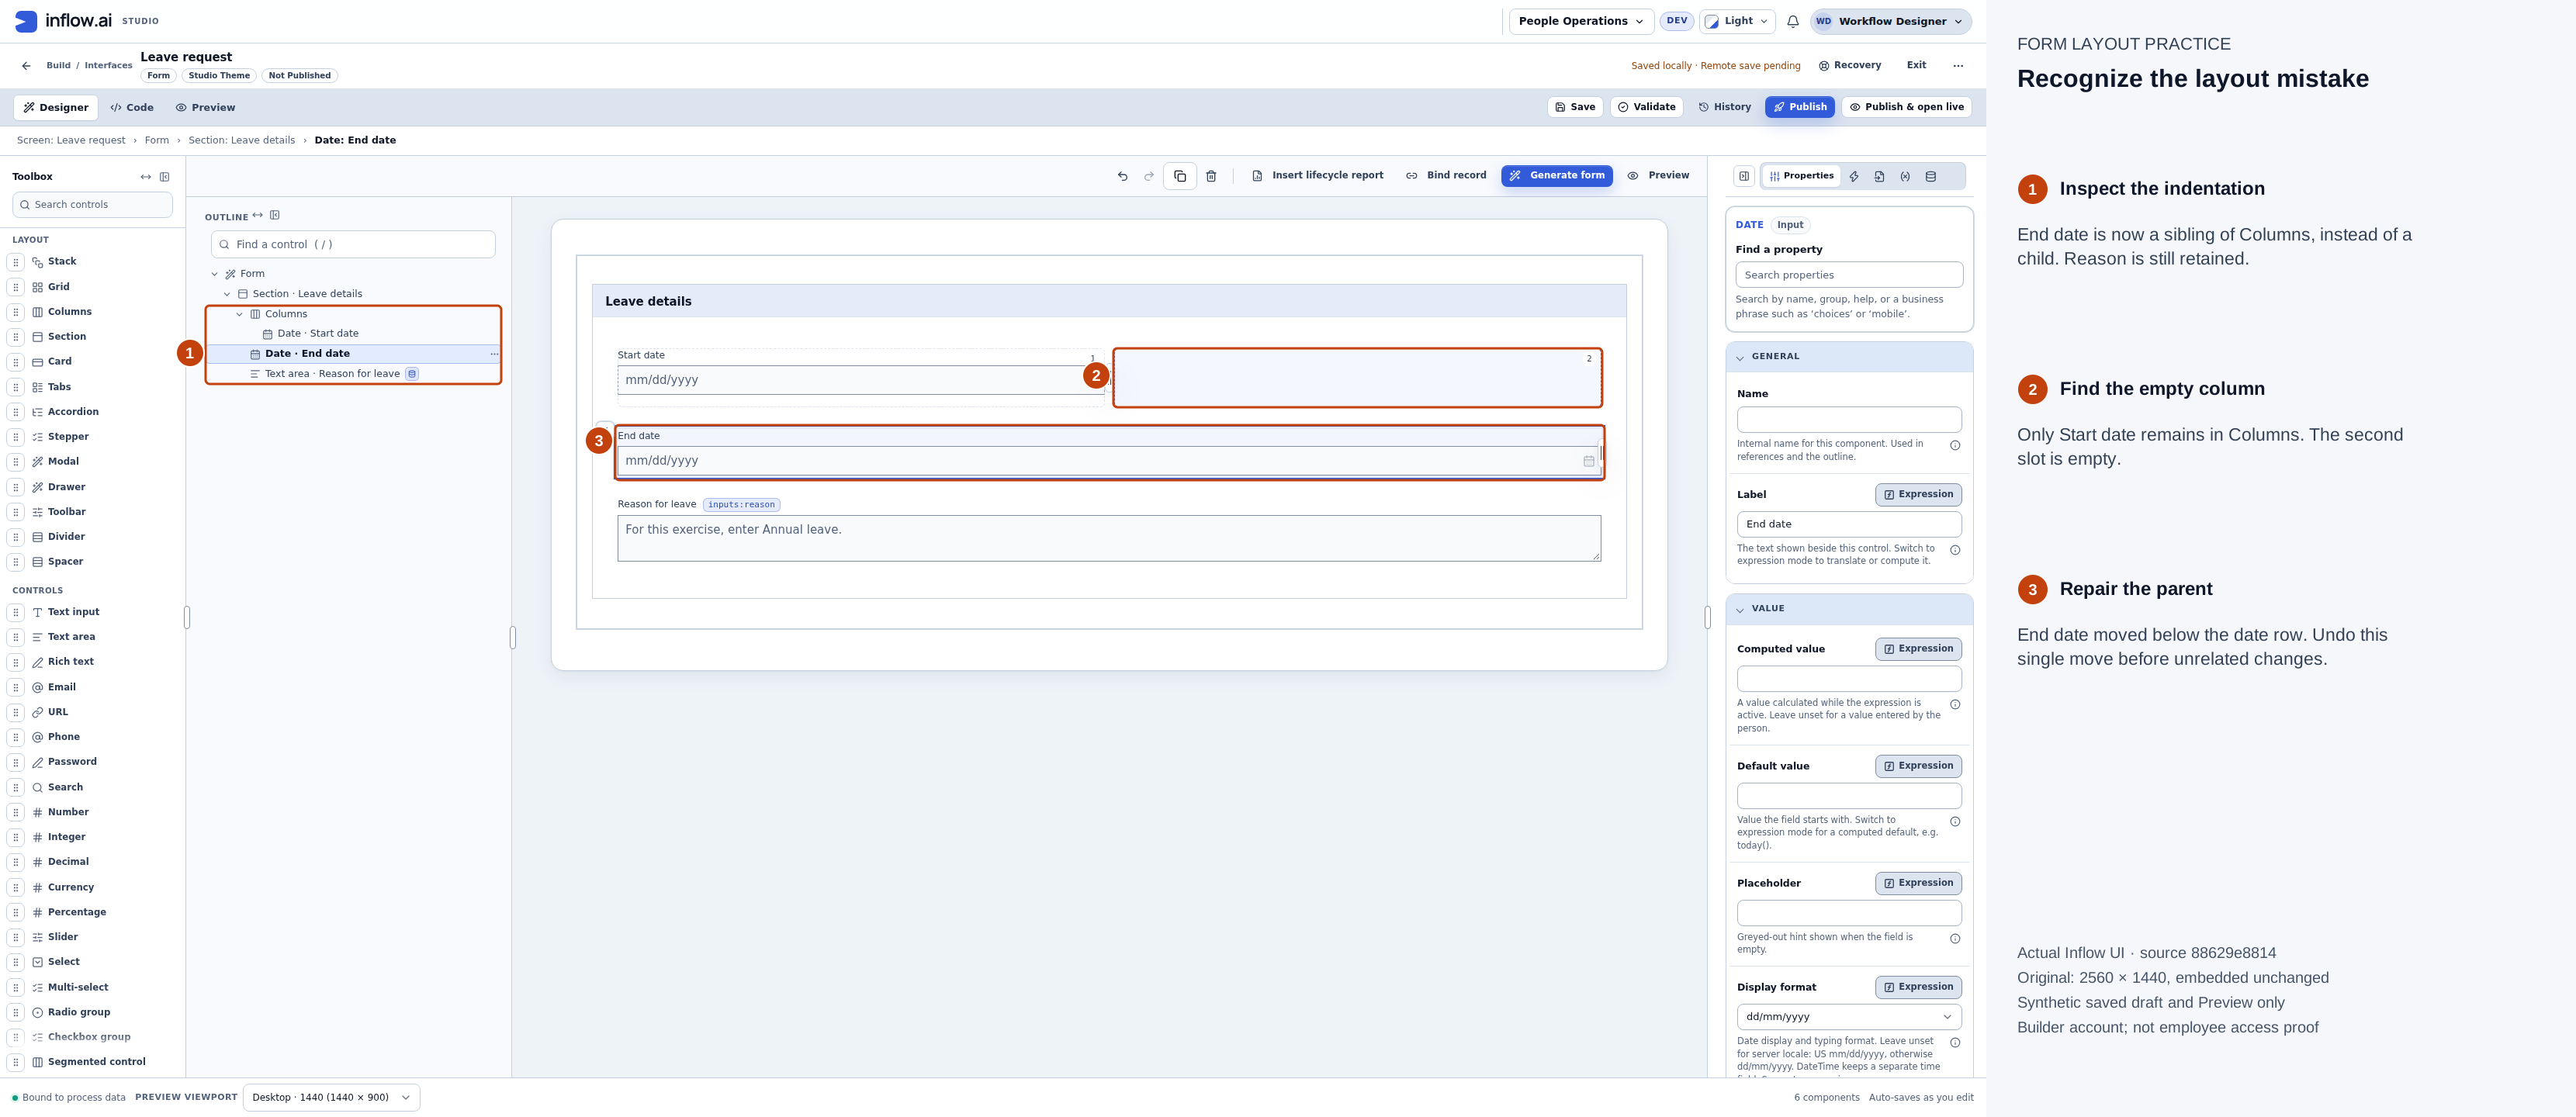
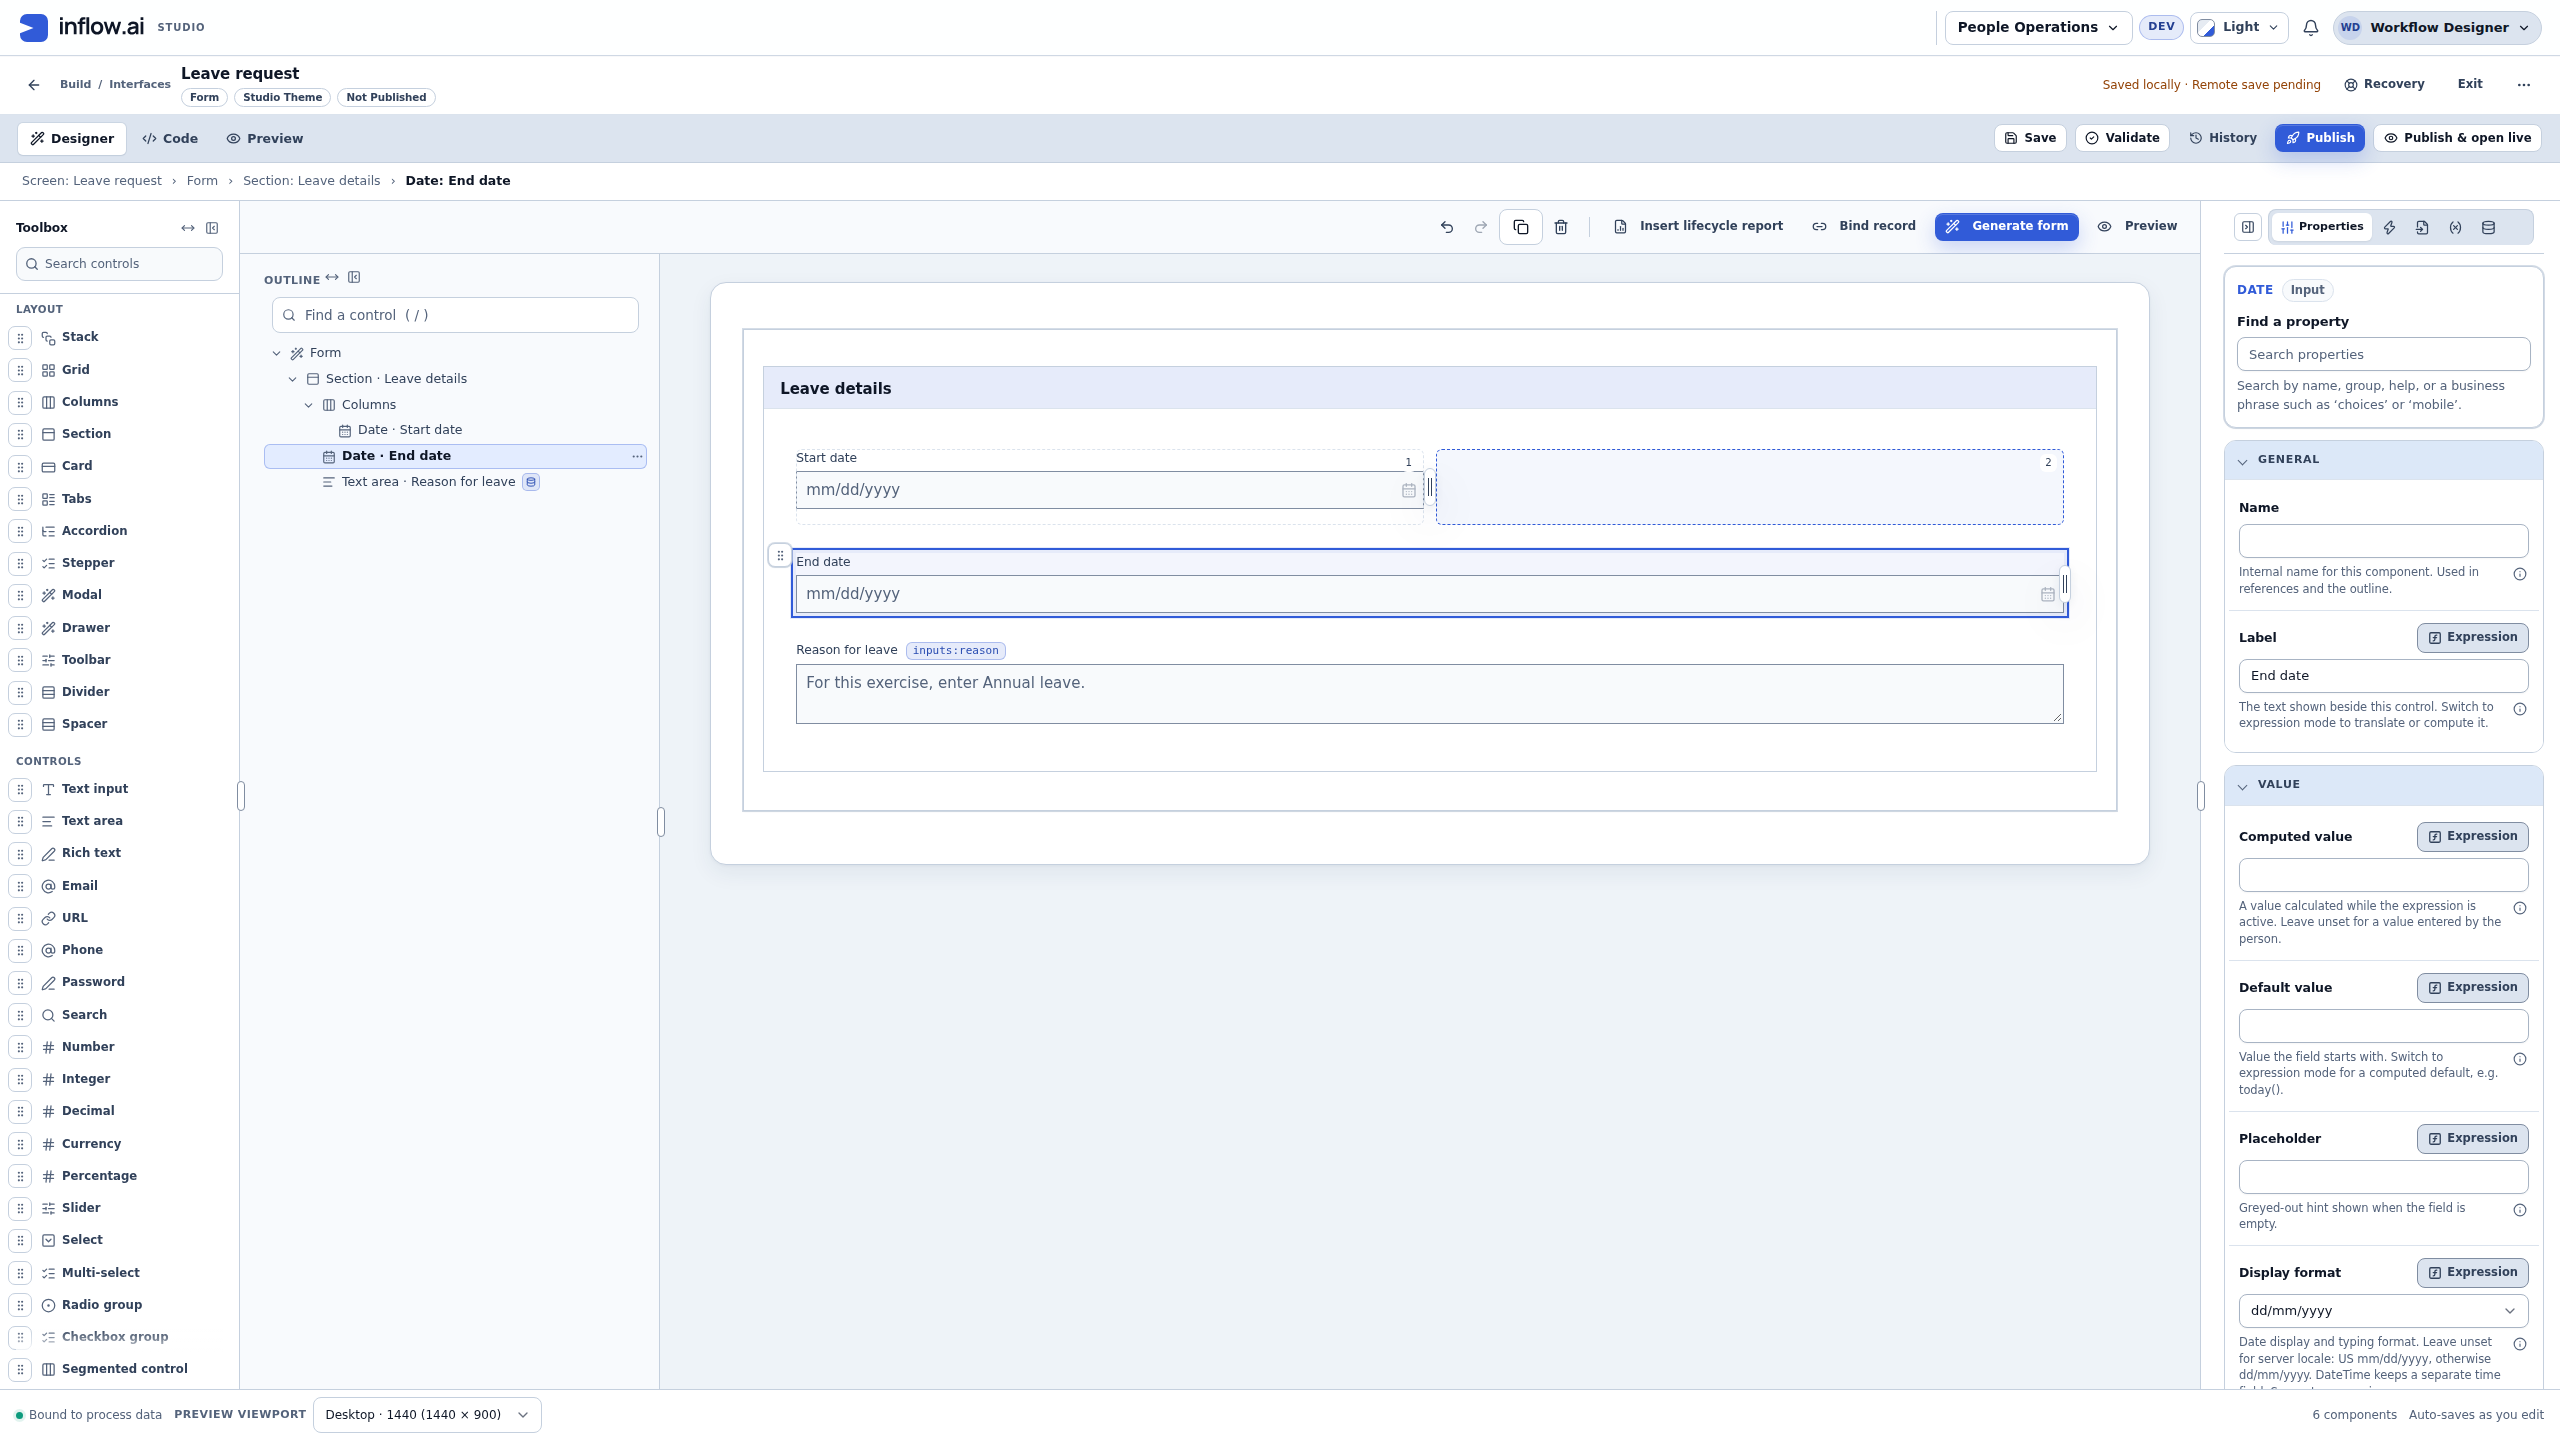
The deliberate Move out of parent puts End date alongside Columns and leaves its second slot empty. Compare the indentation with the canvas before repairing this single move. Full-size numbered guide · Unchanged original screenshot.
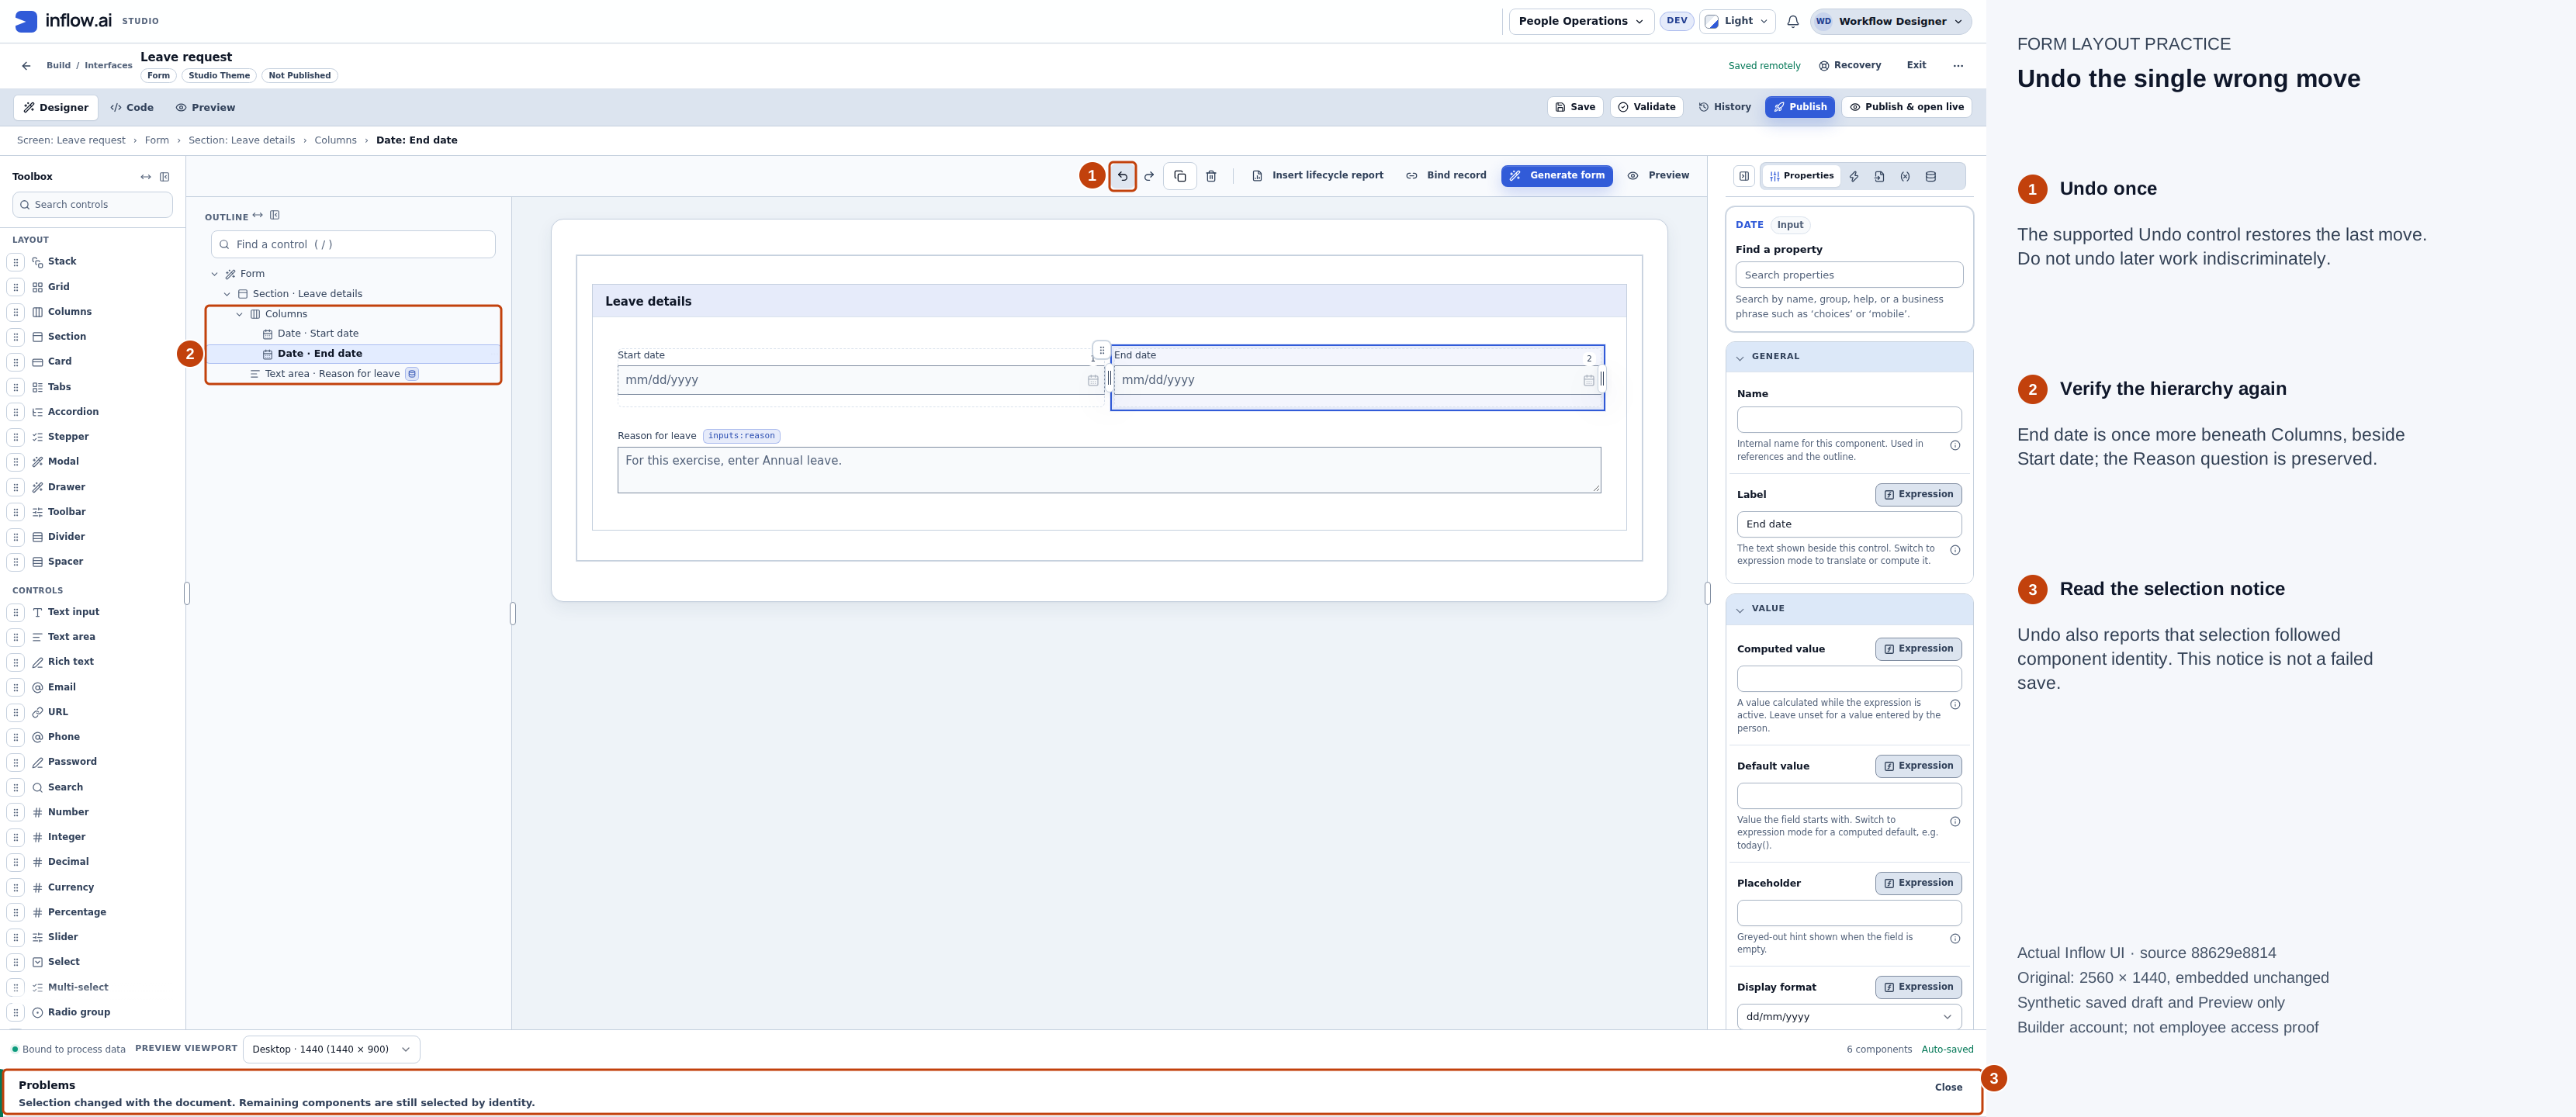
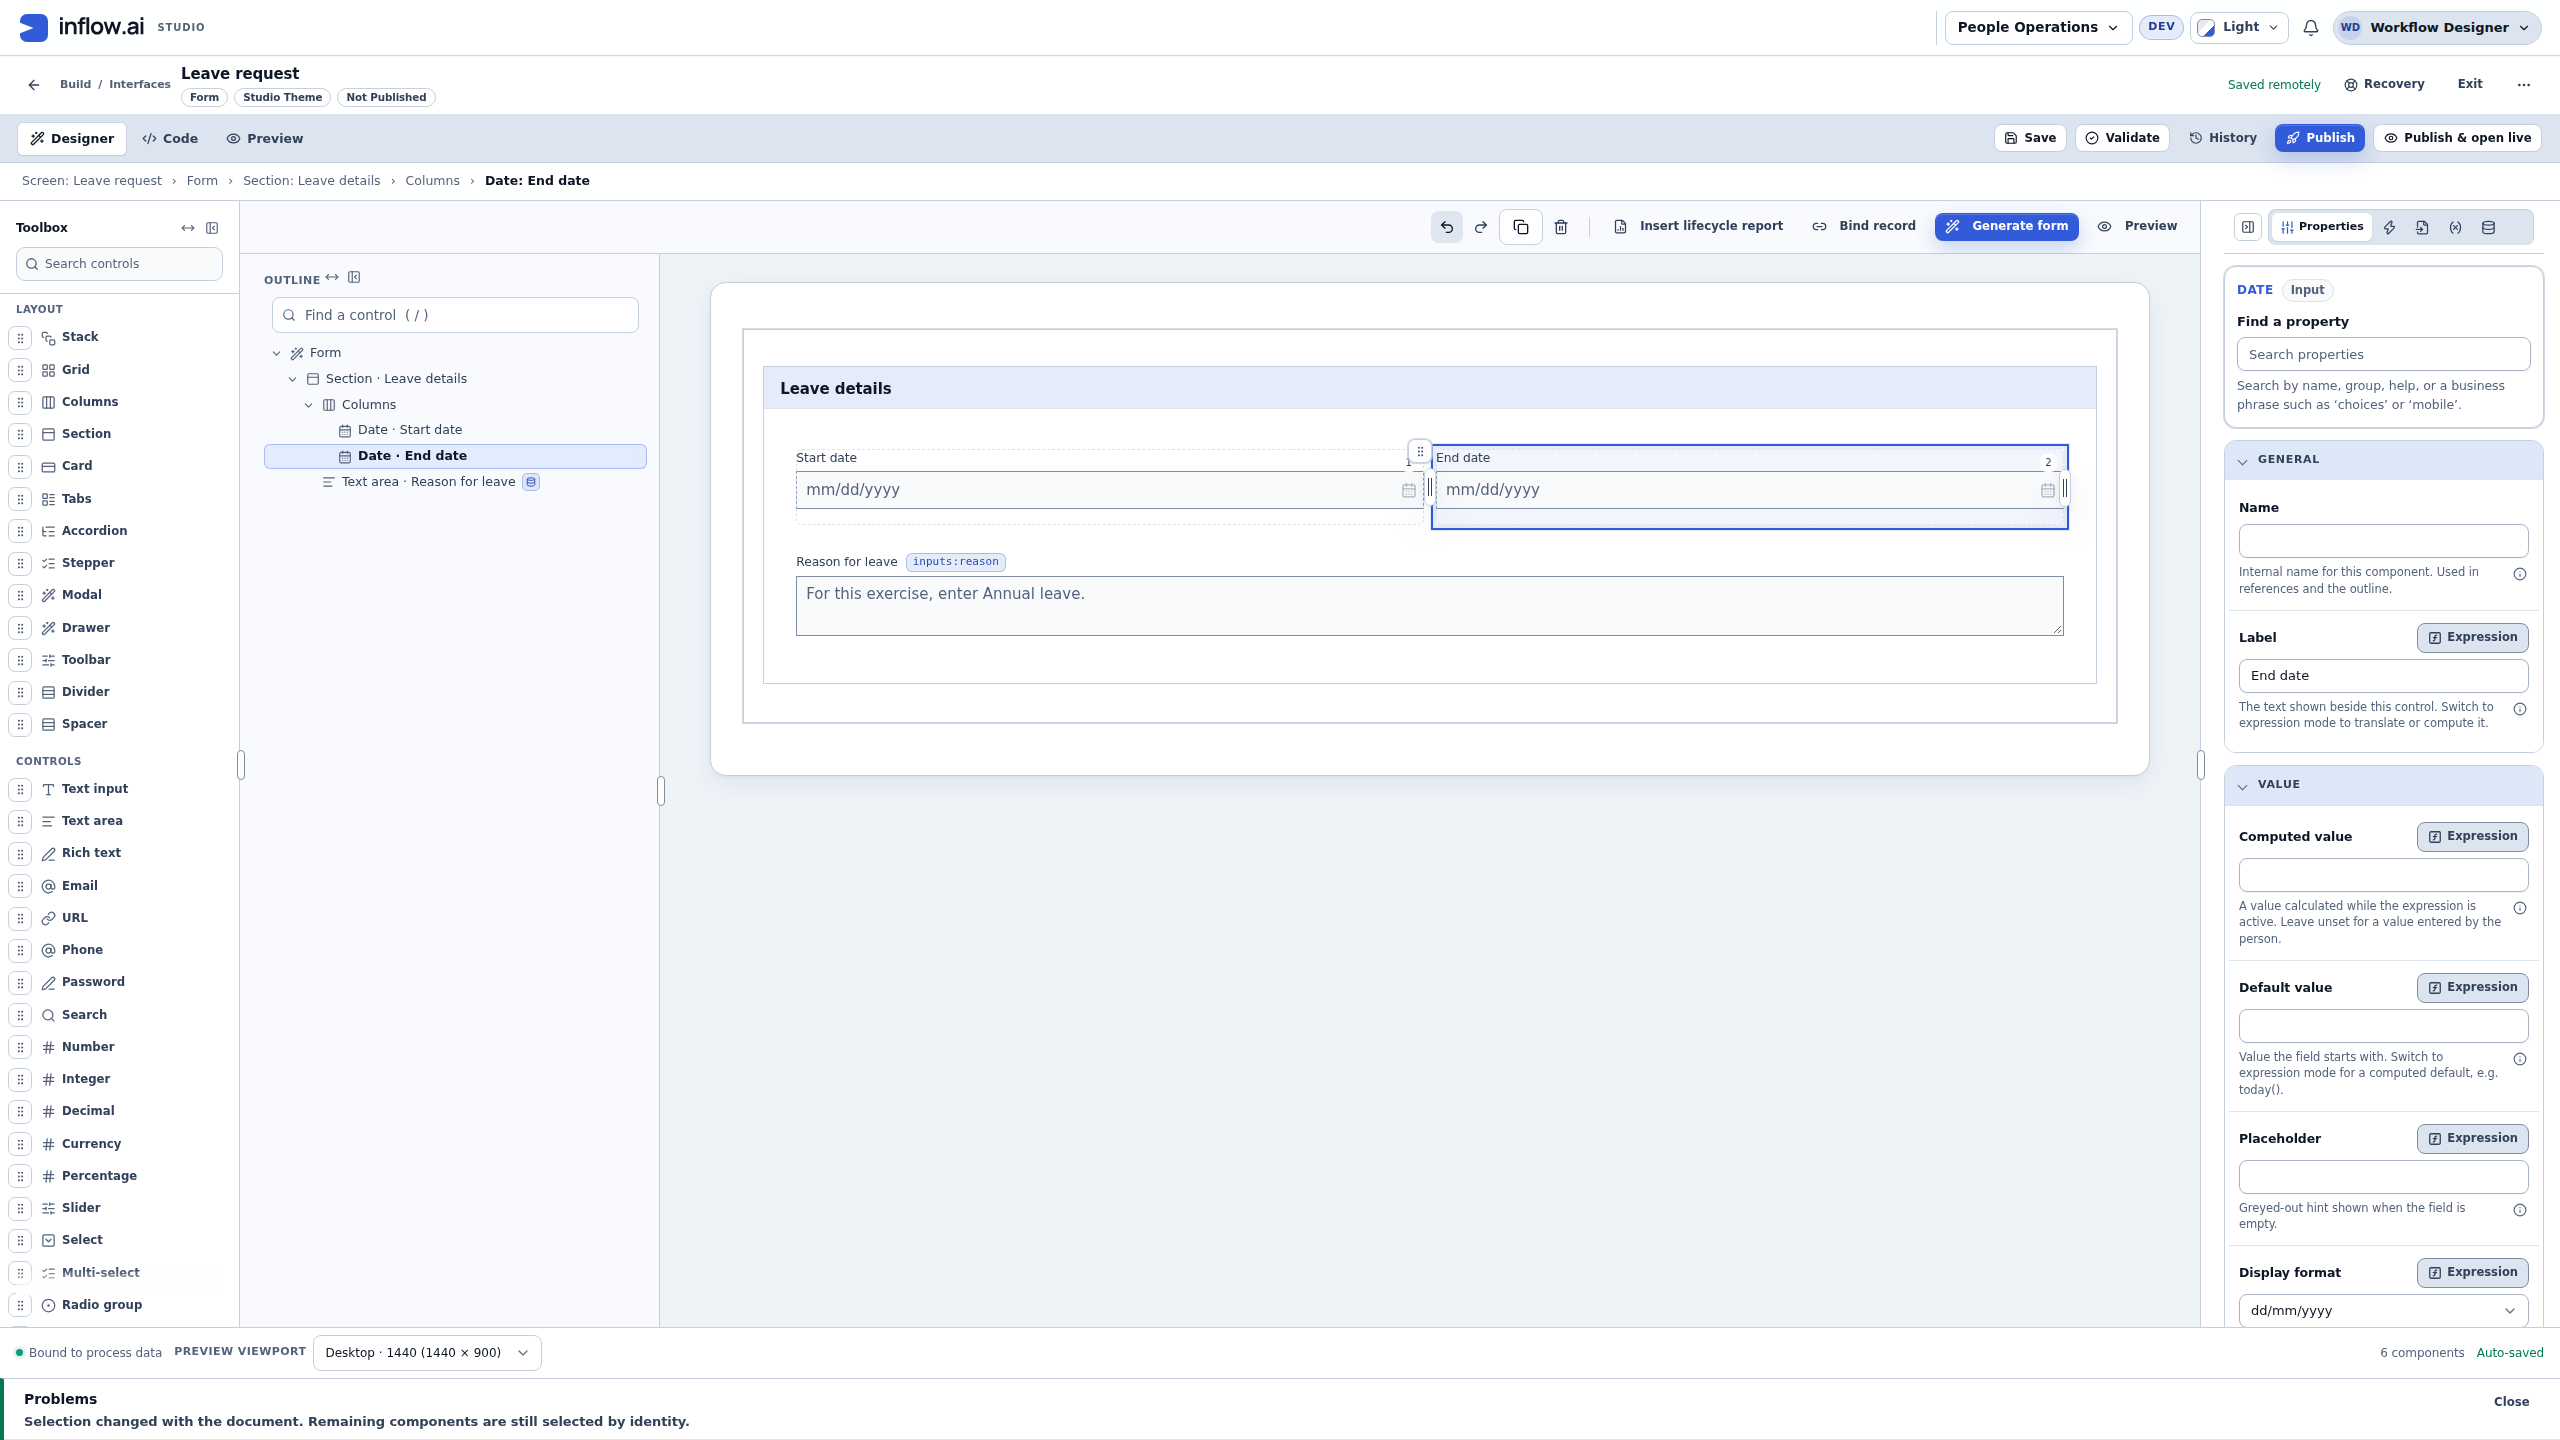
One Undo restores End date beneath Columns. The bottom notice explains that selection followed component identity; the saved status and restored arrangement remain visible. Check the parent rather than deleting and rebuilding the field. Full-size numbered guide · Unchanged original screenshot.
If several controls changed: check whether more than one control is selected. Select just the intended field before continuing. If Undo would remove later work you need, inspect the current parent and use the supported row moves instead of undoing indiscriminately.
Check the saved desktop and mobile arrangement
- Reopen or reload the saved teaching draft. Confirm there is exactly one Start date, one End date and one Reason for leave; do not add them again.
- Open Preview → Interactive. At Desktop · 1440, read the section title, the two dates sharing a row and the reason underneath.
- Change Preview viewport to Mobile. Check that the dates stack in Start date then End date order, followed by Reason for leave. Read the labels and check that each field fits the narrow preview.
- Return to Desktop · 1440 and Designer when continuing the next chapter. Inspect the original reason's Store value in connection if you moved it.
- Keep this as a saved draft until the answer connections and intended behavior have also been checked. Preview entries stay in the session; this form has no business-submission action yet.
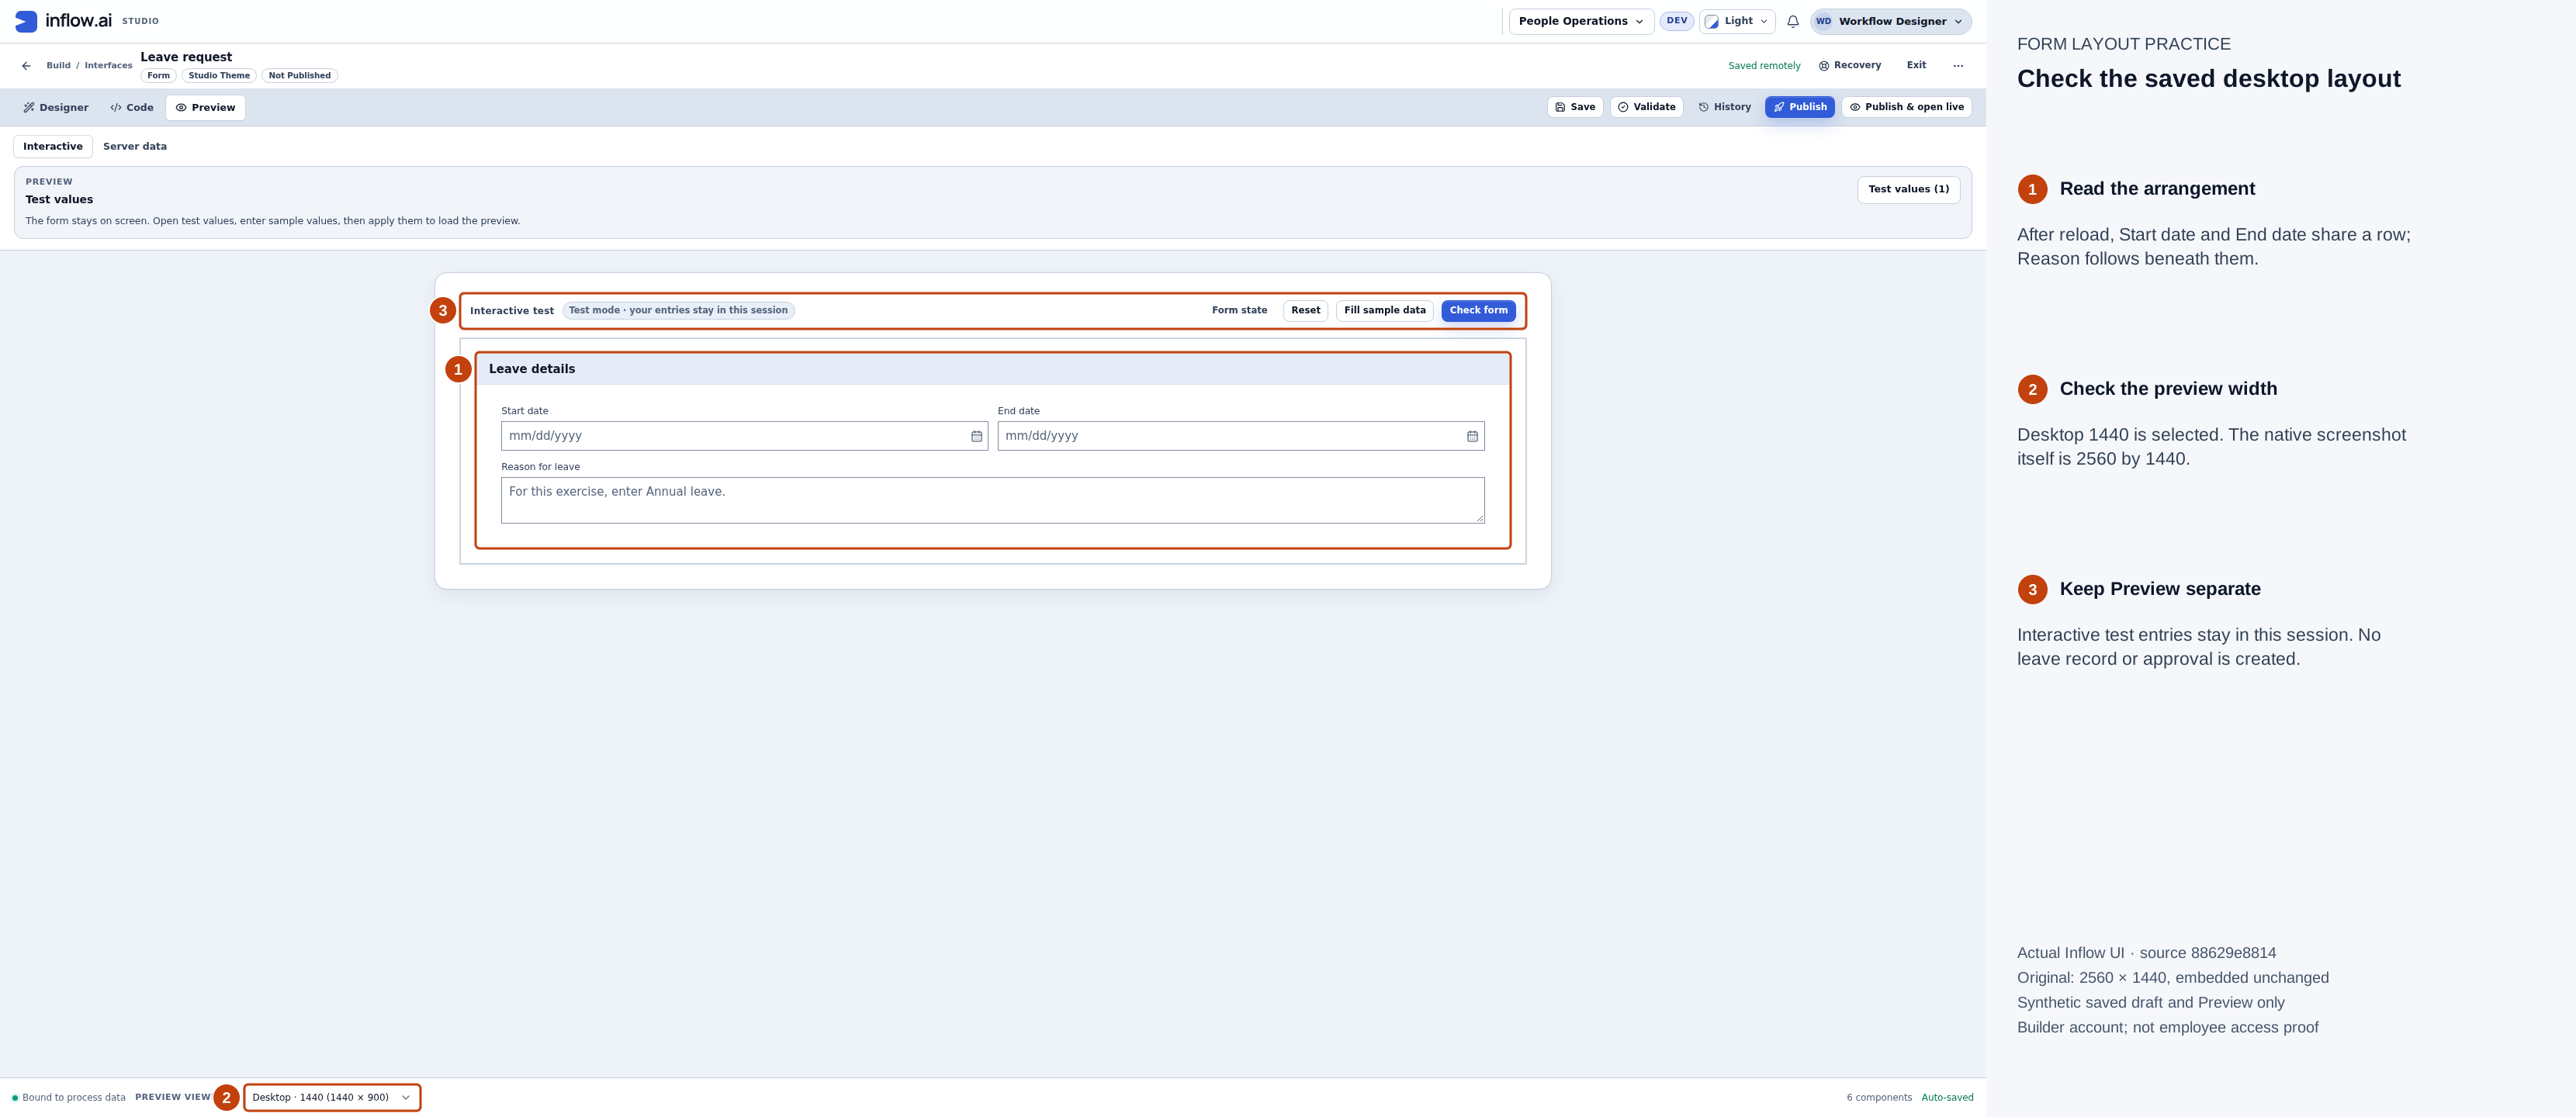
After saving and reloading, Desktop 1440 shows both dates on one row and Reason underneath. The Interactive test banner states that entries stay in this session; this is not a business submission. Full-size numbered guide · Unchanged original screenshot.
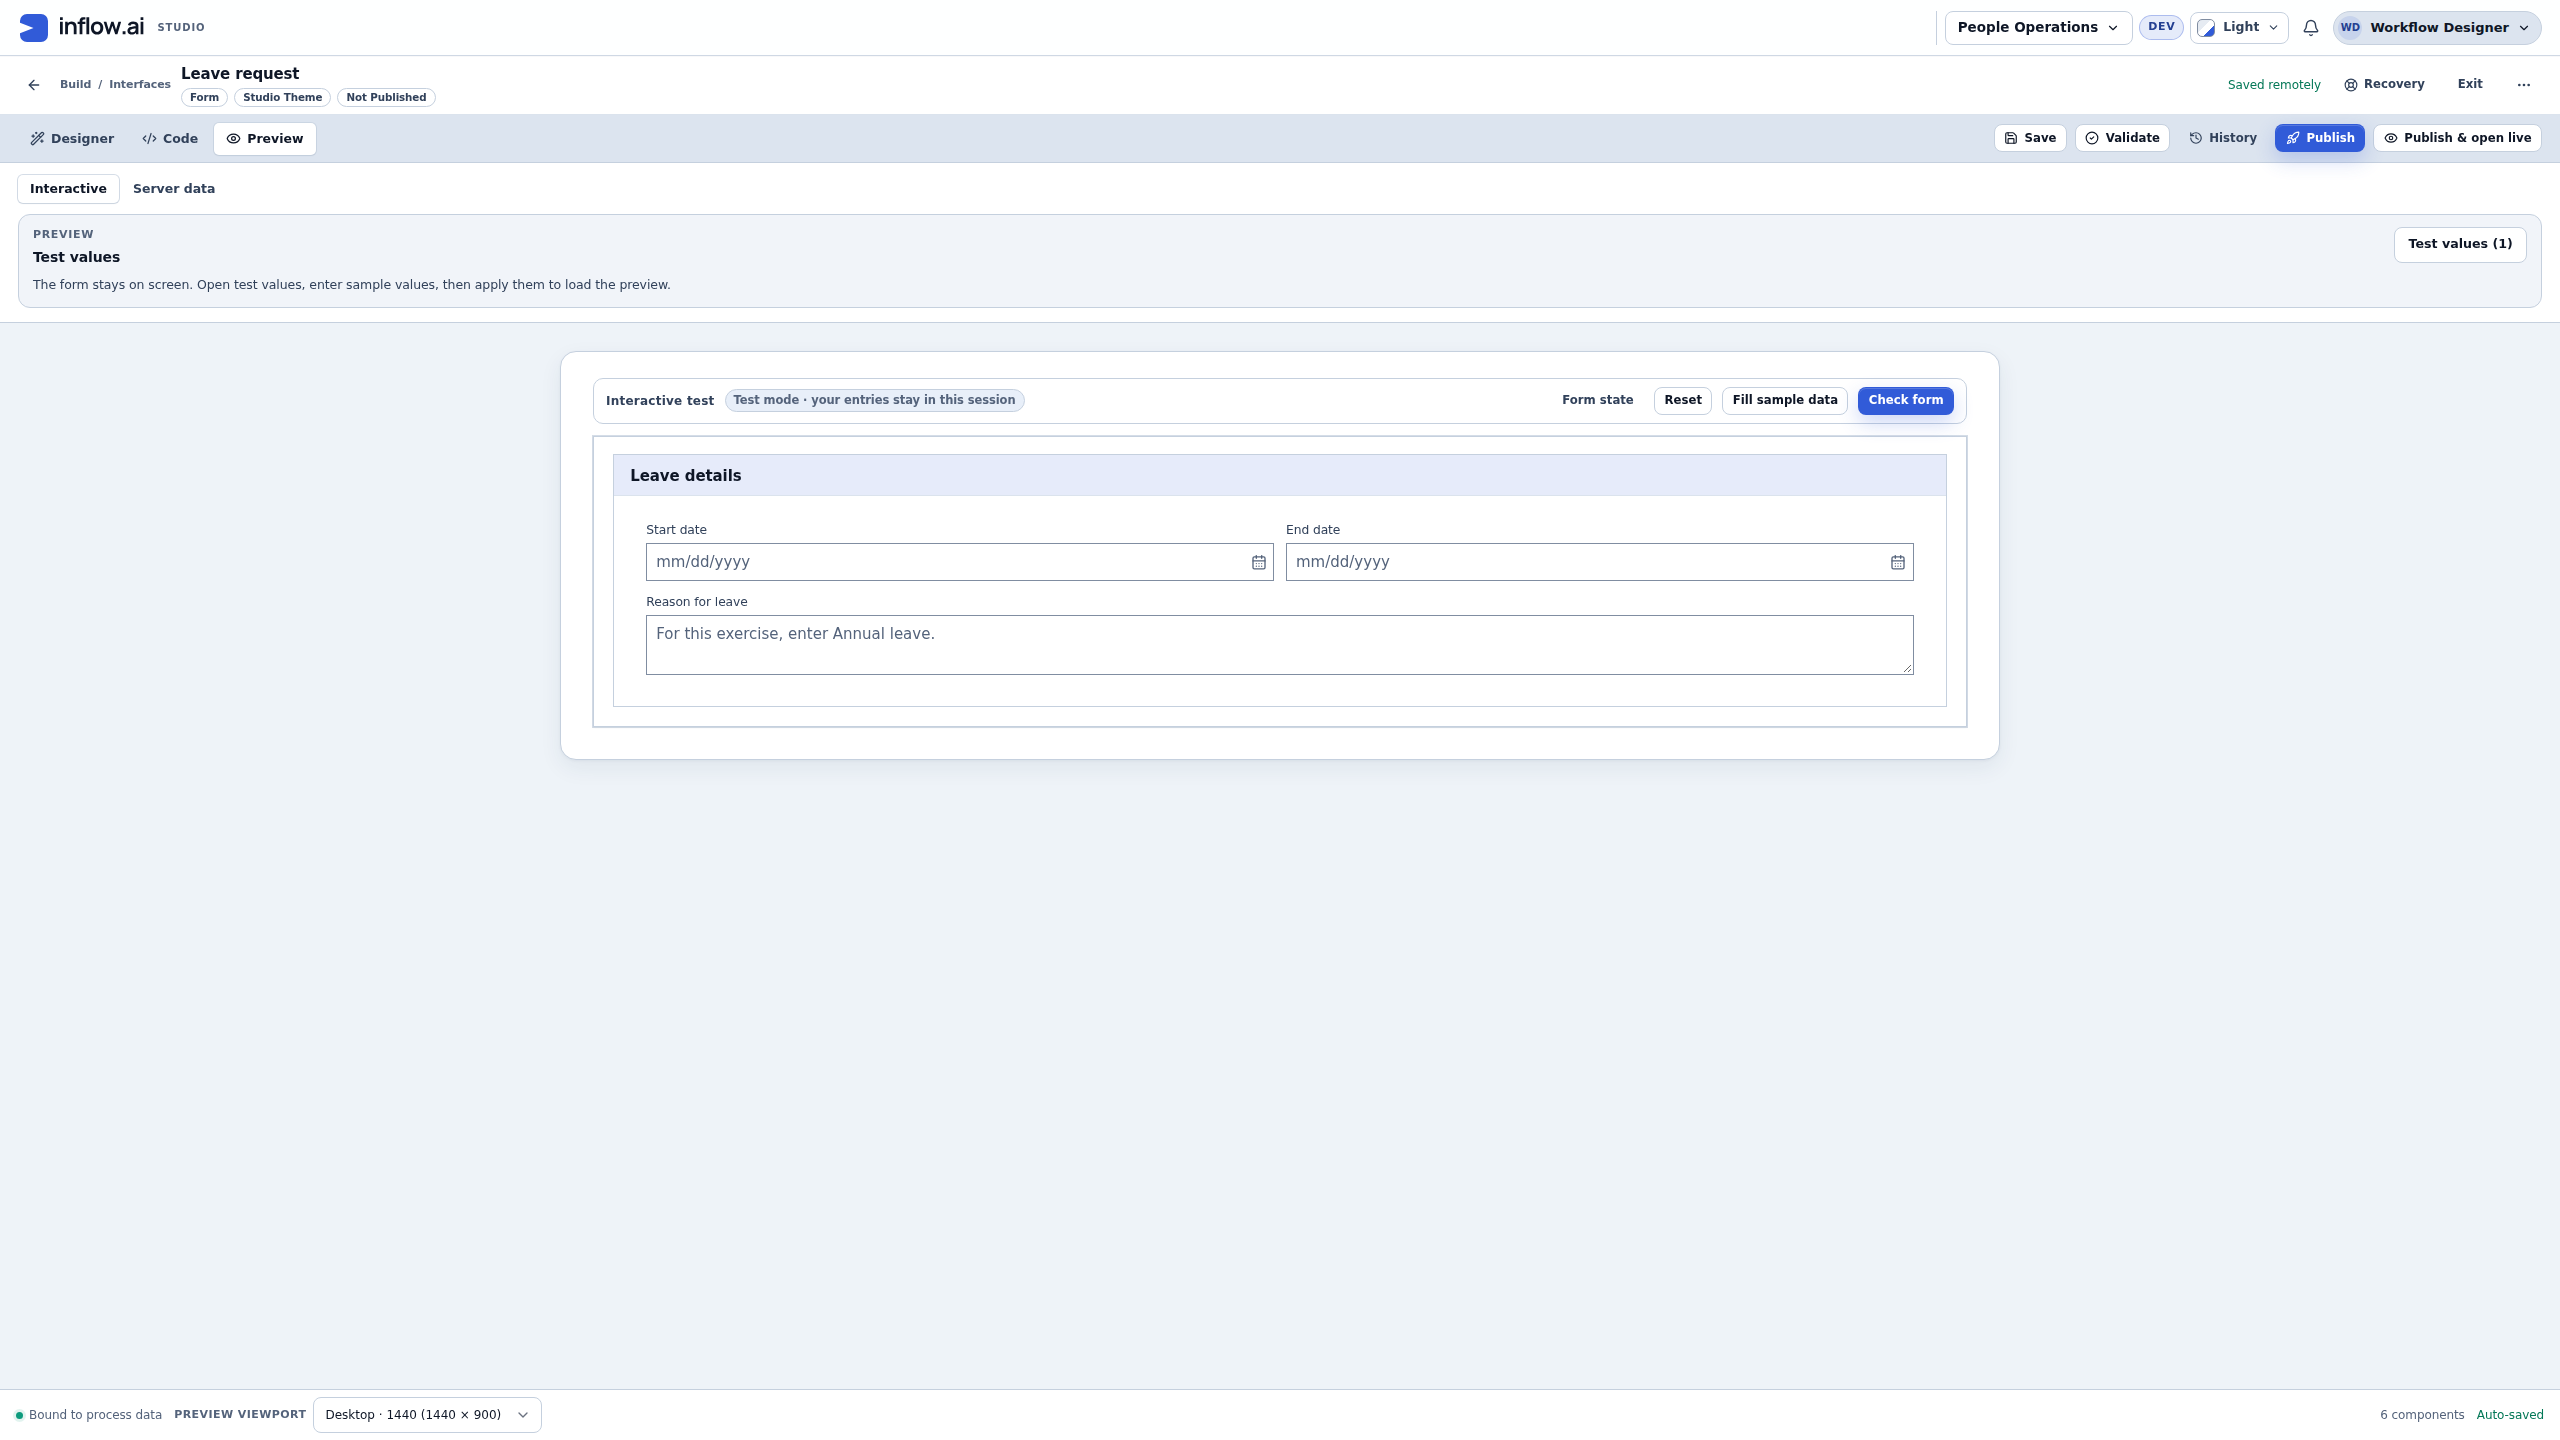
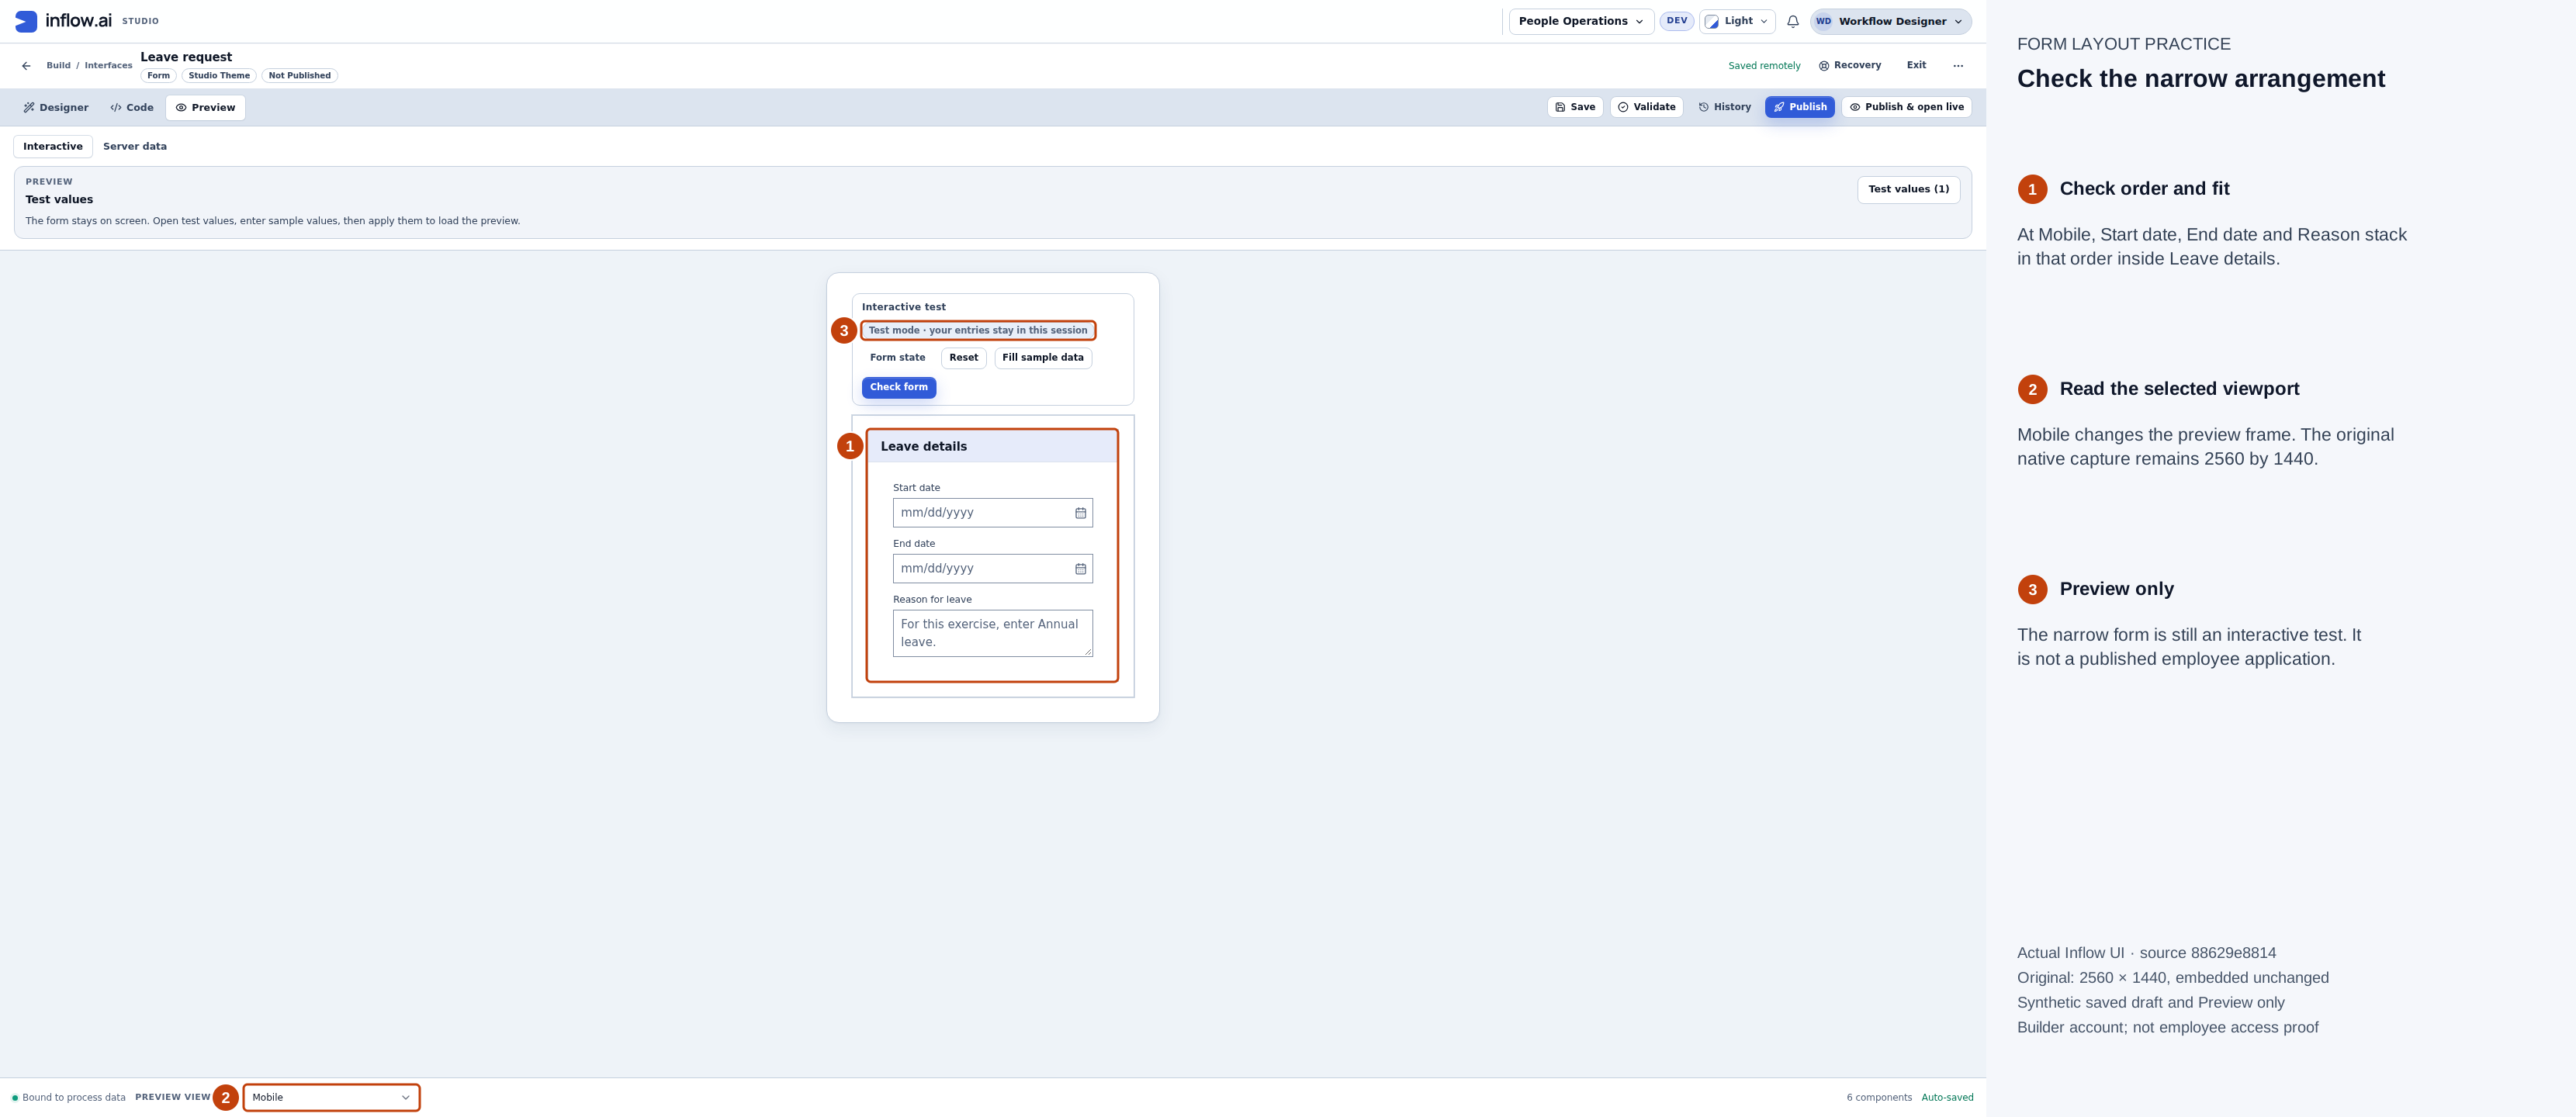
The same saved draft at Mobile stacks Start date, End date and Reason in that order. Check the labels and narrow field widths. This changes the preview frame; the original screenshot remains native 2560×1440. Full-size numbered guide · Unchanged original screenshot.
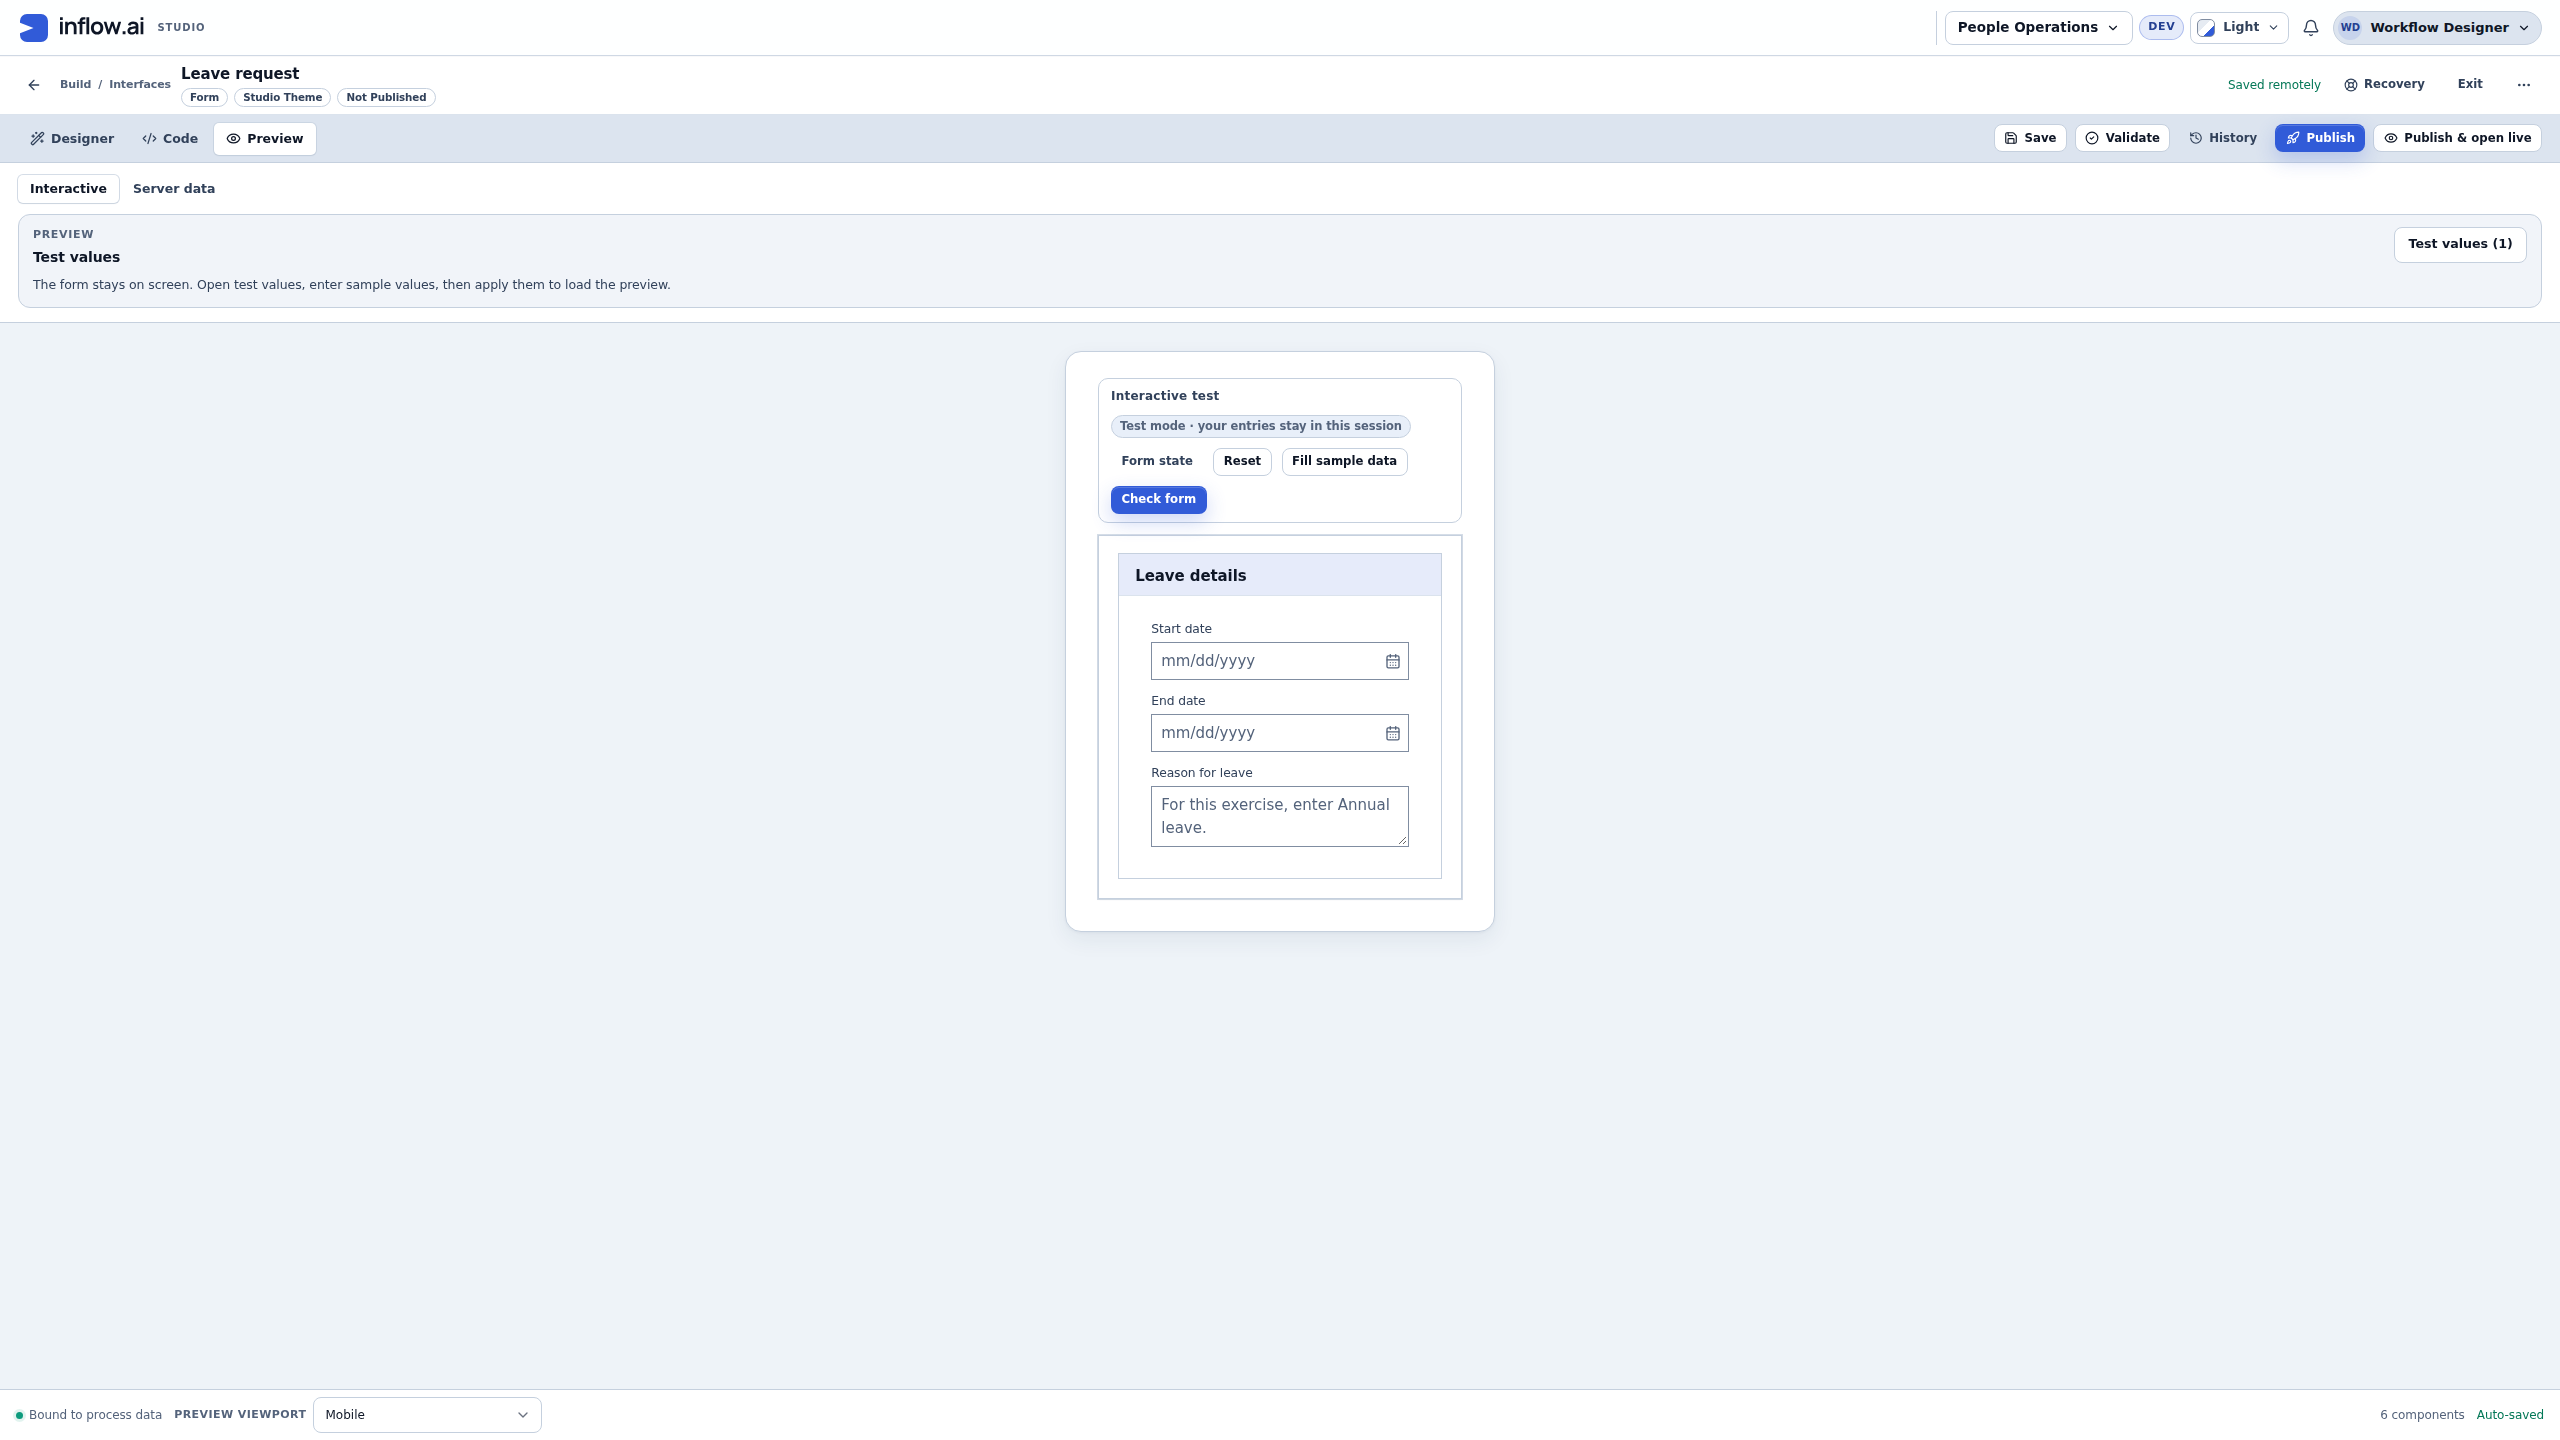
Expected result: the saved arrangement survives reopening and reads sensibly at both preview widths. This checks the layout; it does not establish that the new dates have stored answers, saved records or completed an approval.
Make a long form easier to use
Use a few meaningful groups, such as Employee details, Leave details and Supporting information. Put help near the question it explains. Avoid a separate card around every small question when one Section is clearer. Check the actual narrow arrangement instead of assuming a desktop row will fit every width.
Use conditional sections for an understood business reason and inspect both their shown and hidden states. Hiding a question is presentation; the server must still authorize the data and action. A condition that hides a manager field does not make an employee approval write safe.
If navigation asks about unsaved work, choose Stay while deciding what to keep. Read Save and leave and Discard and leave carefully; a slow save is not a reason to discard the form.
Continue with Choose the right control and Properties and answers. The optional layout technical reference retains the advanced details.