
Tutorial: Connection → Data model → Make live → Rules → Forms
Audience: consultants and builders
Goal: follow two supported paths from a permitted workspace to a generated form: a rule-backed form that calls a published rule, or a form whose governed Data Actions target a pinned published model version and record type.
Scope: these paths have different submit contracts. Use the path shown by the generated form and verify its exact publication-pinned target; runRule applies only to the rule-backed path. See data-model-crud-rules.md and the current generation compiler.
Screenshots in assets/connection-to-rules-and-forms/ are historical and mixed: some are earlier Studio captures and some are explicitly illustrative mockups. They are not current-build screenshot acceptance evidence. Follow the current navigation and statuses below; if a screen differs, use the linked current manuals and the controls actually offered.
- Captured Studio UI from earlier QA runs (connection, data model, make live, designer shell).
- Illustrative mockups for the make-live CRUD rules and runRule form path. They explain the story, not the current build's exact labels, placement or verification status.
What you will end up with
| Artifact | Example |
|---|---|
| Database connection | PostgreSQL (or MySQL / SQL Server / …) with schema deploy allowed |
| Data model | e.g. customer record type with fields |
| Schema publication | Status APPLIED for the target connection and schema |
| CRUD function pack | A separately reported COMPLETE, PARTIAL or FAILED result, with entry-level status |
| Forms | Create / Edit / Delete forms whose submit uses a generated rule or governed Data Actions for the selected published model and record type |
flowchart LR
  A[Connection] --> B[Data model]
  B --> C[Publish model version]
  C --> D[Make live]
  D --> E[CRUD Rules]
  E --> F[Generate forms]
  F --> G{Generated target}
  G -->|Rule-backed| H[Submit via runRule]
  G -->|Governed Data Action| I[Submit against pinned model and record type]
Prerequisites
| Item | Required context |
|---|---|
| Studio and API | Your authorized lane/deployment origins; use the local setup guide for named dependencies, migrations and API startup |
| Login | A normal signed-in builder account authorized for the target workspace and operations; development actor injection is not ordinary-user evidence |
| Workspace | A workspace you may manage; use synthetic tutorial records |
| Dependencies | Healthy lane-local plugin runner and the approved database/connector boundary |
| Data effects | Permission to create connections, publish/deploy schema and create/update/delete the tutorial records |
Confirm the current session and workspace in Studio before starting. Do not reuse another agent's credentials, ports, browser profile or running services. This walkthrough does not grant schema/data/provider/runtime authority.
1. Sign in and open a workspace
- Open Studio.
- Sign in with your workspace credentials.
- Open Workspaces → choose a workspace (e.g. Default Workspace).
You will work under:
/workspaces/<workspaceKey>/...
2. Create a database connection
Connections are where make-live creates tables. Use a JDBC database that supports schema deploy (PostgreSQL is the usual lab target).
- Open the workspace's Build → Connected systems area.
- Choose Connect a system and follow the current connection setup guide.
- Pick a template (PostgreSQL, MySQL, SQL Server, …).
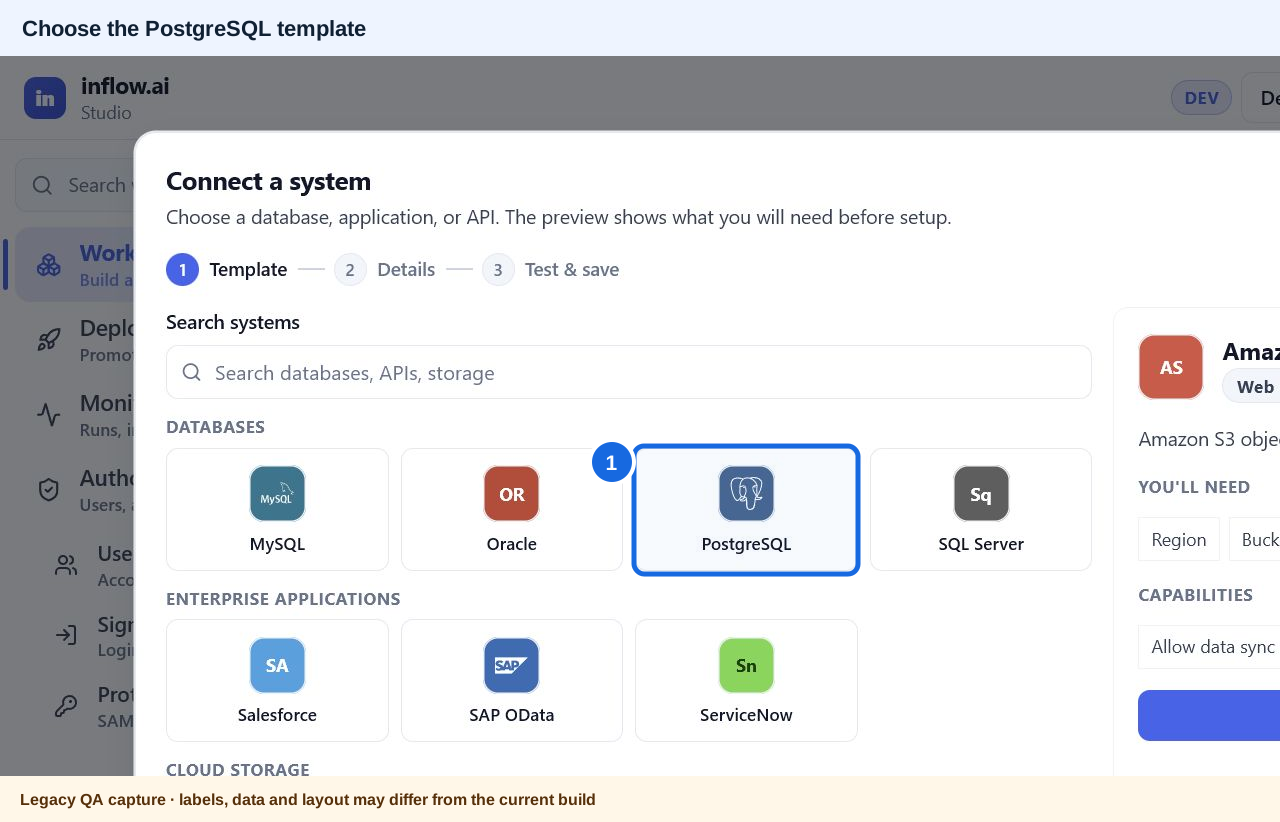 Callouts: 1. Select the PostgreSQL tile. Open the unchanged original image.
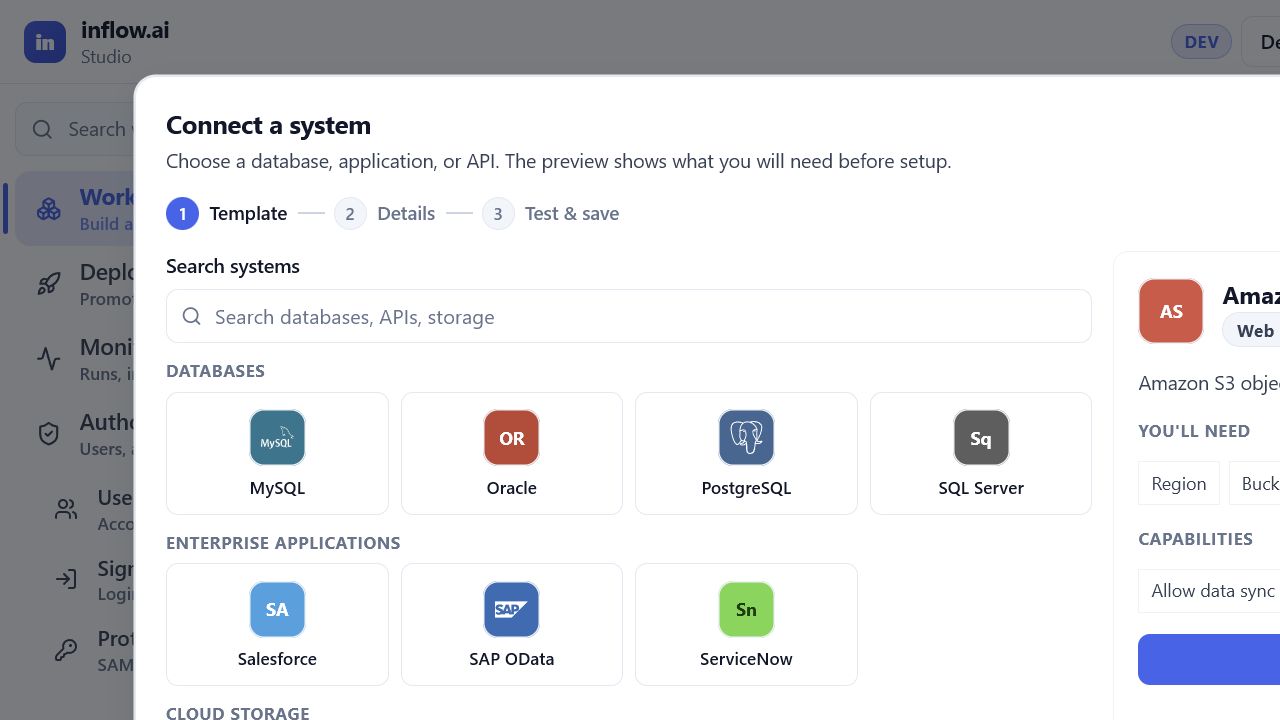
- Enter only the approved server/database settings and protected sign-in values supplied by the owner.
- Ensure the connector allows schema deploy for this approved make-live exercise.
- Save the draft, run Test connection, review the result and choose Publish version when the saved test is current and successful. A saved or tested draft alone is not the published connector version used at runtime.
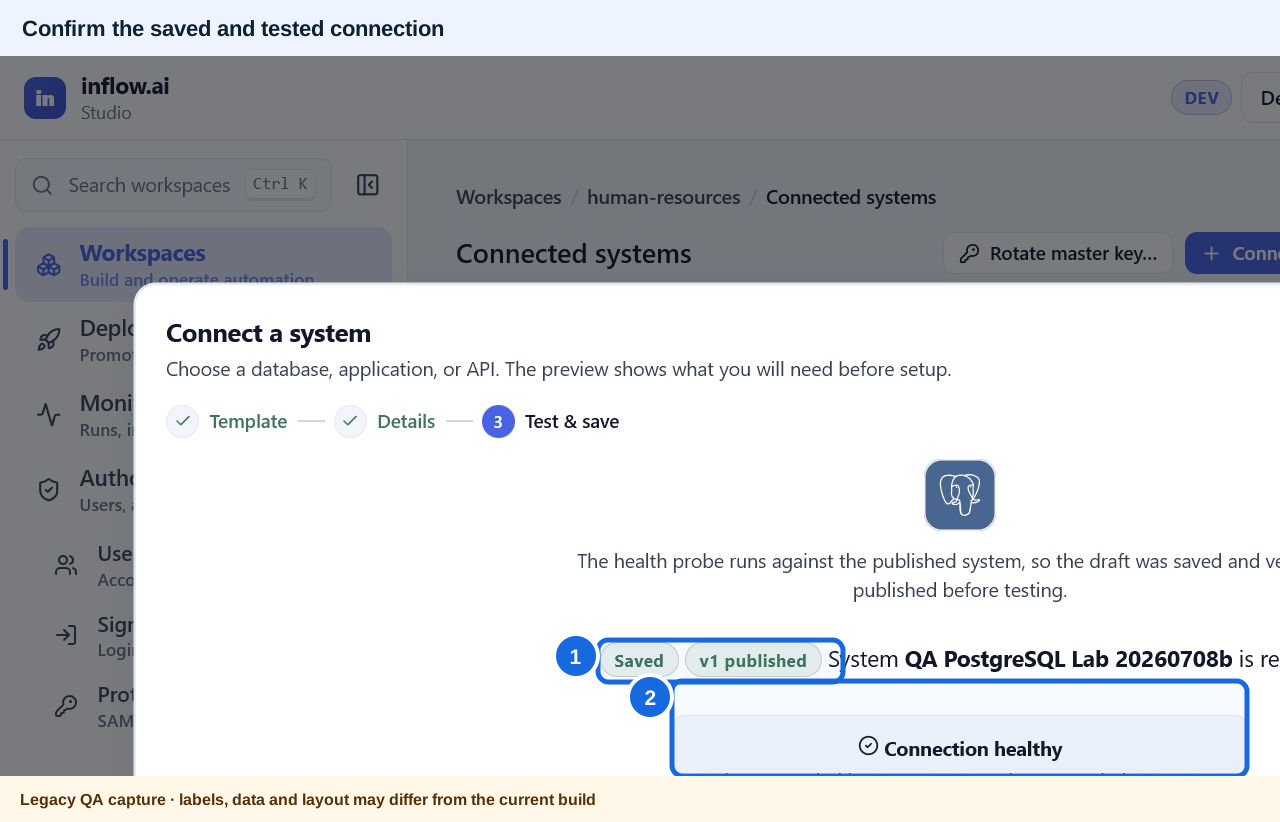 Callouts: 1. Confirm the saved, published version. 2. Read the connection test result; this cropped capture shows the “Connection healthy” state. Open the unchanged original image.
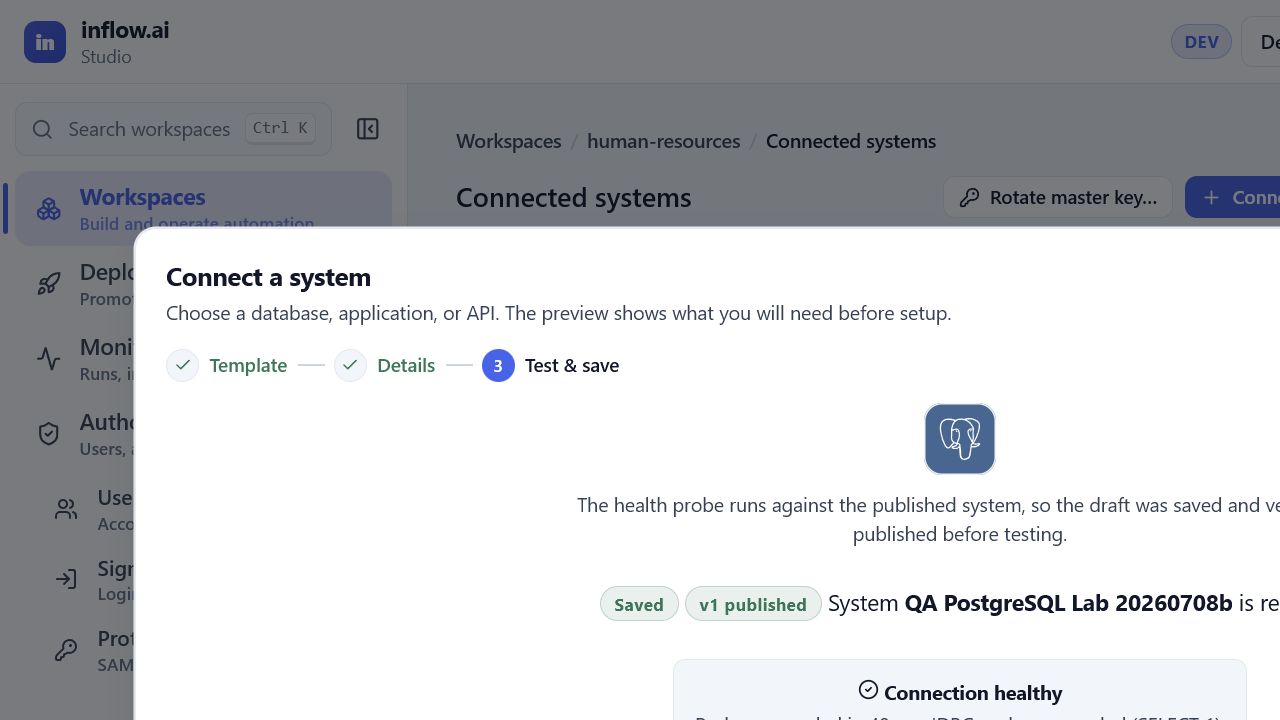
Check: the connection appears in the list and tests healthy.
3. Create a data model
- Open Data / Data models.
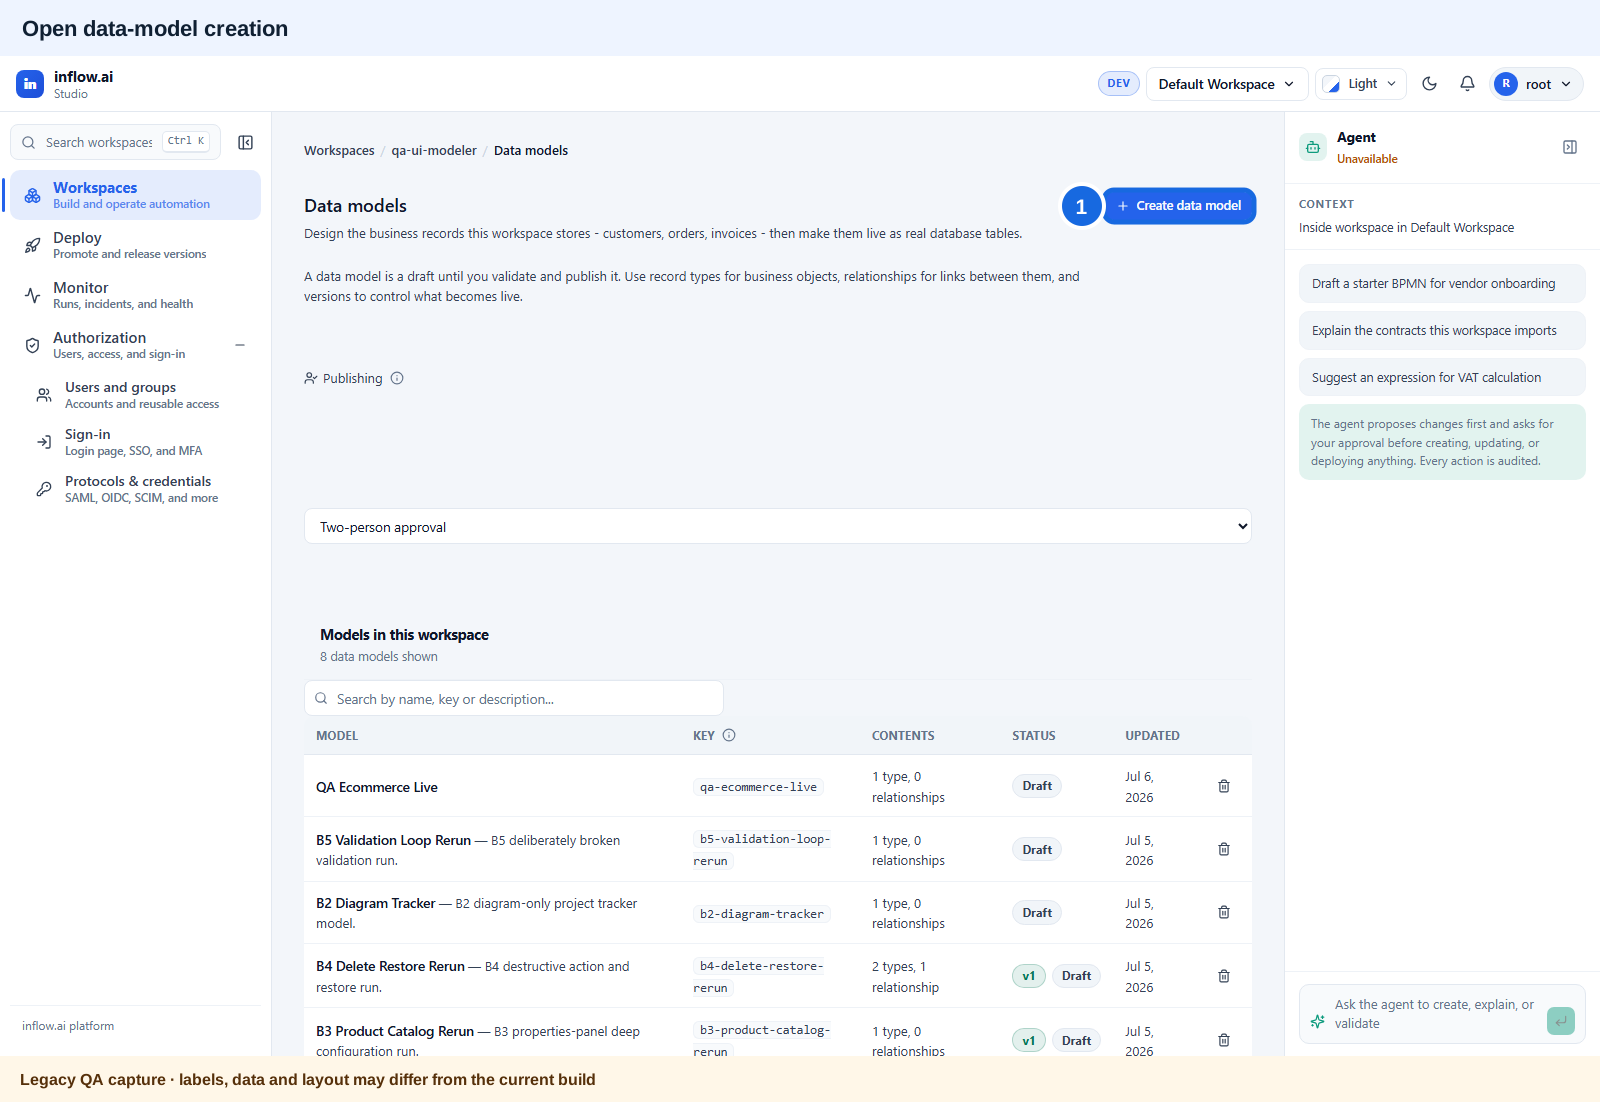 Callouts: 1. Choose Create data model. Open the unchanged original image.
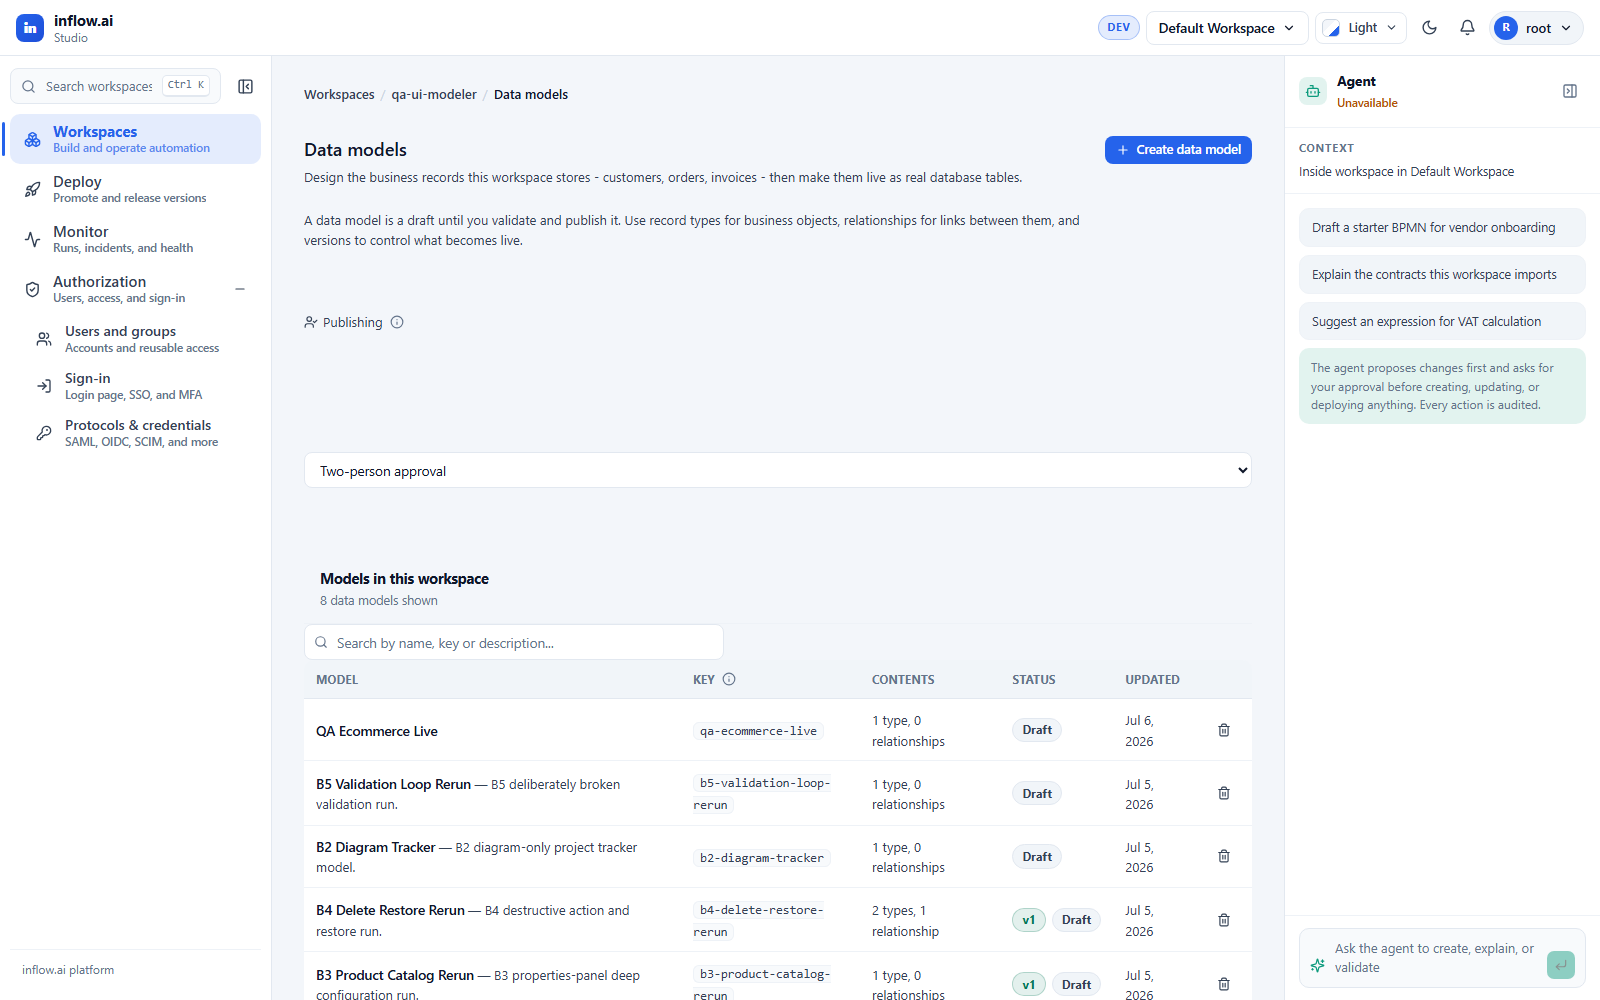
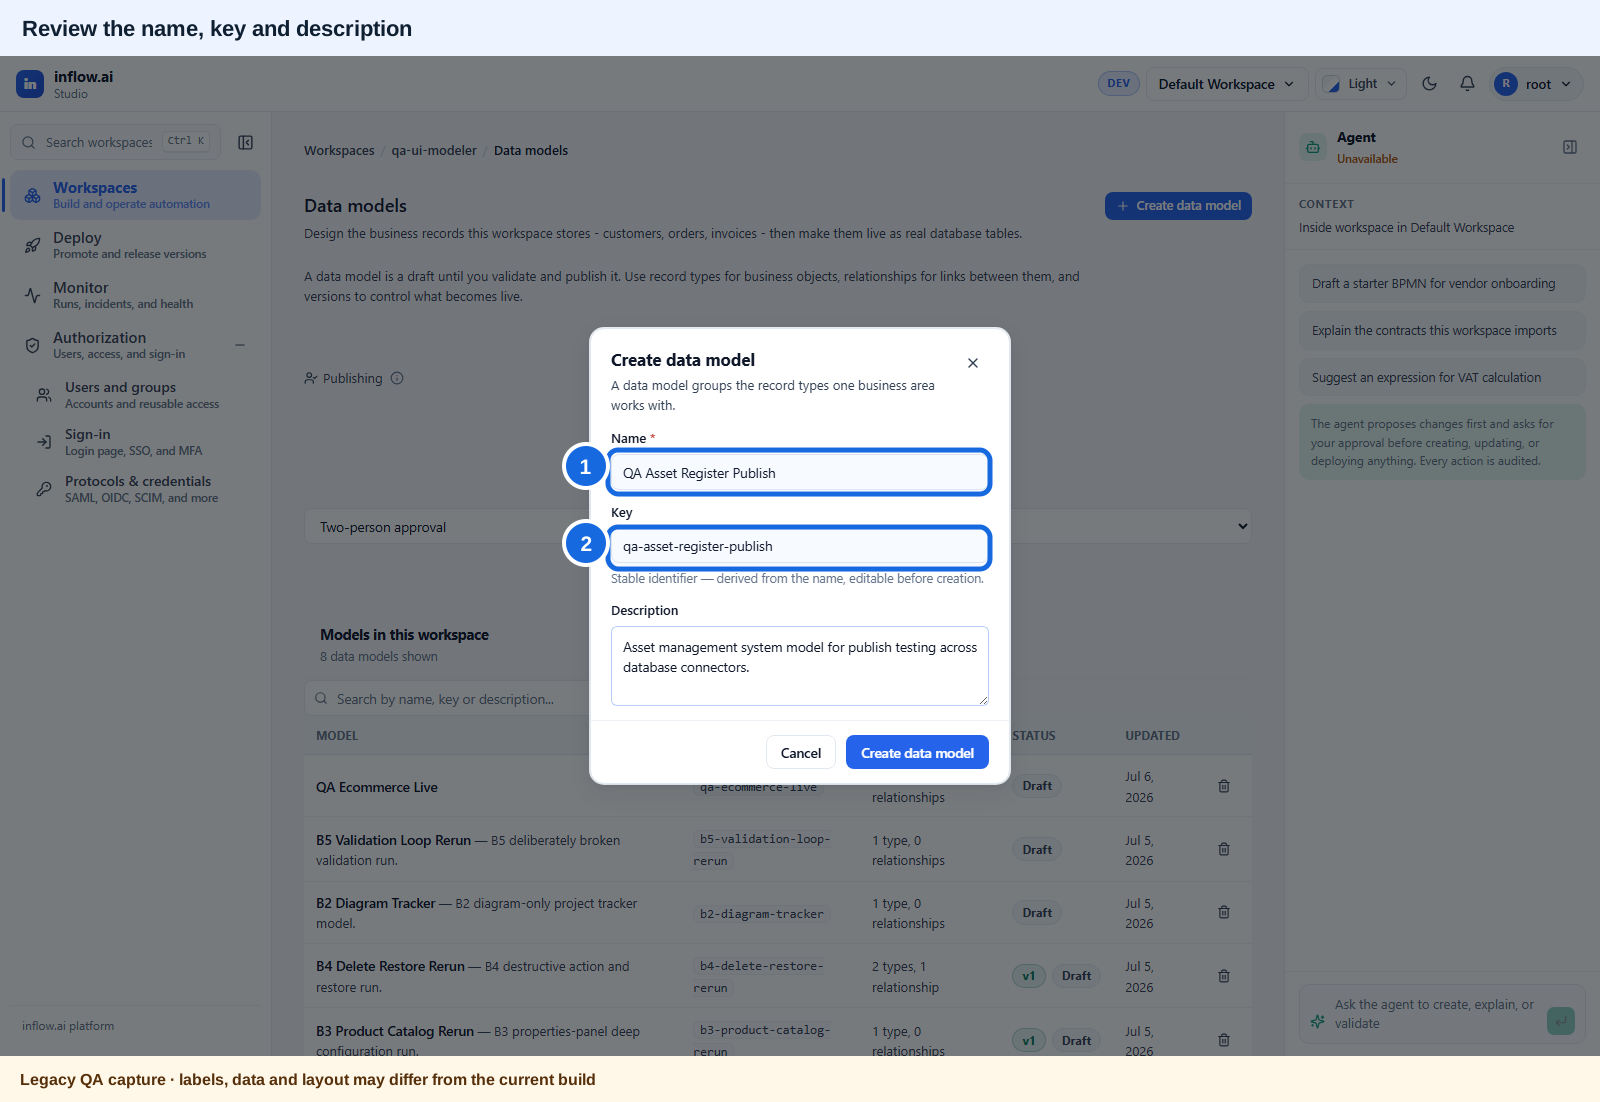
- Create a new model (name + key).
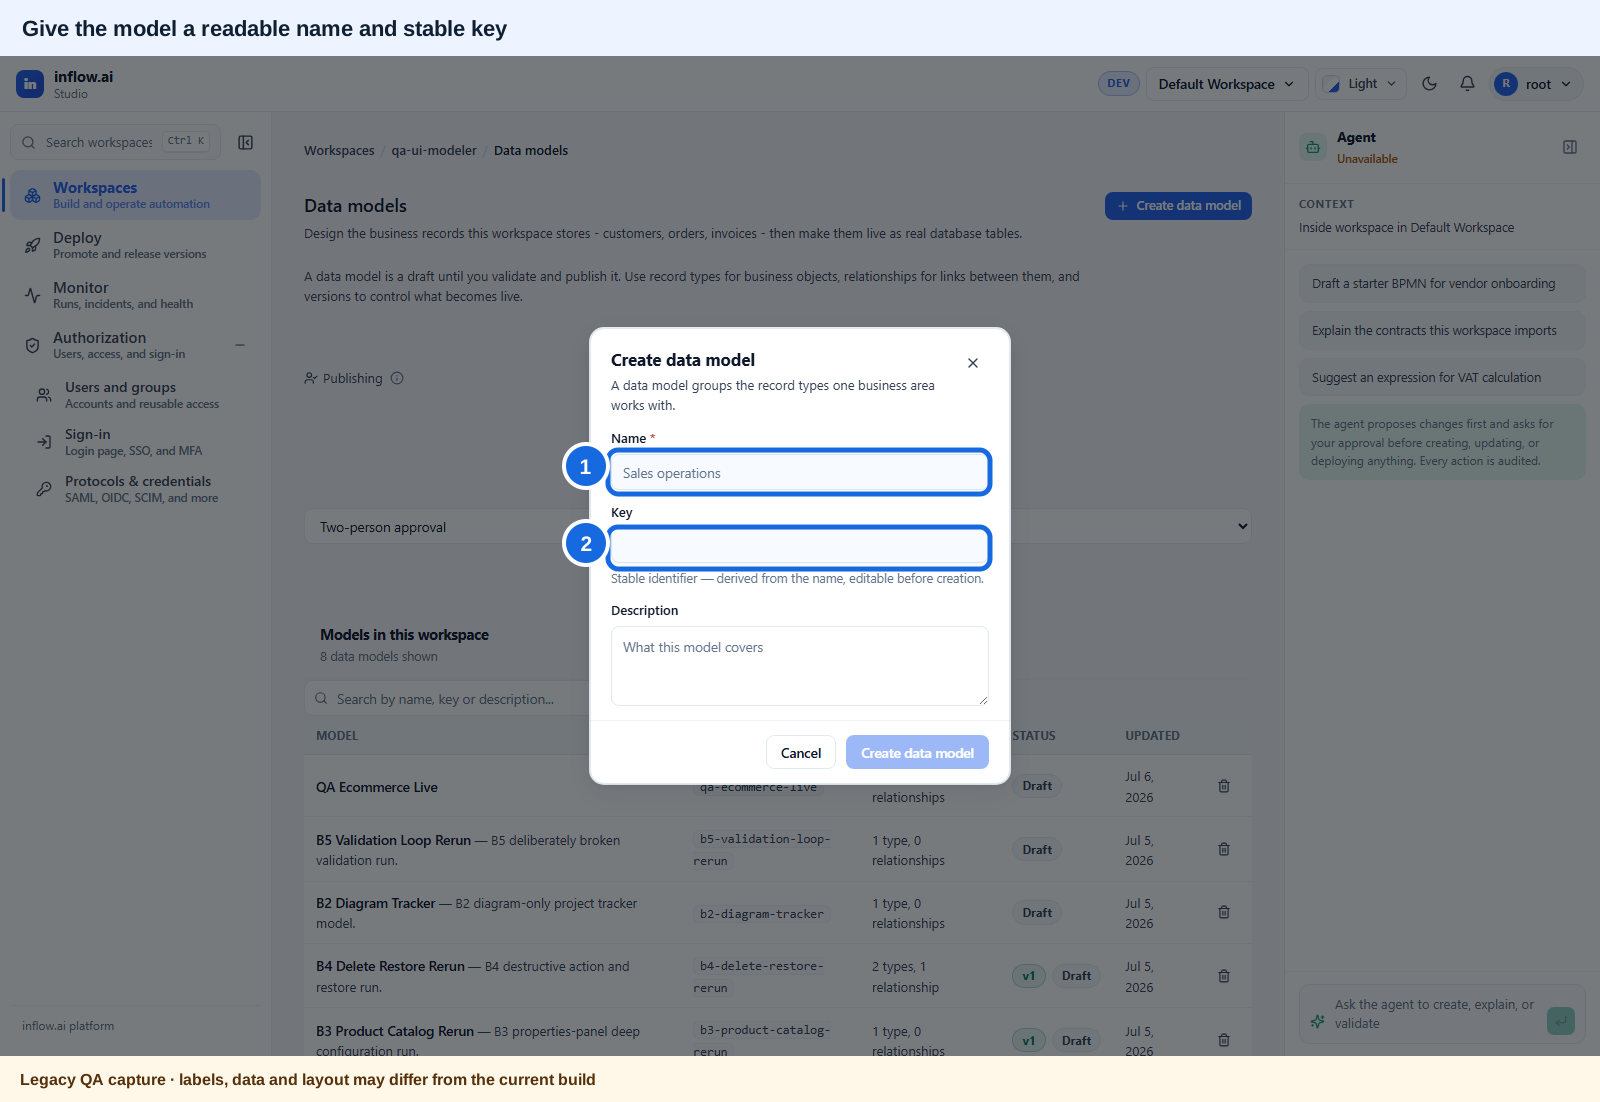 Callouts: 1. Enter a readable display name. 2. Review or edit the stable machine key before creation. Open the unchanged original image.
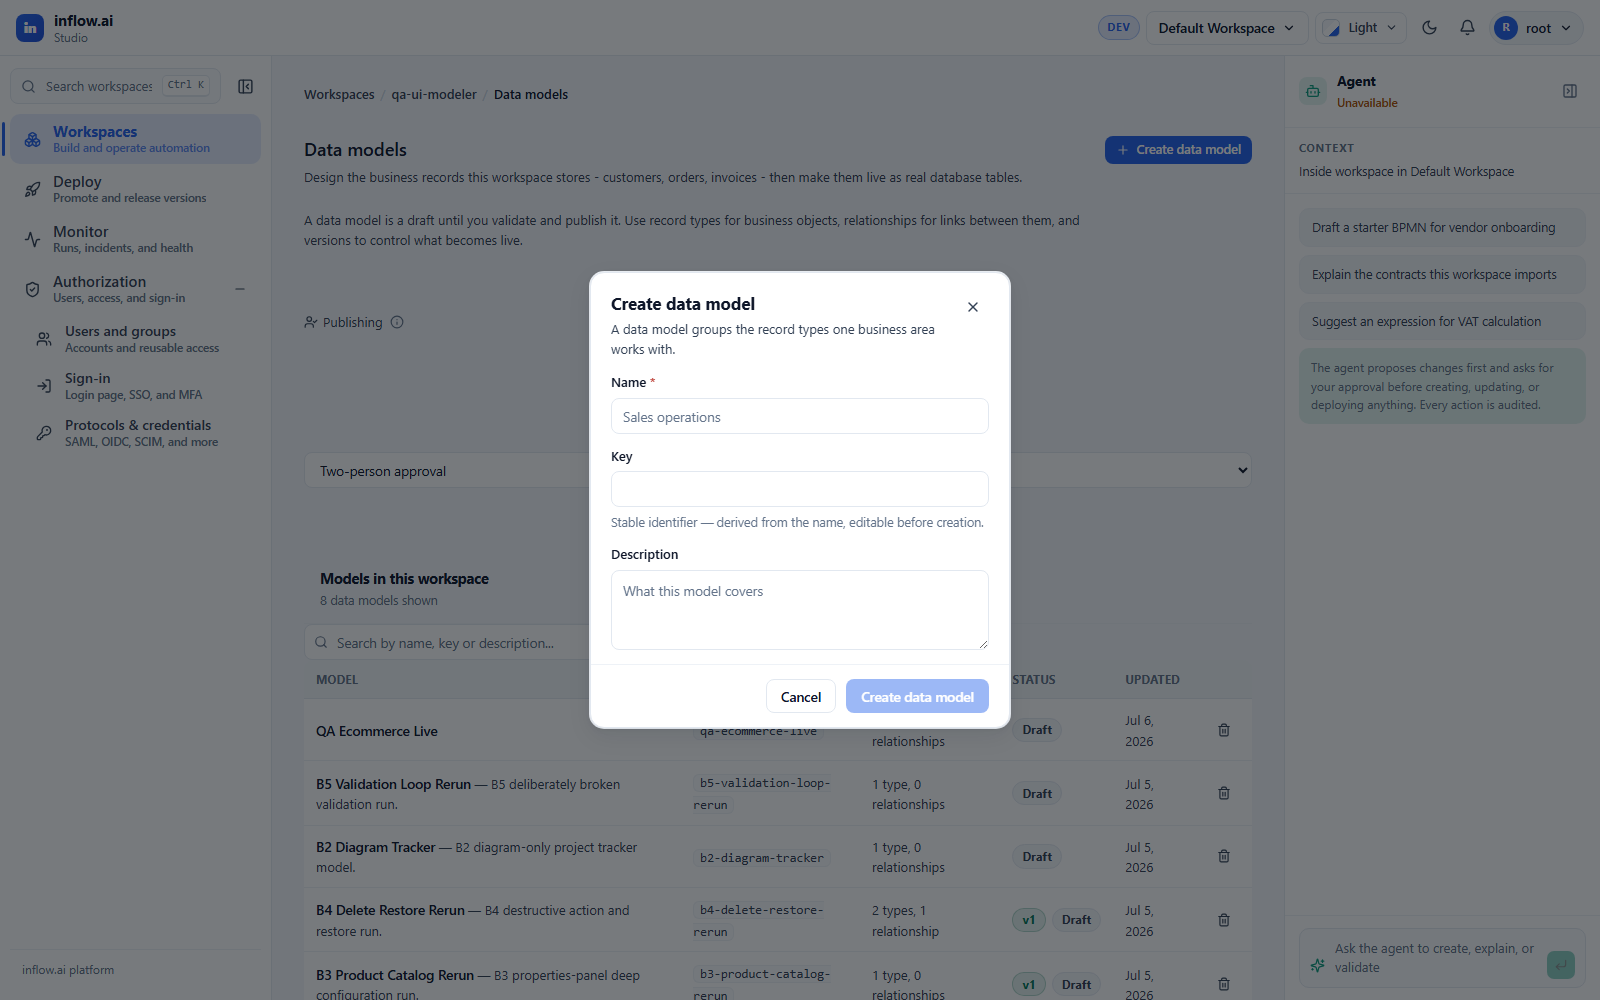
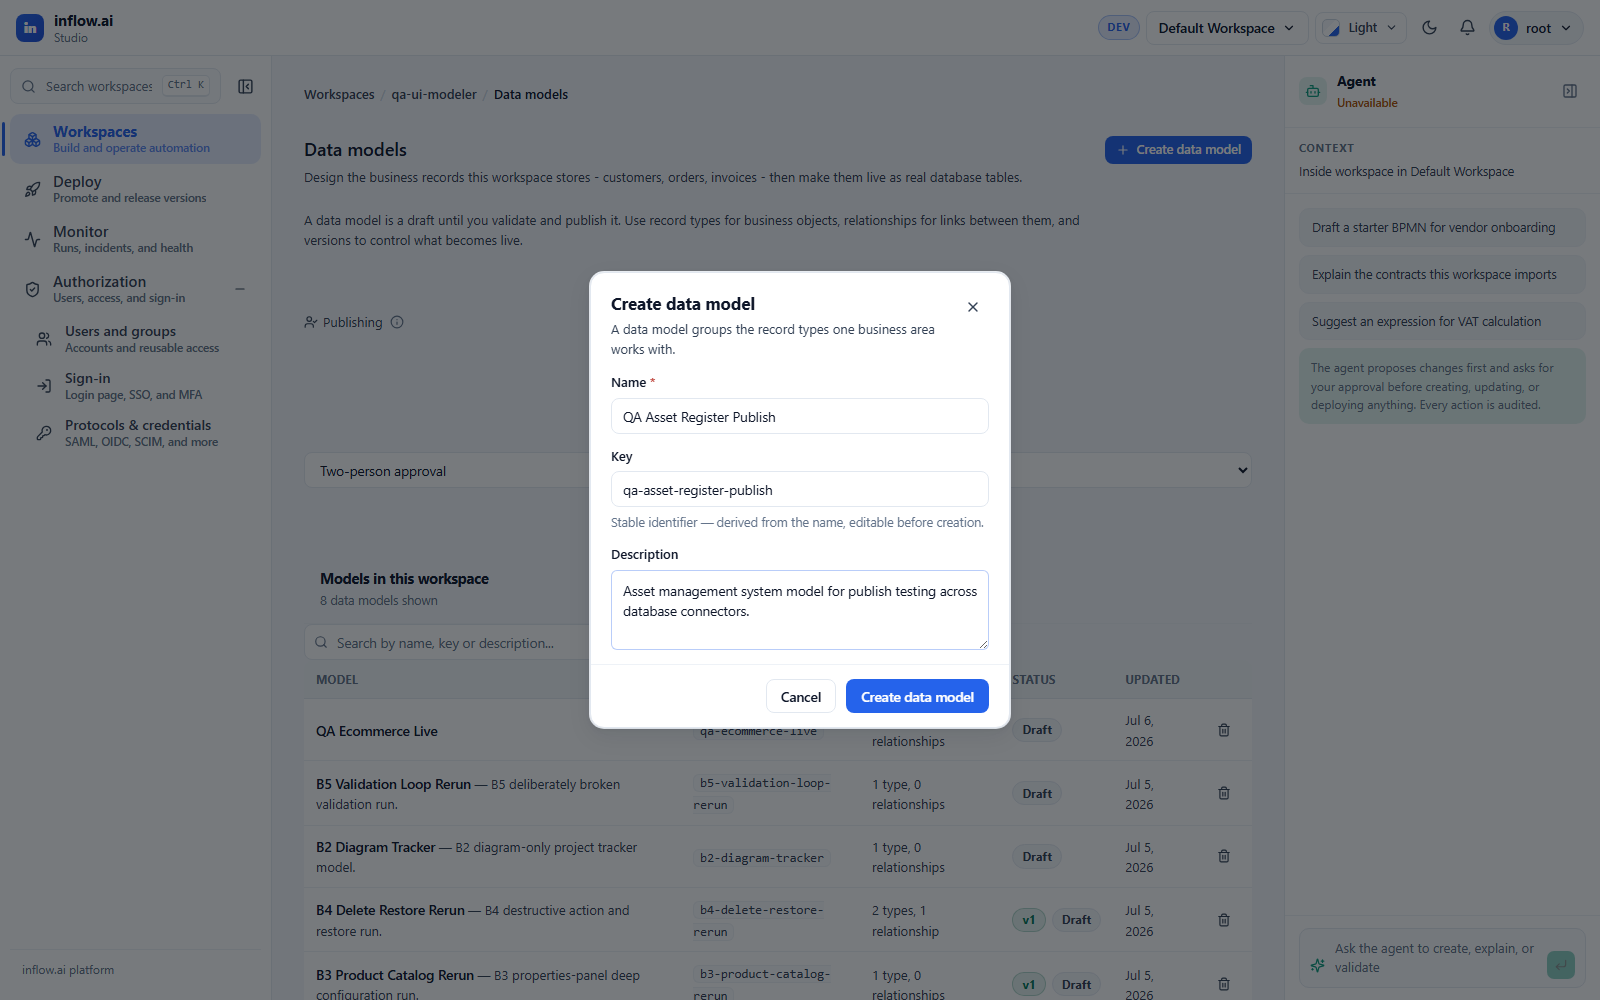
 Callouts: 1. Check the display name. 2. Check the generated stable key; it can be edited before creation. Open the unchanged original image.
- Add a record type (e.g.
customer/ Customer). - Add fields (email, display name, notes, …). Mark the business identity if you use a natural/business key.
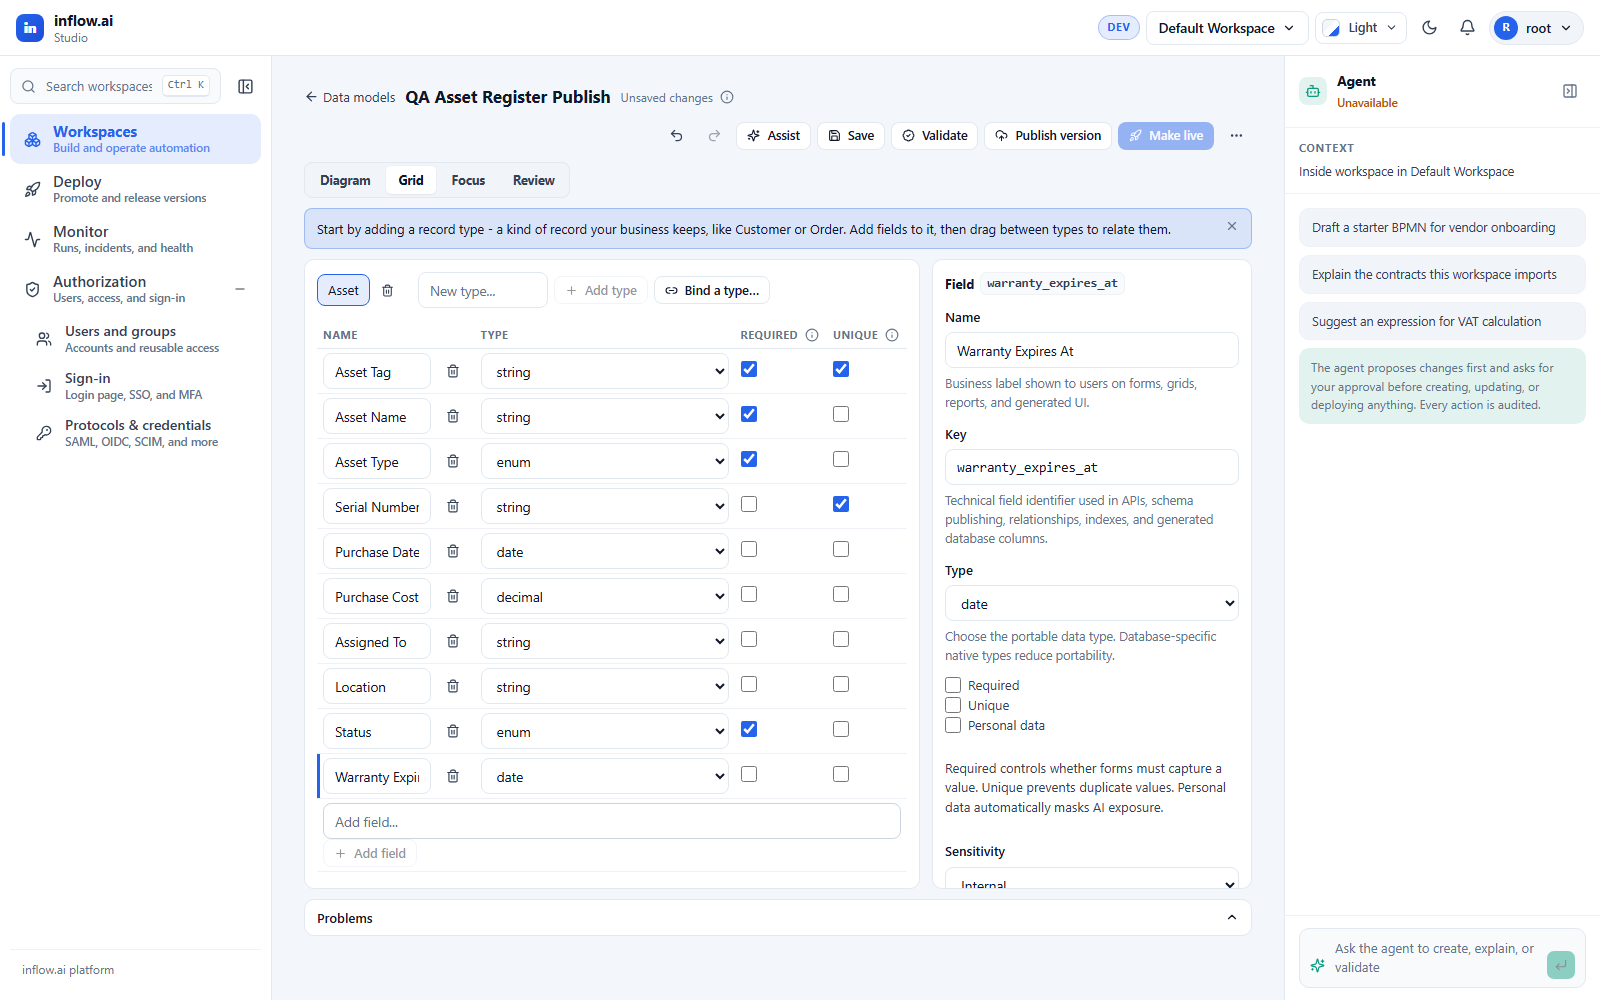
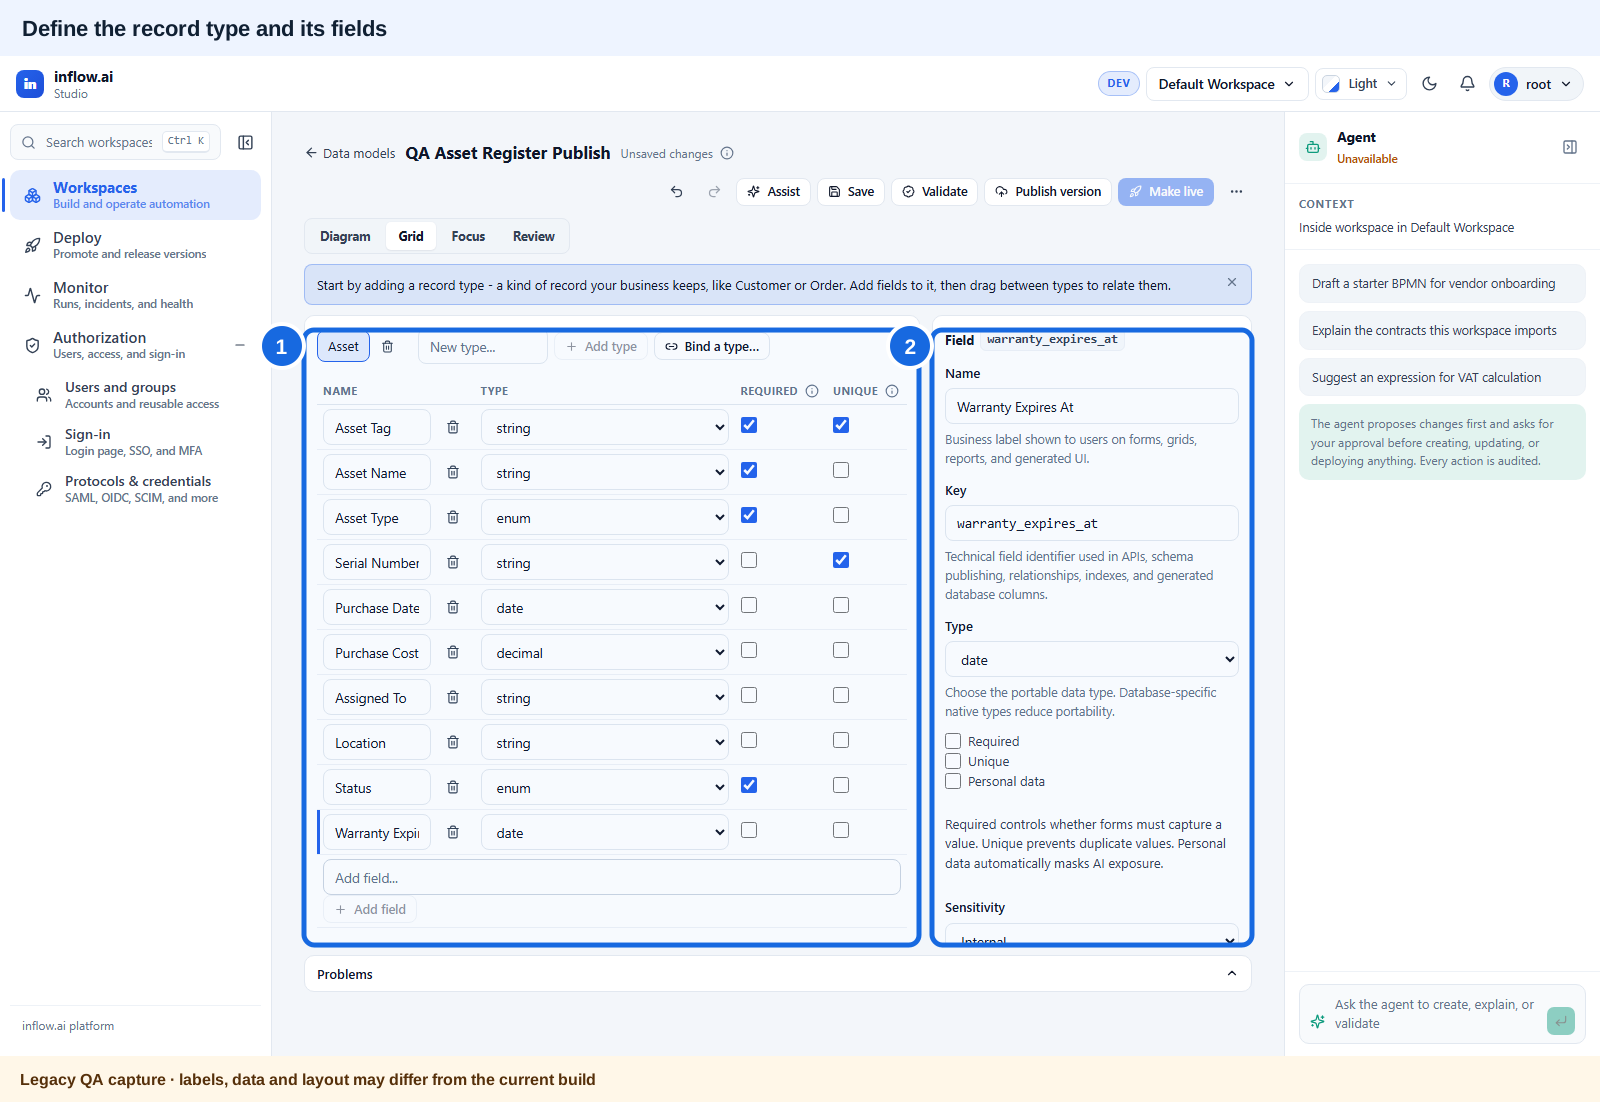 Callouts: 1. Define the record type and its fields. 2. Set the selected field’s business label, key, type and constraints. Open the unchanged original image.
- Save the model draft.
- Validate, then Publish a model version (immutable snapshot). Make live needs a published version.
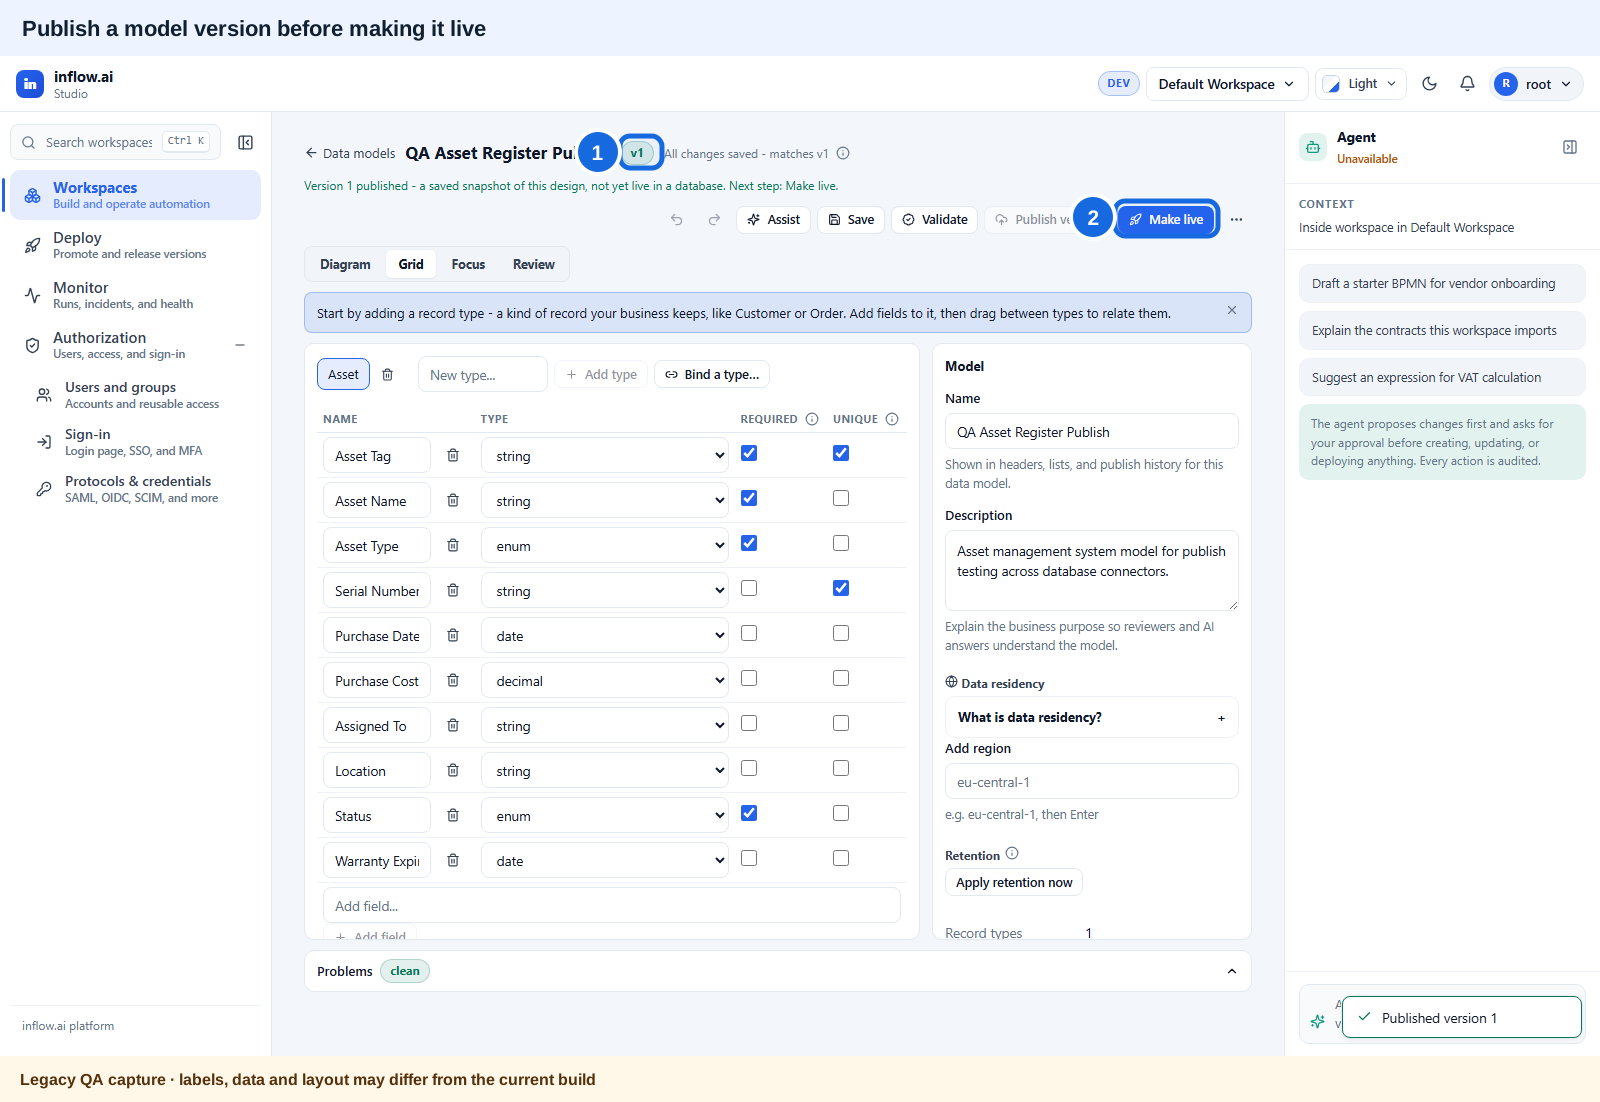 Callouts: 1. Confirm the model has a published version. 2. Start Make live only after the required review and authorization. Open the unchanged original image.
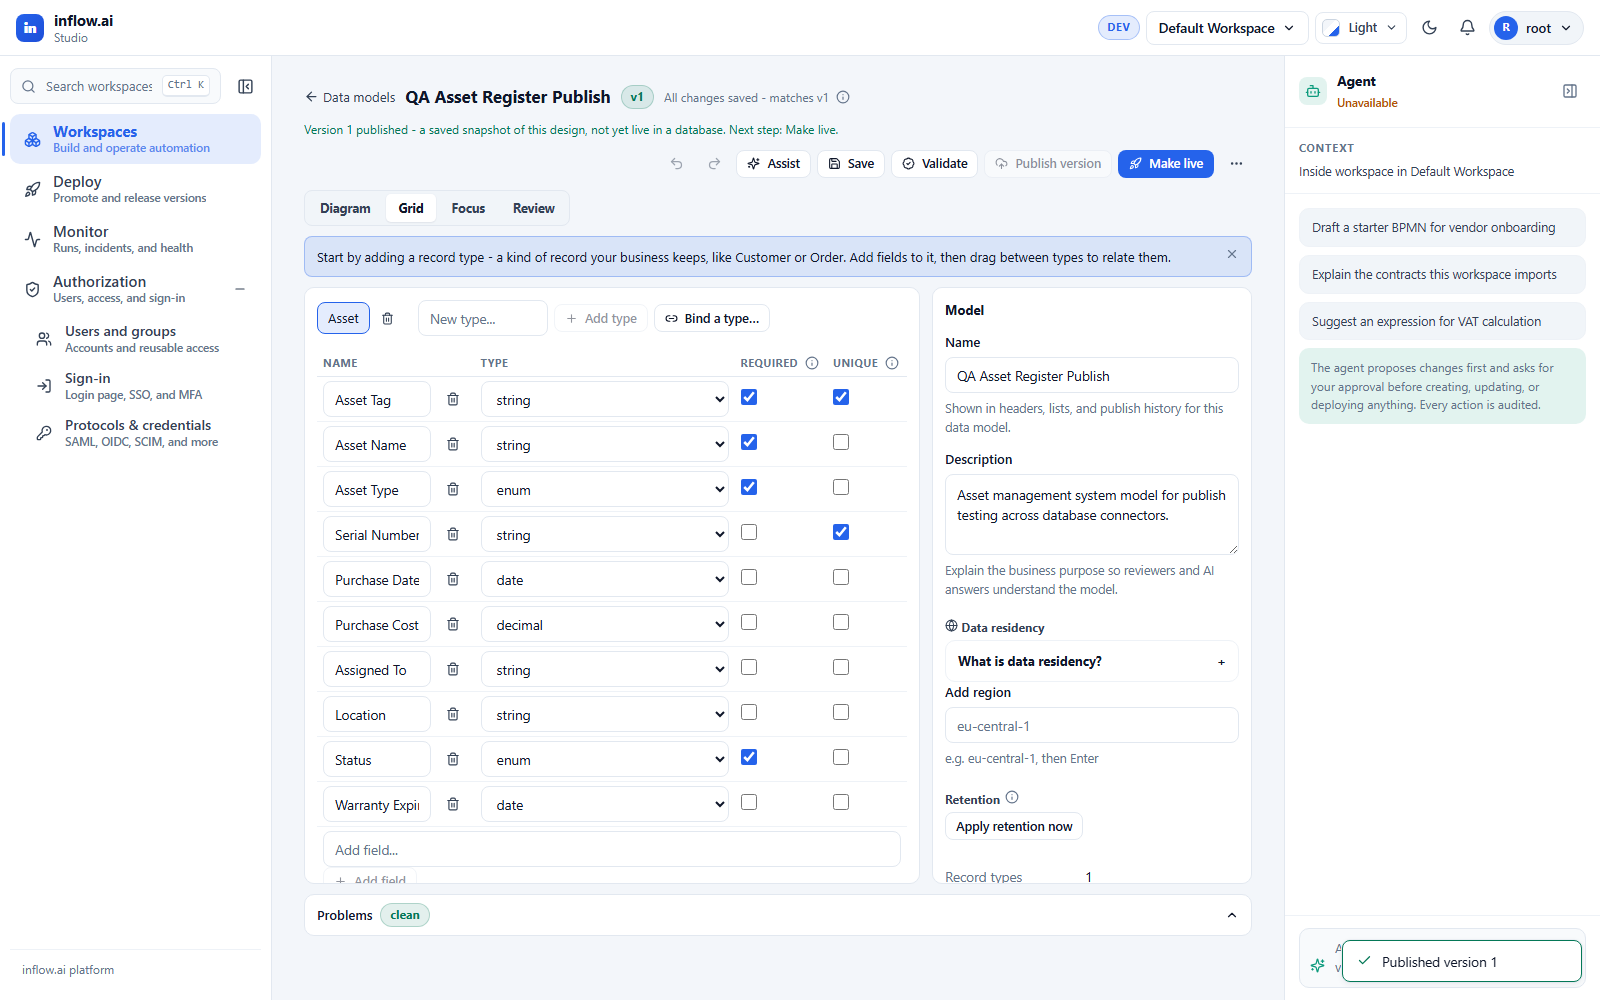
Check: model shows a published version (v1, v2, …).
4. Make live (apply schema to the connection)
Make live plans and applies schema changes against the selected connection. APPLIED reports that schema publication completed; it does not guarantee that every generated rule or advanced operation is ready. Rule/function-pack generation is best-effort and has its own current status and entry results.
- On the published model, start Make live (or Publish to database).
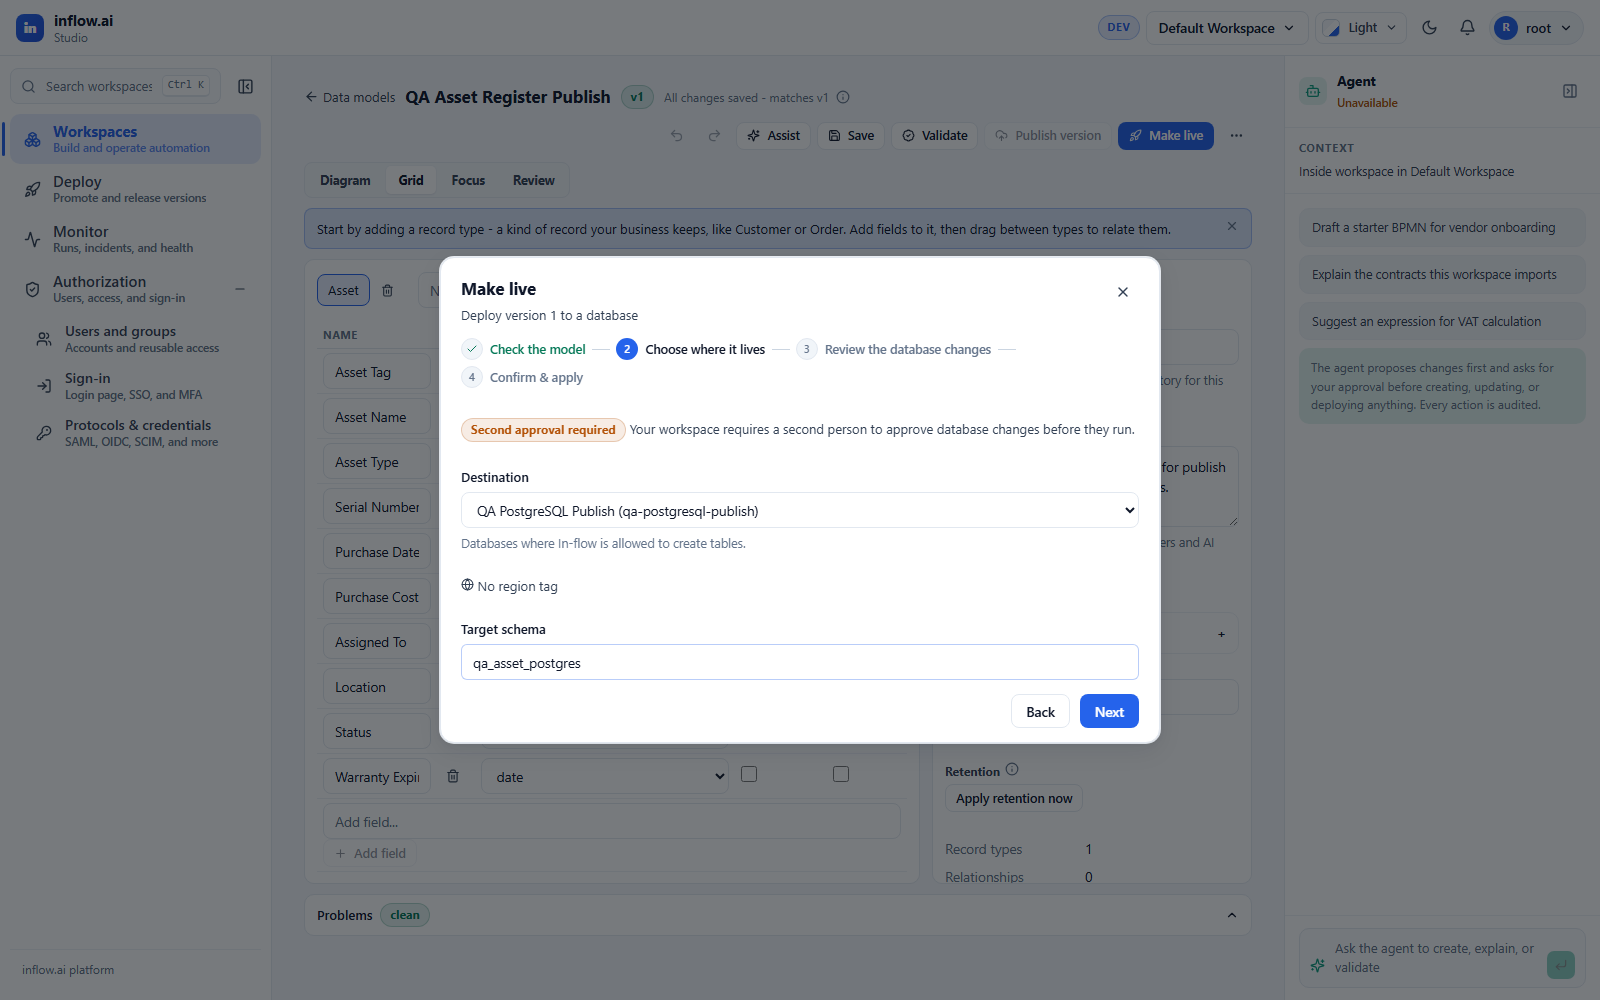
- Choose the destination connection and schema/namespace.
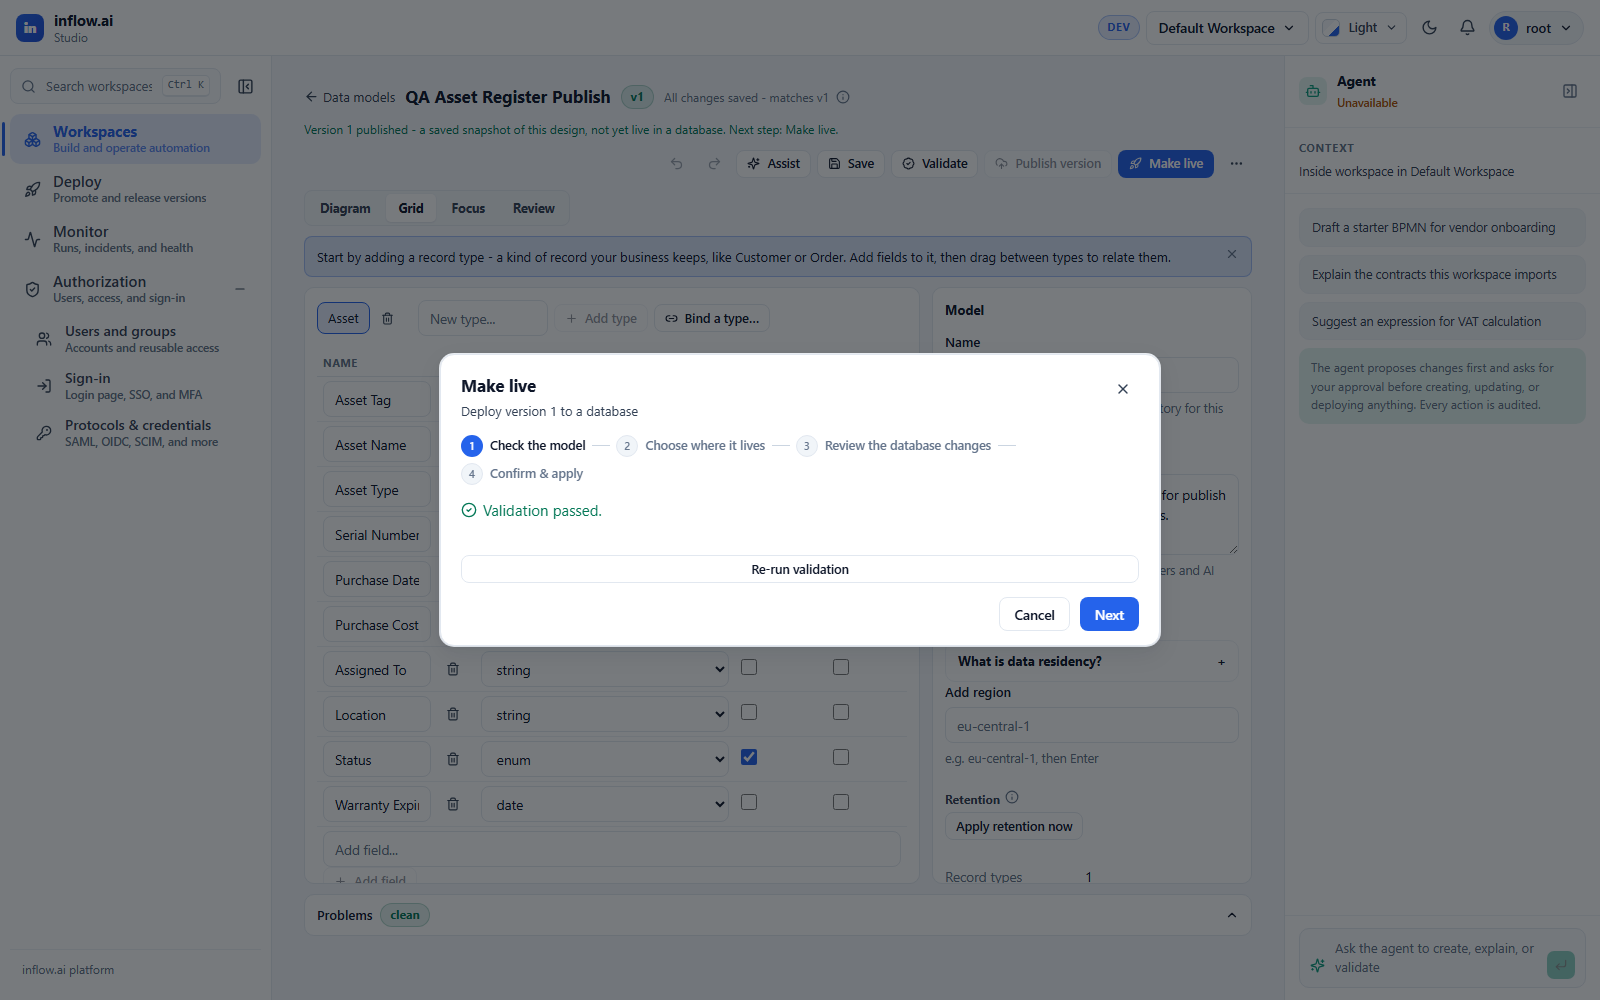
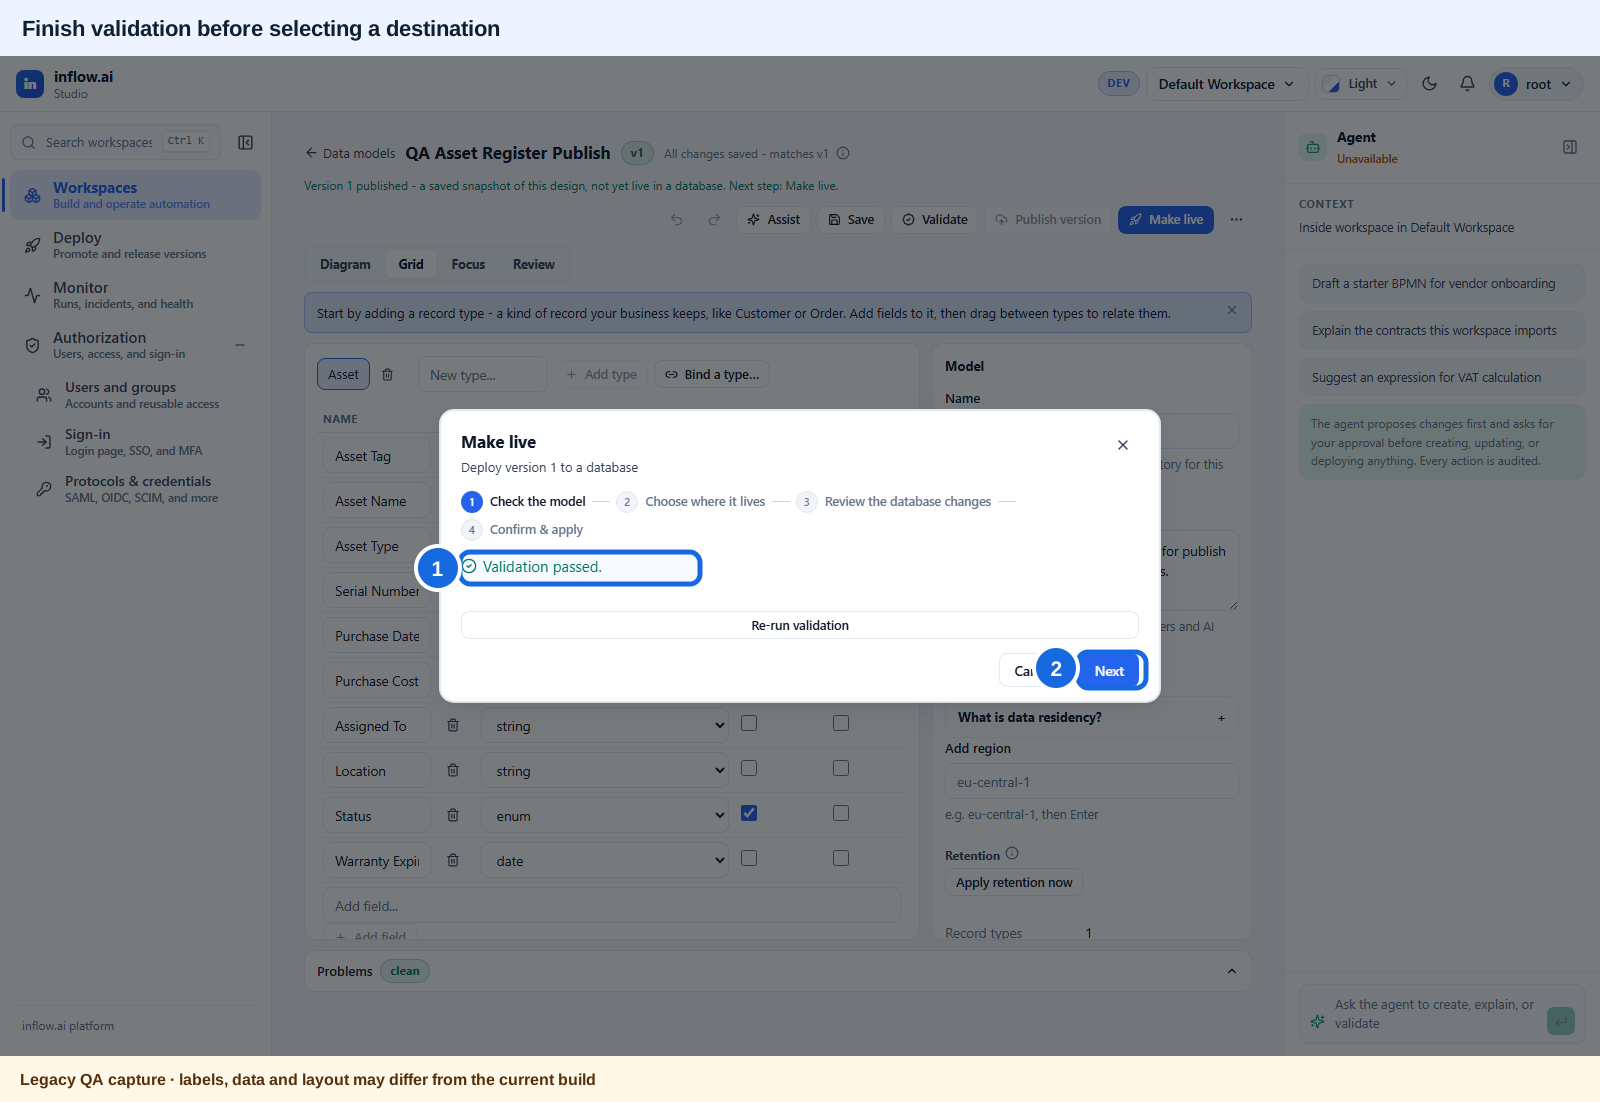 Callouts: 1. Read the validation result. 2. Continue to destination selection only when validation passes. Open the unchanged original image.
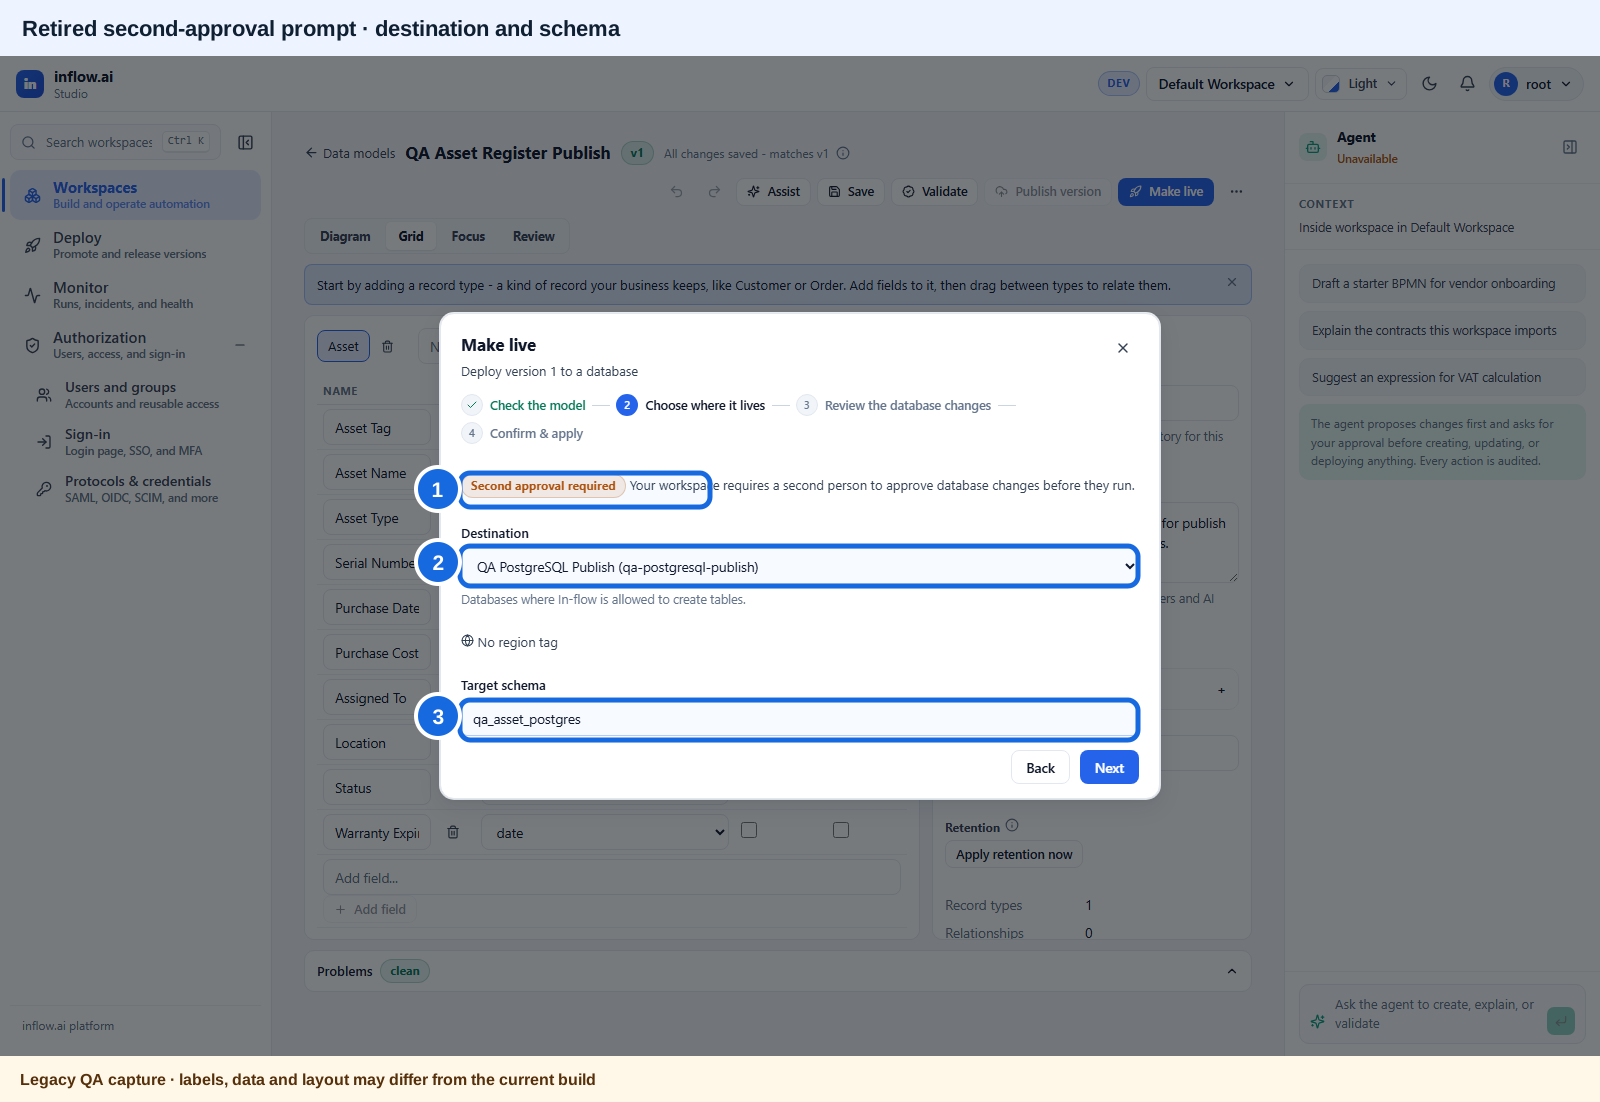 Callouts: 1. This capture shows the former second-publisher prompt; it is historical and is not a current requirement. 2. Verify the destination connection. 3. Verify the target schema before continuing. Open the unchanged original image.
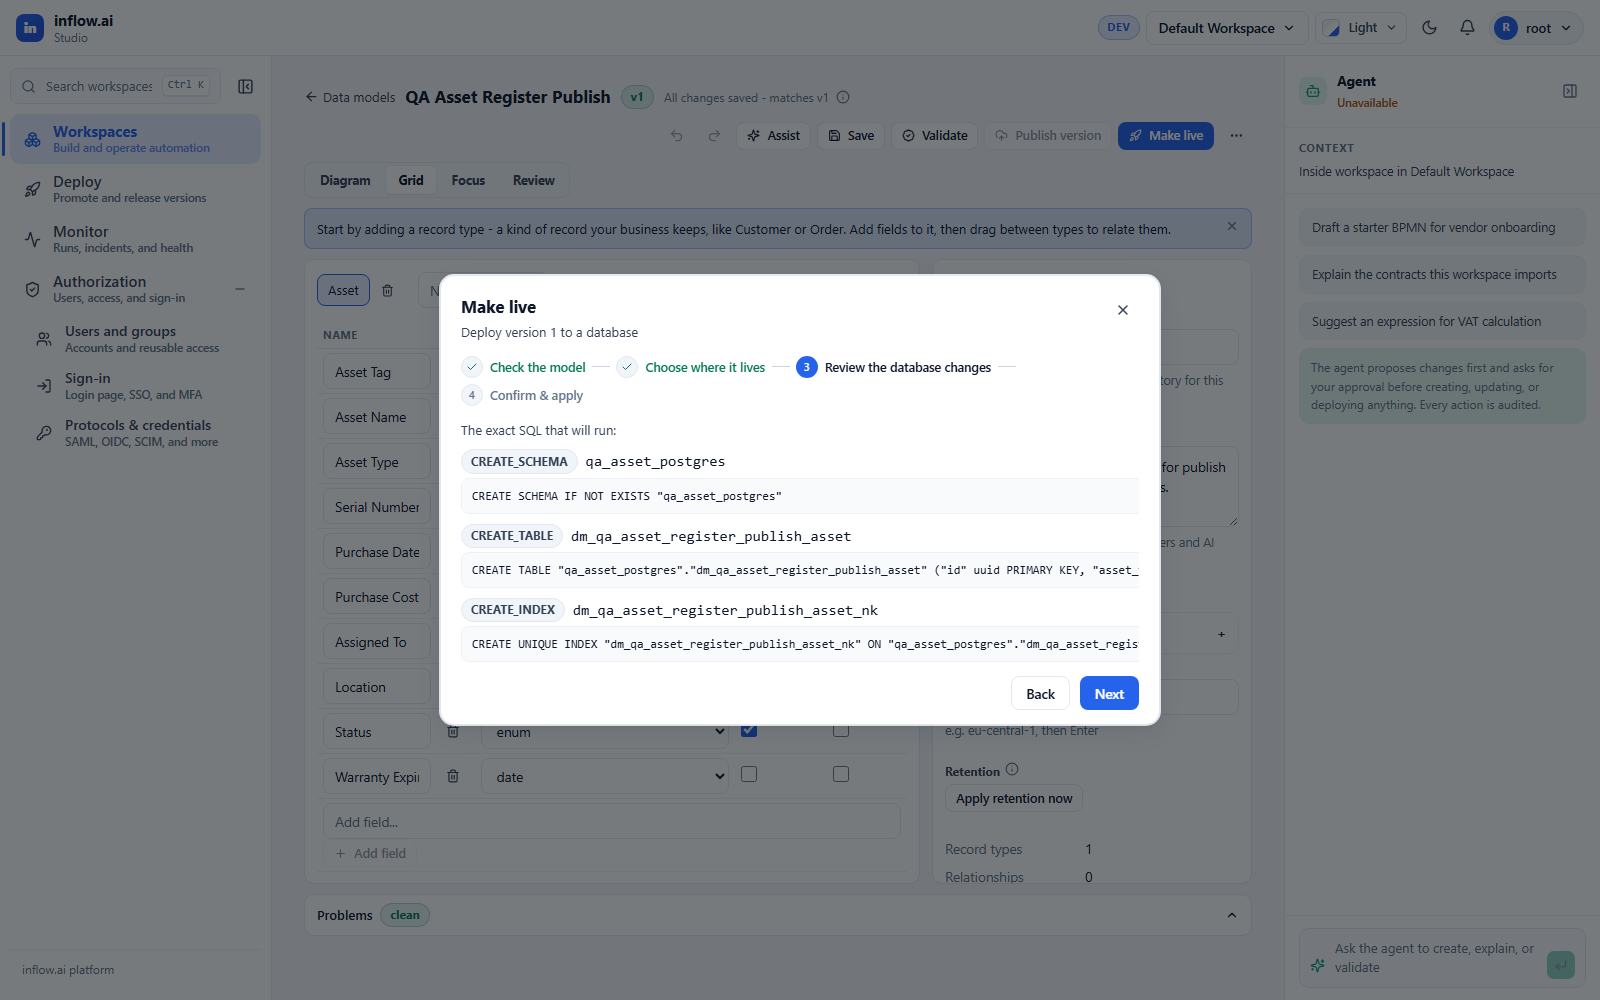
- Review the DDL plan.
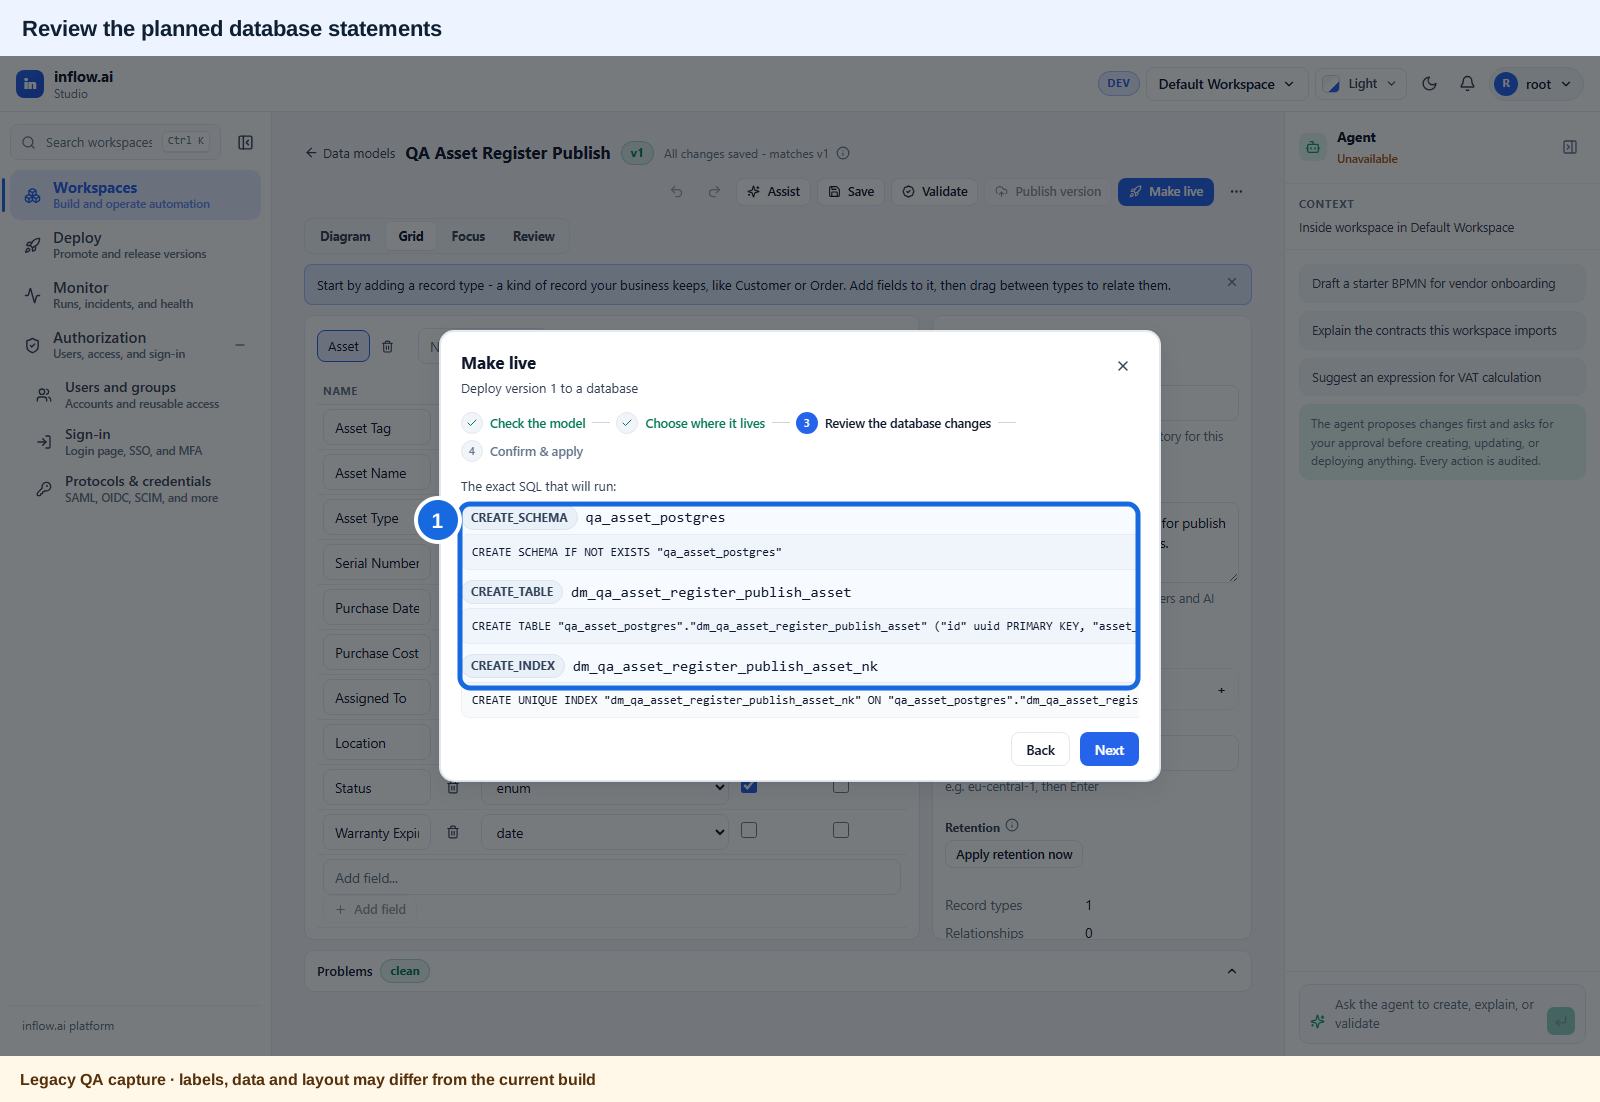 Callouts: 1. Review the exact schema statements and target names; this step is review, not application. Open the unchanged original image.
- Confirm and run.
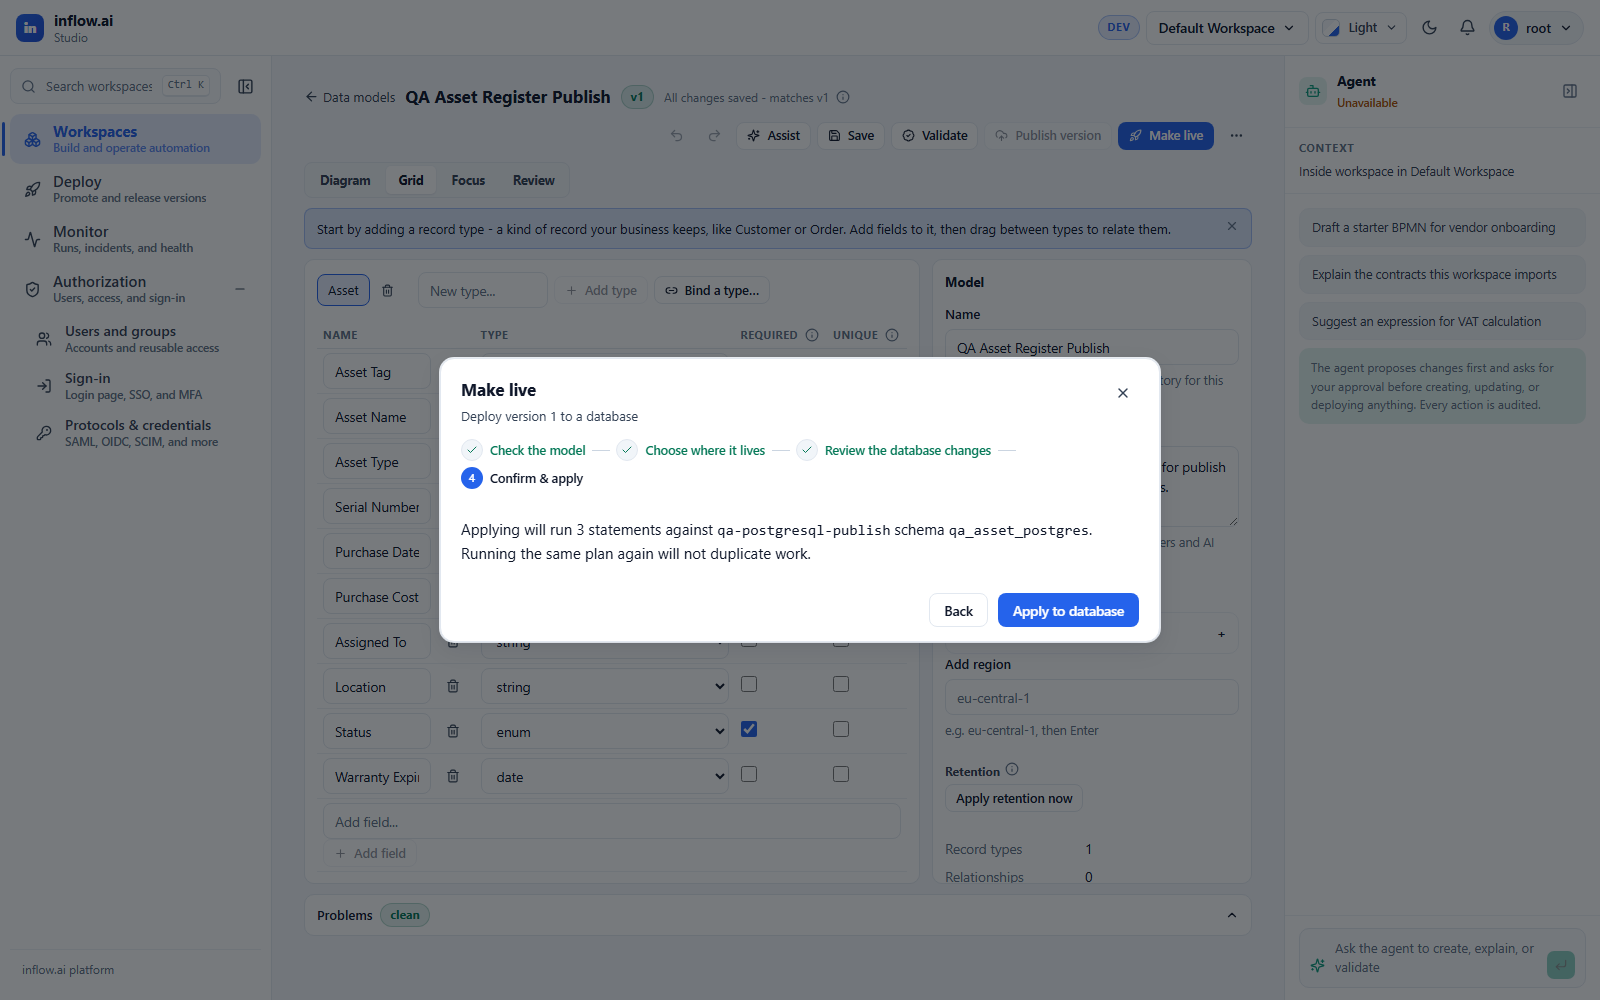
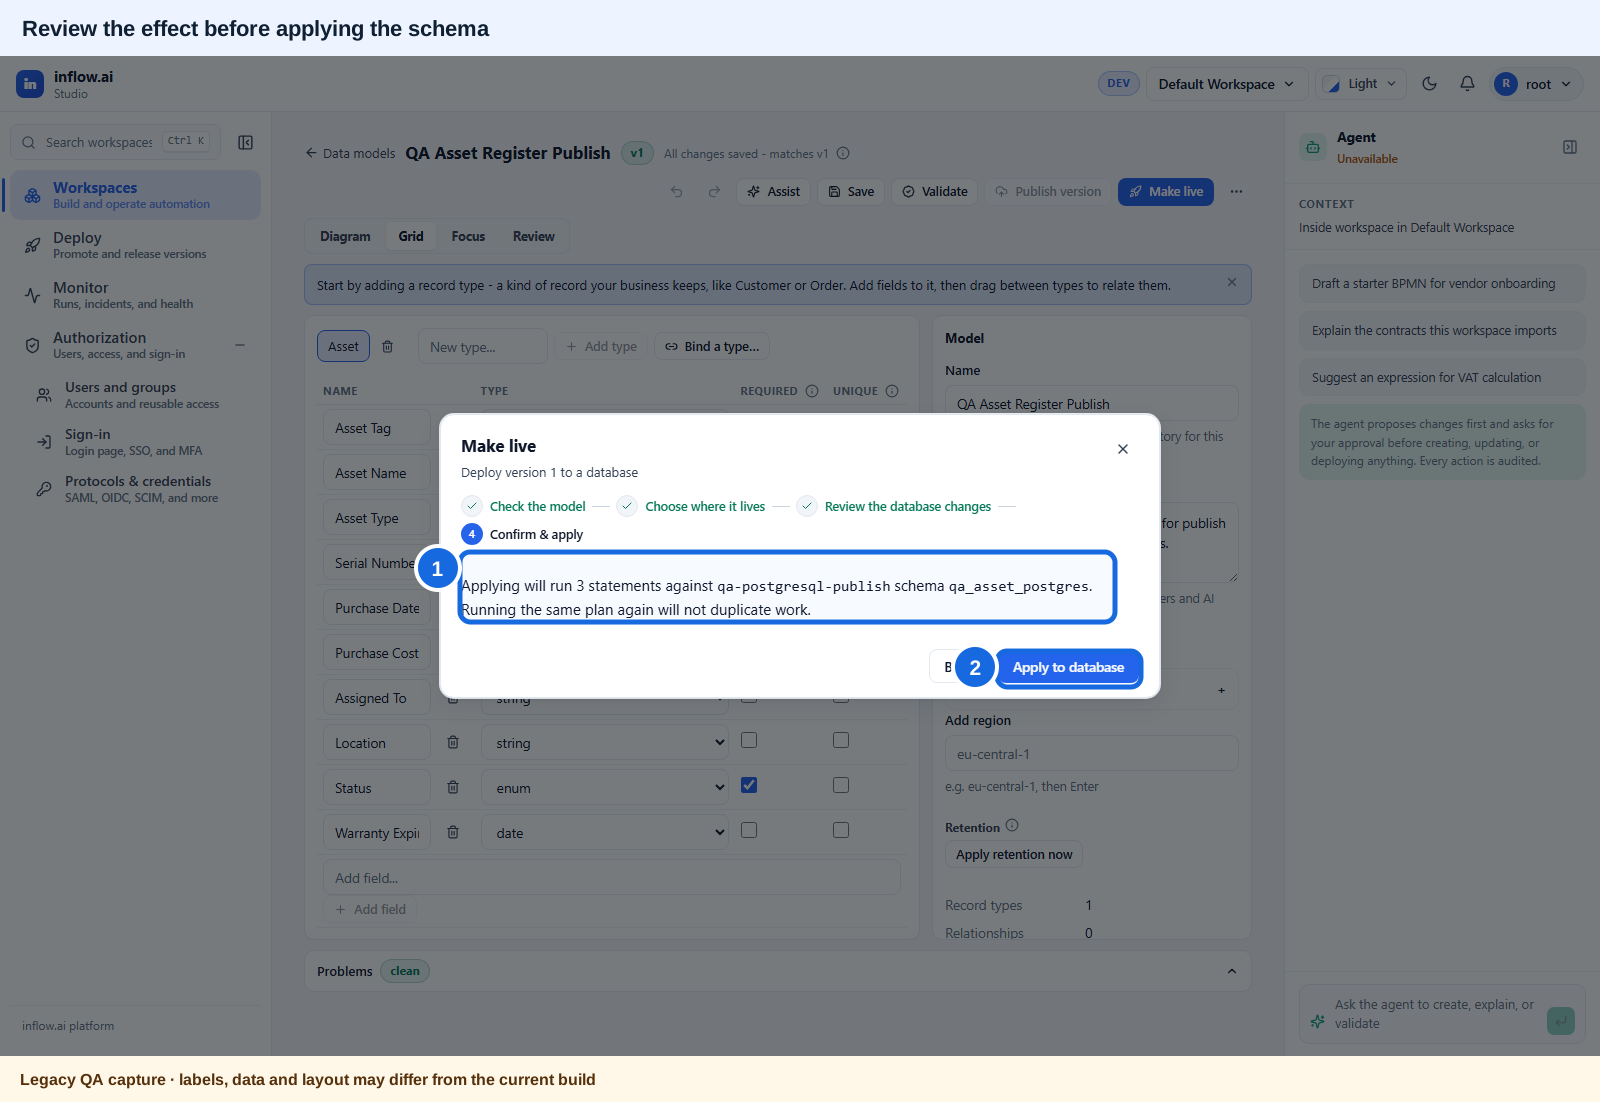 Callouts: 1. Check how many statements will run and against which schema. 2. Apply only after the required review and authorization. Open the unchanged original image.
- Read the final schema publication result. APPLIED means schema changes were applied; AWAITING_APPROVAL is not an applied publication. New publications no longer require a second publisher. If an older request remains pending from the former two-person rule, inspect its saved publication and destination first. A user who currently has publish permission—including the requester—may approve or reject it from Approvals; approval executes the saved publication on the server. Alternatively, run Make live again. Check the resulting publication status and any execution error before treating the schema as live. Warnings about other registration work are separate.
- Open the current CRUD function-pack result for this publication and read its pack status and each entry. Do not assume that APPLIED means the complete pack was generated.
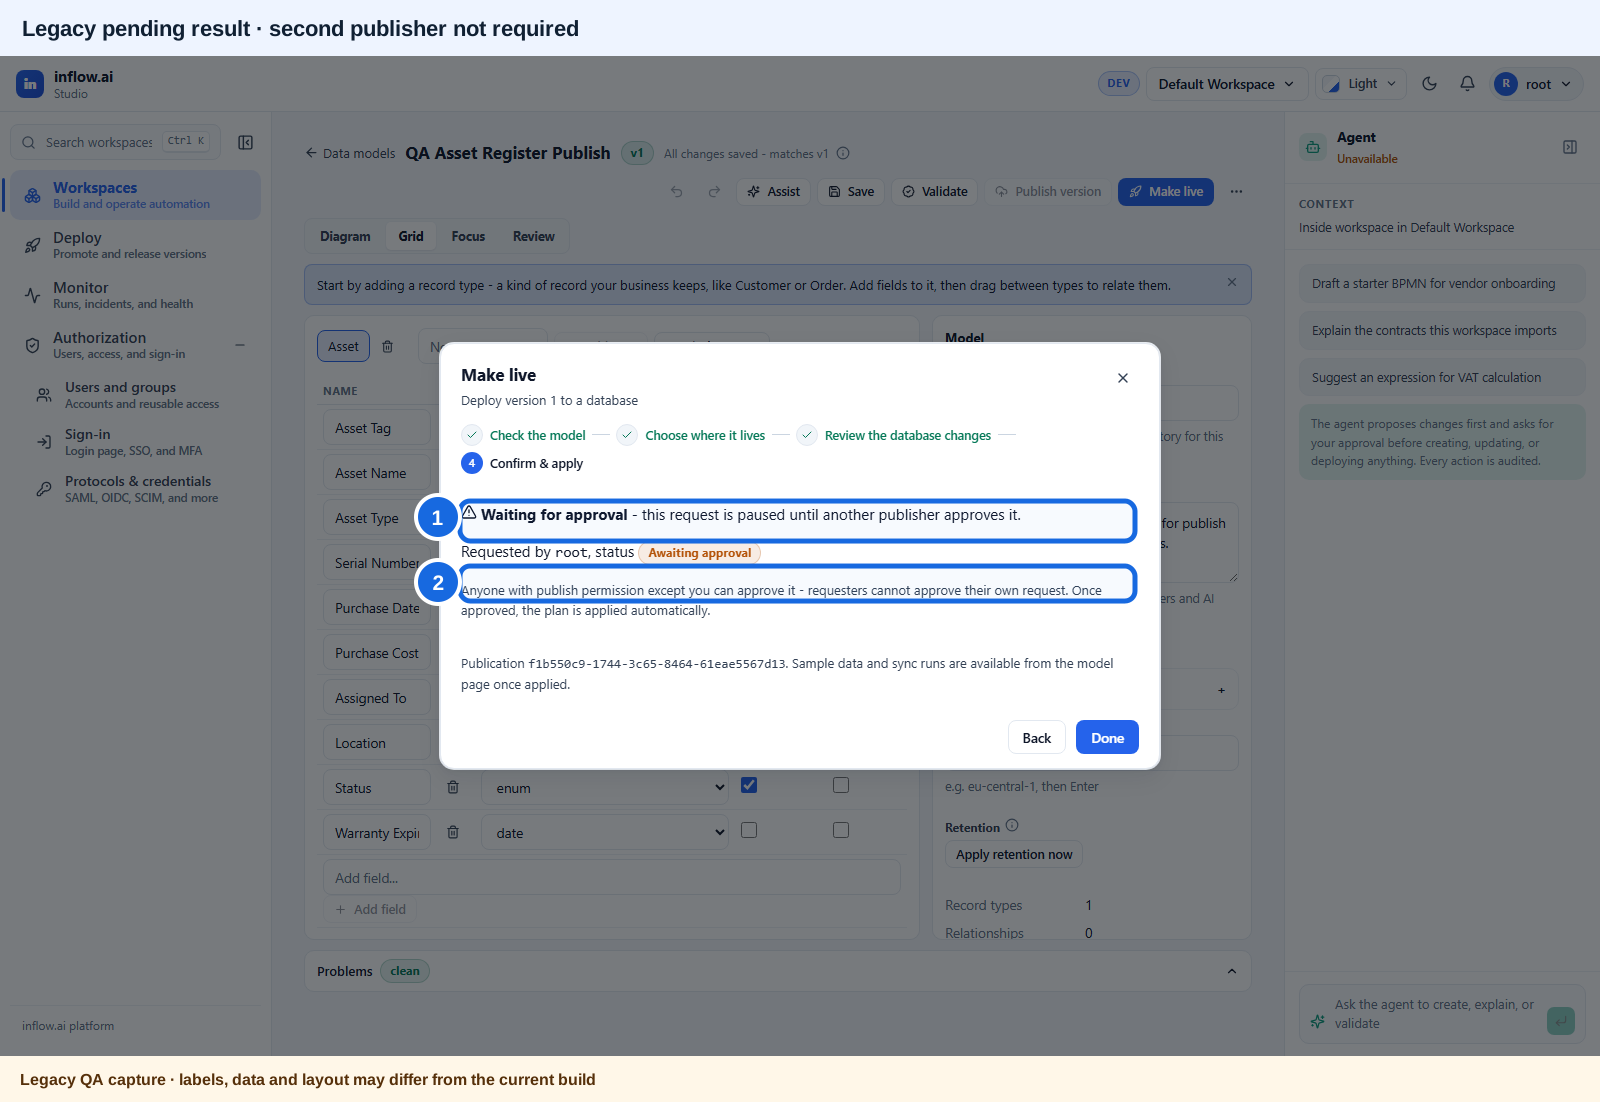 Callouts: 1. This is a legacy AWAITING_APPROVAL result, not APPLIED. 2. The former requester restriction is retired; a user with current publish permission, including the requester, can decide the legacy item. Open the unchanged original image.
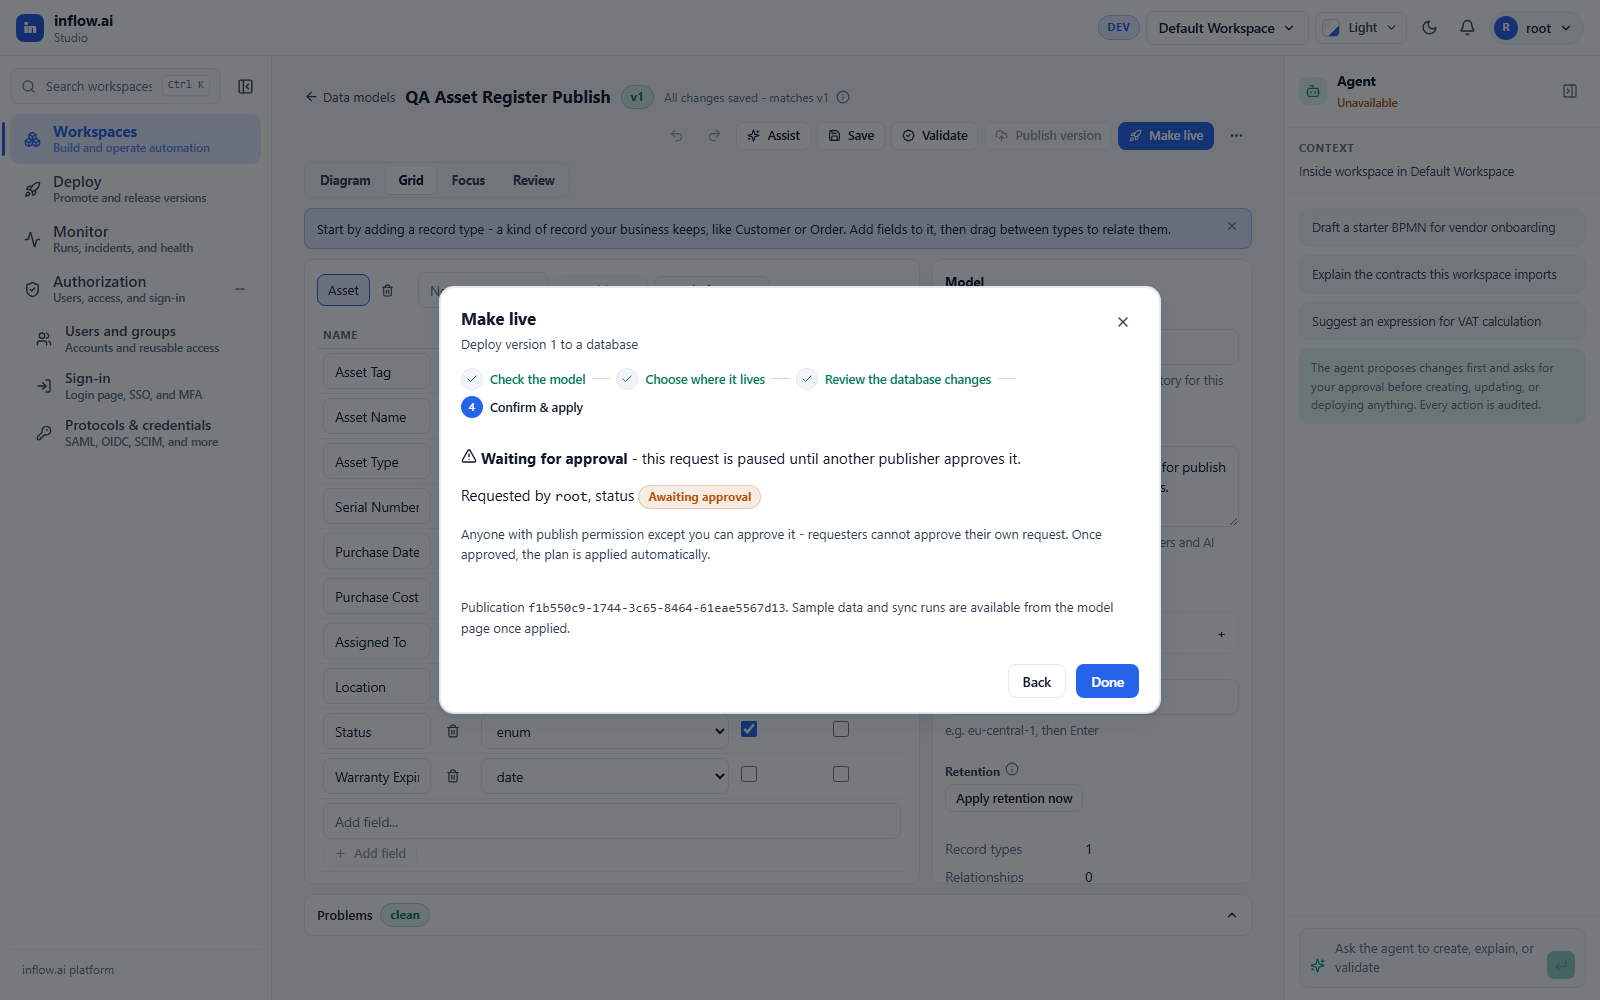
The screenshot shows a legacy request still awaiting approval. It does not show an APPLIED publication. Use View publication to inspect the saved item and destination before deciding whether to resolve it. After an authorized user approves it—or runs Make live again—return to the publication and confirm the actual final status; if execution failed, resolve that error before proceeding.
Check:
- The completed publication status is APPLIED.
- Tables exist on the target database.
- The schema publication shows APPLIED.
- The separately loaded CRUD function pack has an identifiable status and entry-level results; resolve any unavailable or failed entries with the responsible owner before building a form that depends on them.
5. Confirm the generated rules
After make live, inspect the publication's CRUD function pack and then the corresponding items under Build → Rules. The generator attempts CRUD and query rules, but generation is best-effort: a pack may be COMPLETE, PARTIAL or FAILED, and individual entries can be READY, FAILED or, for advanced operations, UNAVAILABLE. Use the current pack and entry results to decide which functions are usable; do not infer a fixed rule count from schema status.
When those entries are ready, a Customer example may include create, update, delete and list/query functions. The exact available entries depend on the model and generation result. Check each displayed status and version before selecting it in a form; a missing or failed entry requires its own diagnosis.
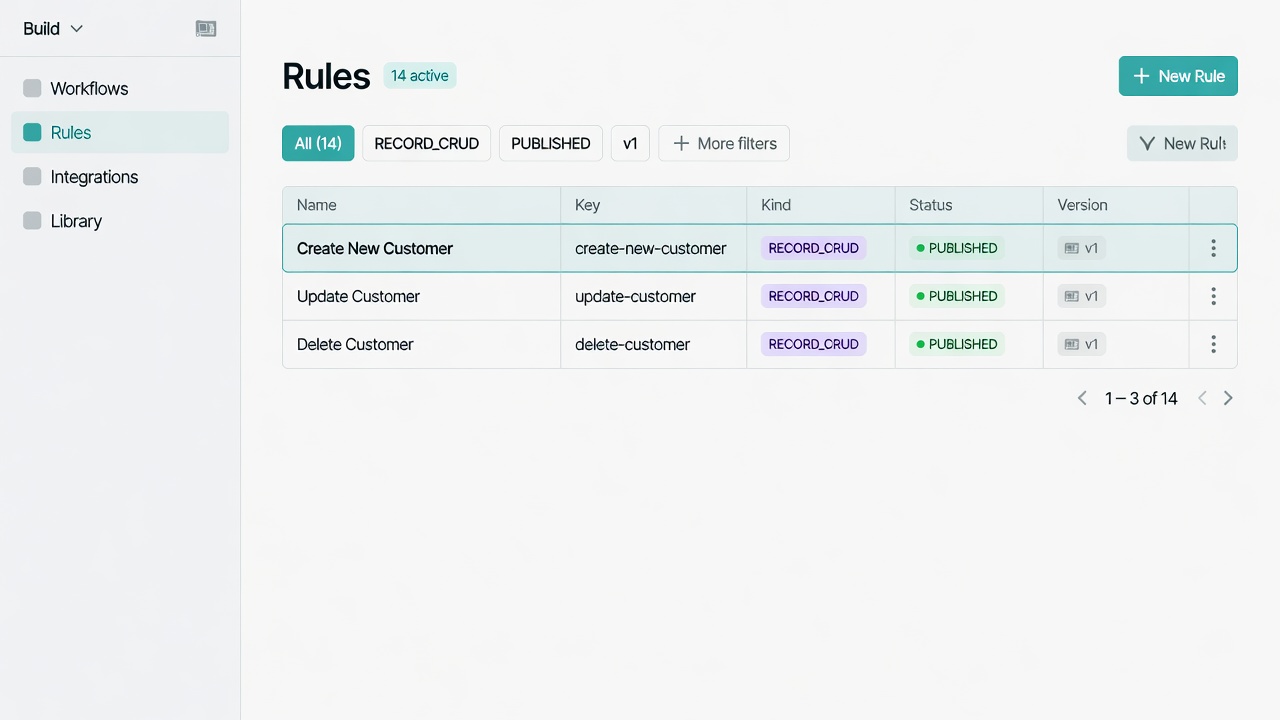
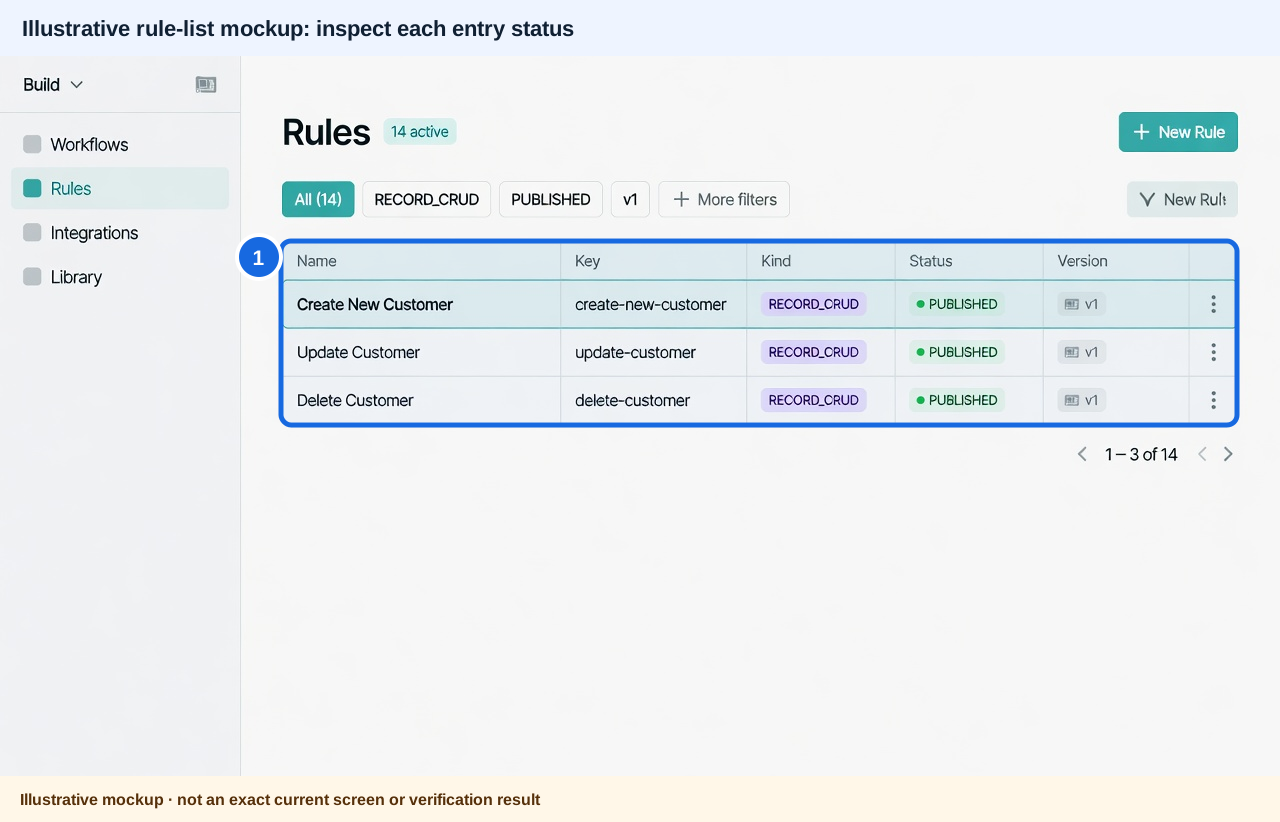 Callouts: 1. Inspect each generated rule entry and its own status and version; do not infer readiness from schema status. Open the unchanged original image.
Inputs when you call a rule
| Rule | Typical inputs |
|---|---|
| Create | record map (or flat field keys) |
| Update | identity field (e.g. email or id) + record fields to change |
| Delete | identity field (or id) |
Re-running make live on a new model version mints the next rule version (immutable versions, same keys).
What you will not see
SCREEN rules (screen:…) are interface handles for the platform. They stay registered internally but are hidden from the Rules list so they are not confused with business rules.
6. Generate forms from the data model
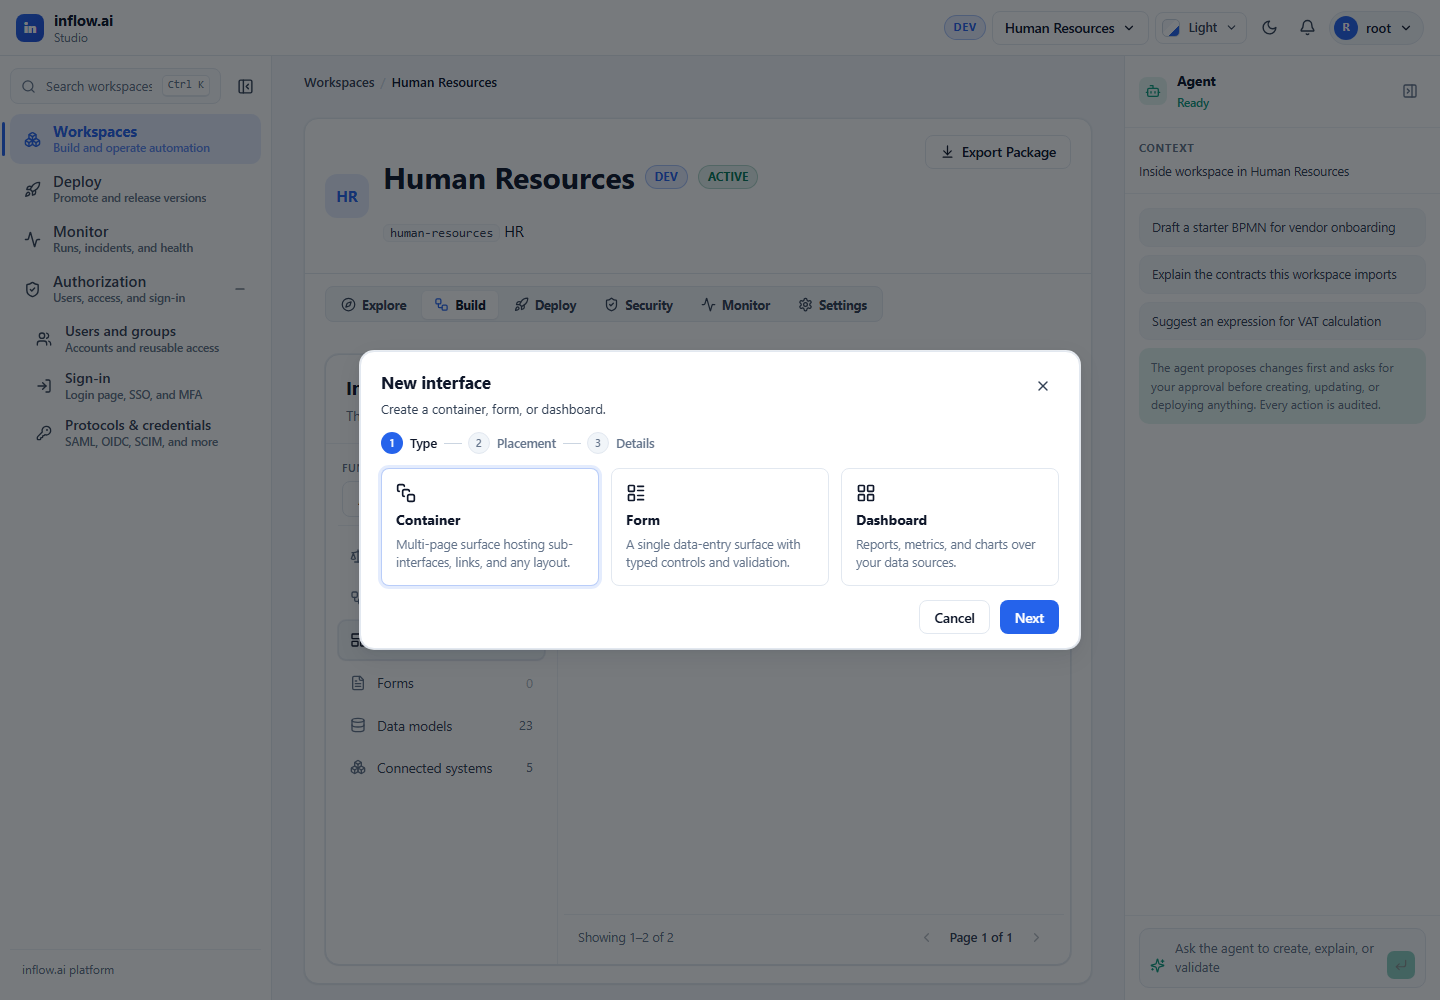
- Open Interfaces / create a new interface (form).
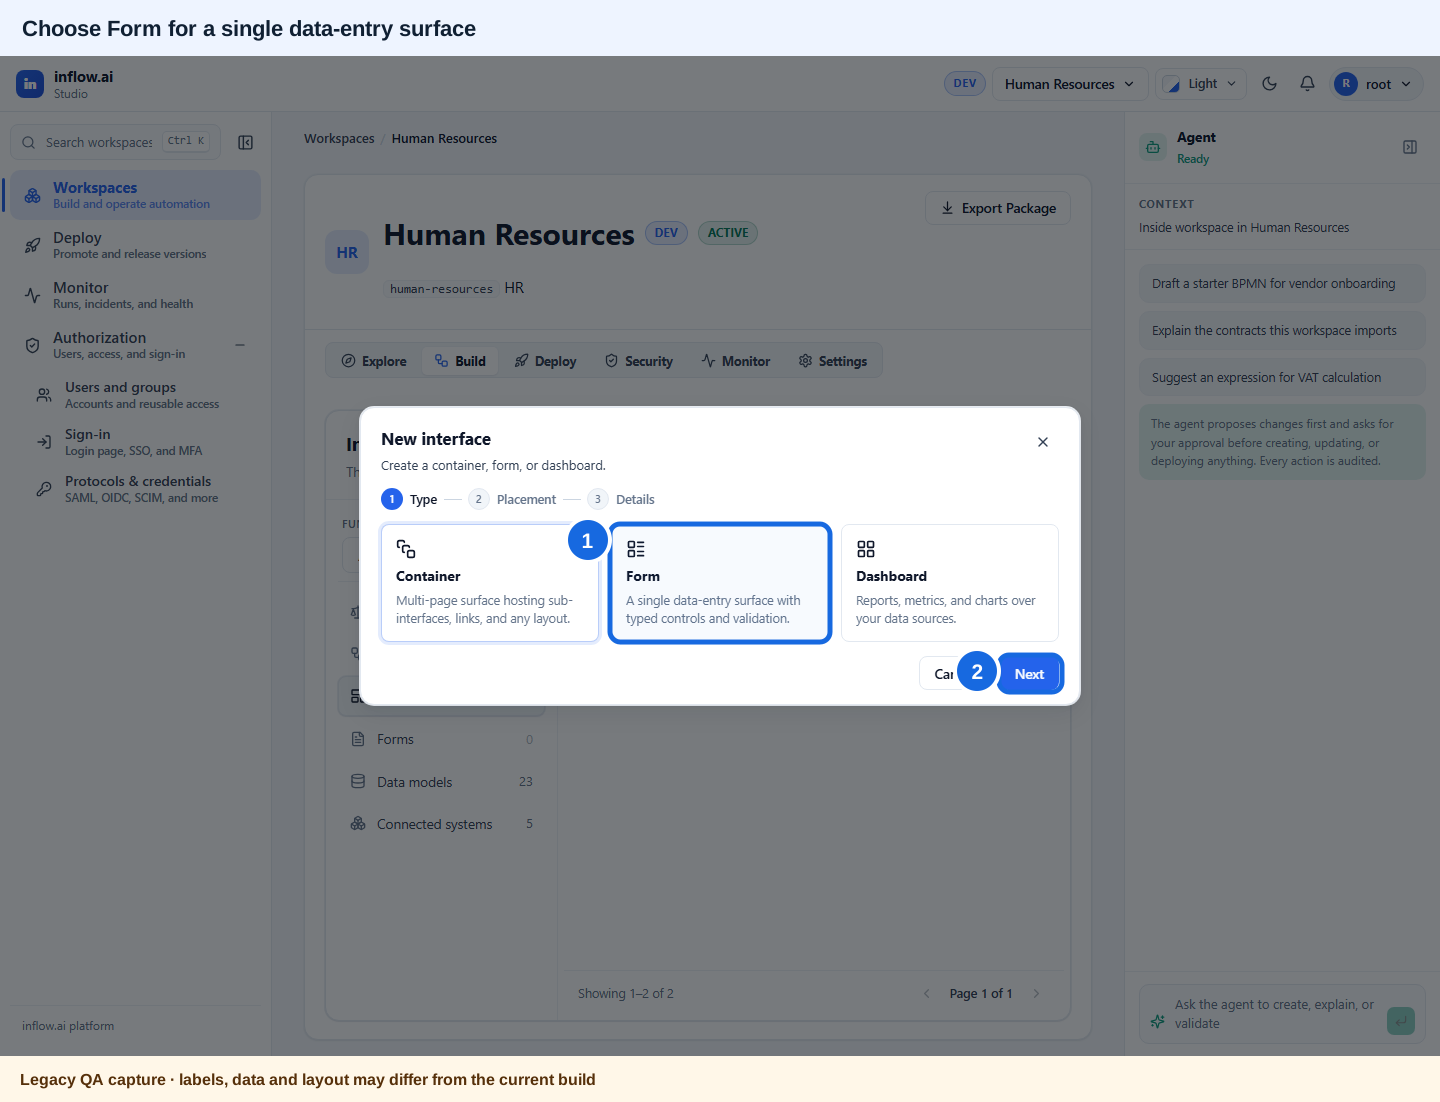 Callouts: 1. Choose Form for a single data-entry surface. 2. Continue with Next. Open the unchanged original image.
- Open the Interface Designer.
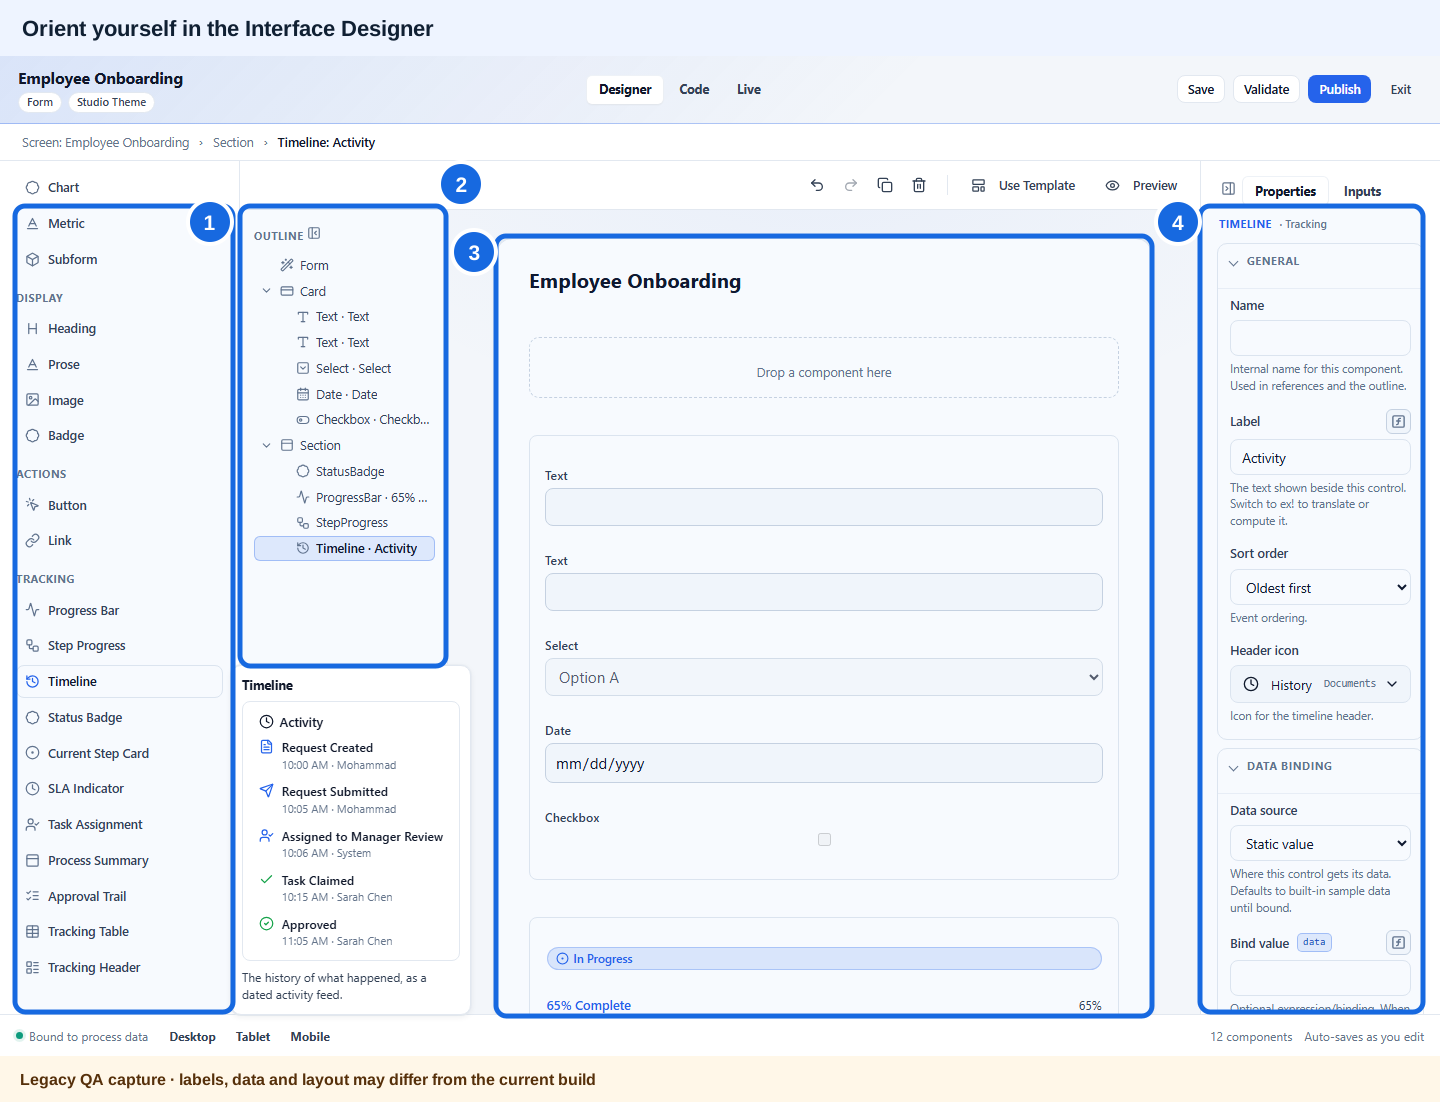 Callouts: 1. Add controls from the component palette. 2. Check their hierarchy in the Outline. 3. Review the design canvas. 4. Configure the selected component in Properties. Open the unchanged original image.
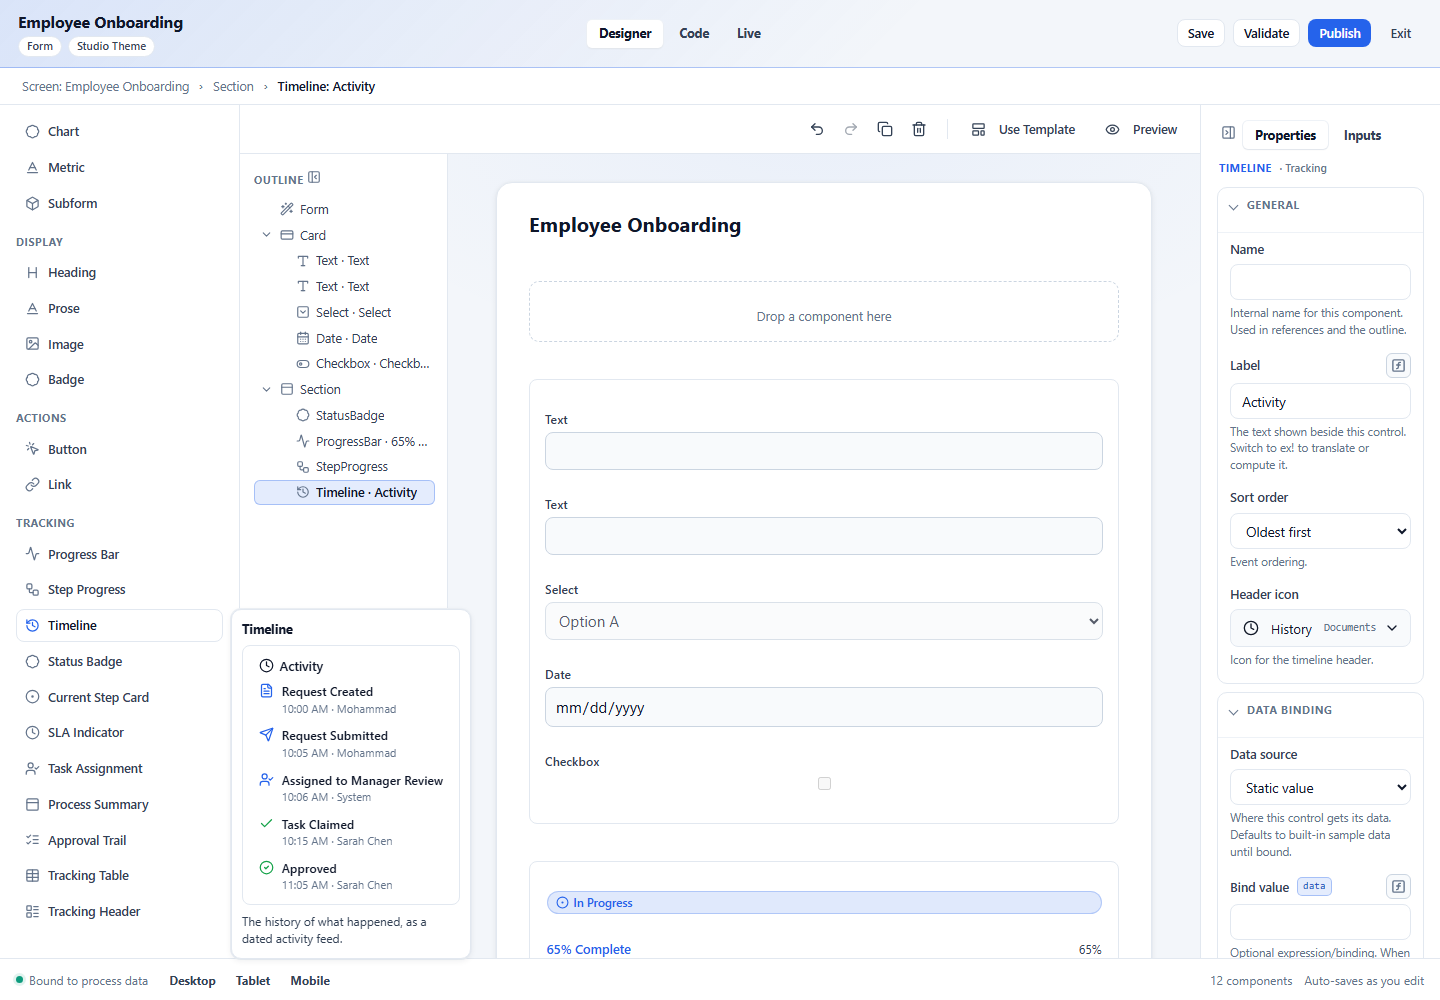
- Open Generate form in the current Interface Designer and choose Create, Edit, or Delete for your permitted published target. The former Toolbox/record-operations route shown in some old evidence is retired; use the current manual.
- Review the generated document, then Add or Replace into the draft.
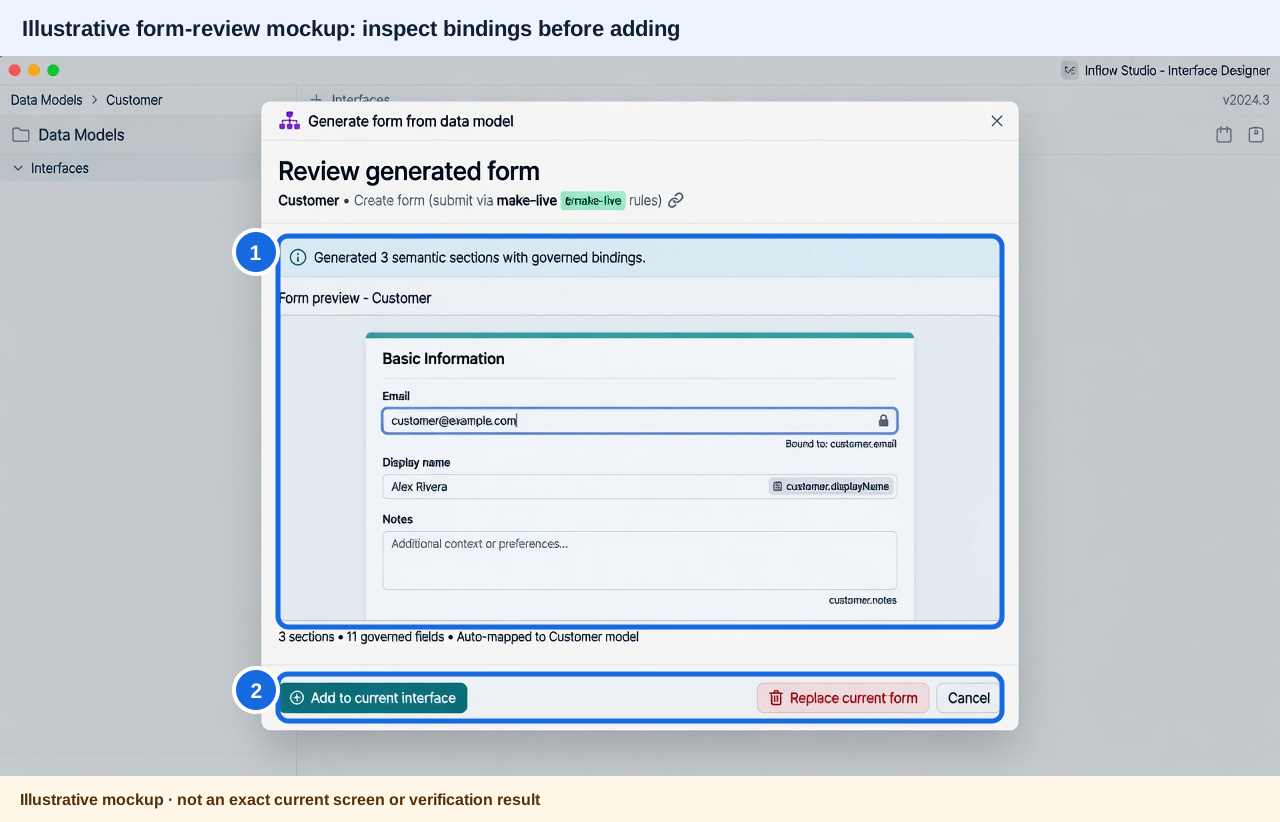 Callouts: 1. Review the generated sections and model bindings. 2. Choose Add or Replace deliberately; the mockup does not prove current control labels. Open the unchanged original image.
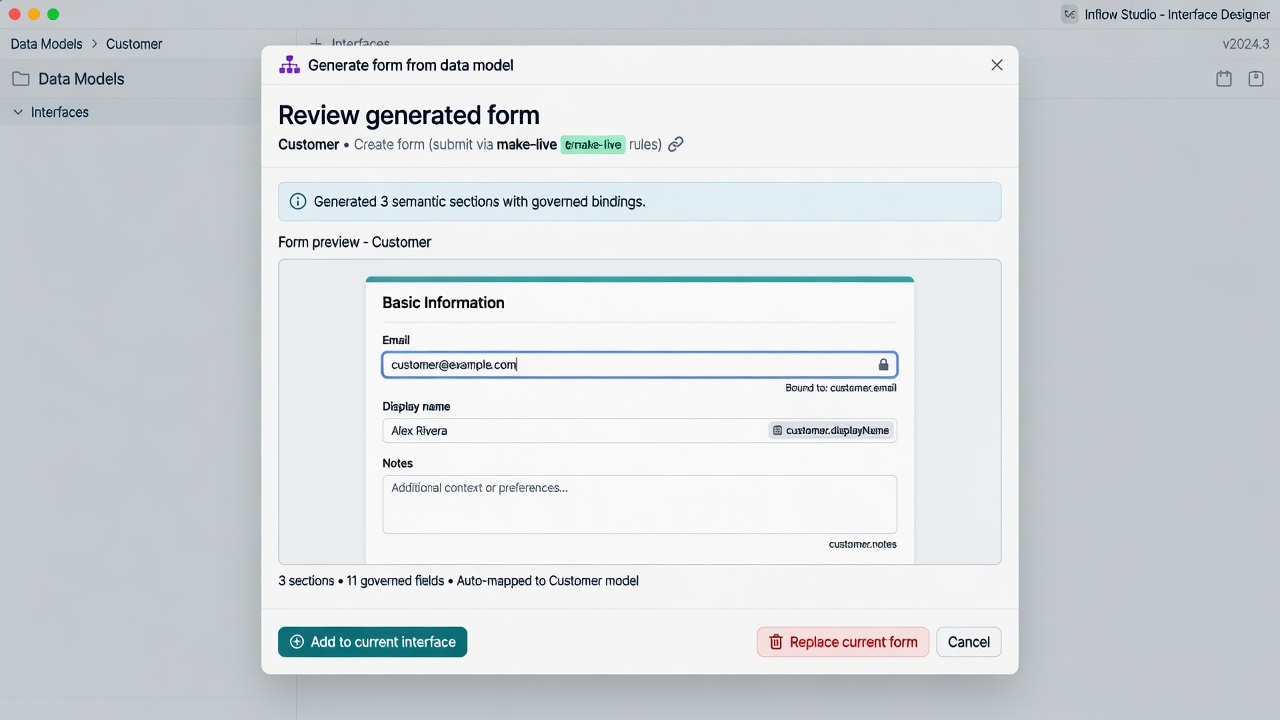
Check: the form body has semantic sections (Identity, Contact, Details, …) bound to record fields.
7. Review what the form will do
Select the generated submission button under Actions in the Outline (for example Submit, Save changes, or Delete) and open Automations. Read the On submit summary for that button, then inspect the configured target and field mapping in the designer. The generated form may use a Call a rule step or a governed data action for its selected published model. The visible summary describes configuration; it does not prove that a live submission succeeded. See the form preview and publish guide.
If the target or submit behavior is unclear, stop before publishing and ask the data or form owner to confirm it. Do not guess which record or rule the form will change.
<details> <summary>Optional technical reference for maintainers</summary>
For technical readers who need to inspect a rule-backed generated document, Create / Edit / Delete forms can pin a Call a rule action on submit:
| Form | Rule key pattern | Example |
|---|---|---|
| Create | create-new-{type} |
create-new-customer |
| Edit | update-{type} |
update-customer |
| Delete | delete-{type} |
delete-customer |
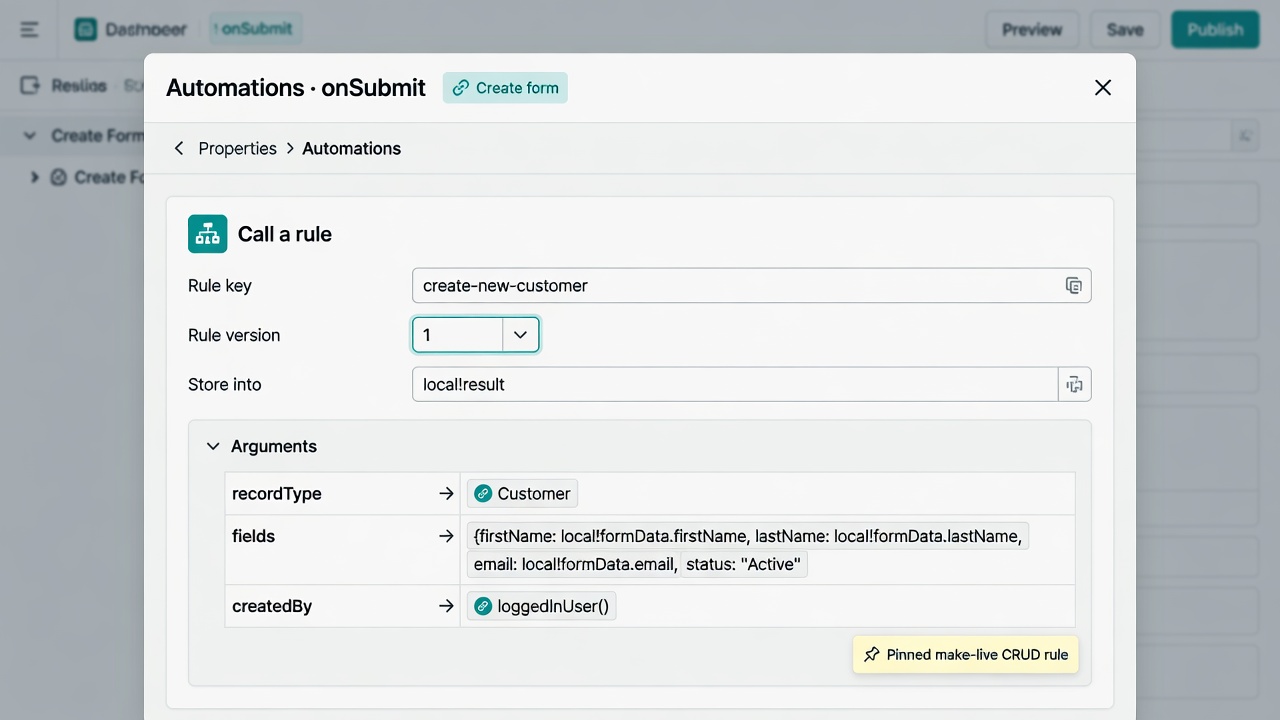
The action pins an exact rule version and stores the result in locals:result.
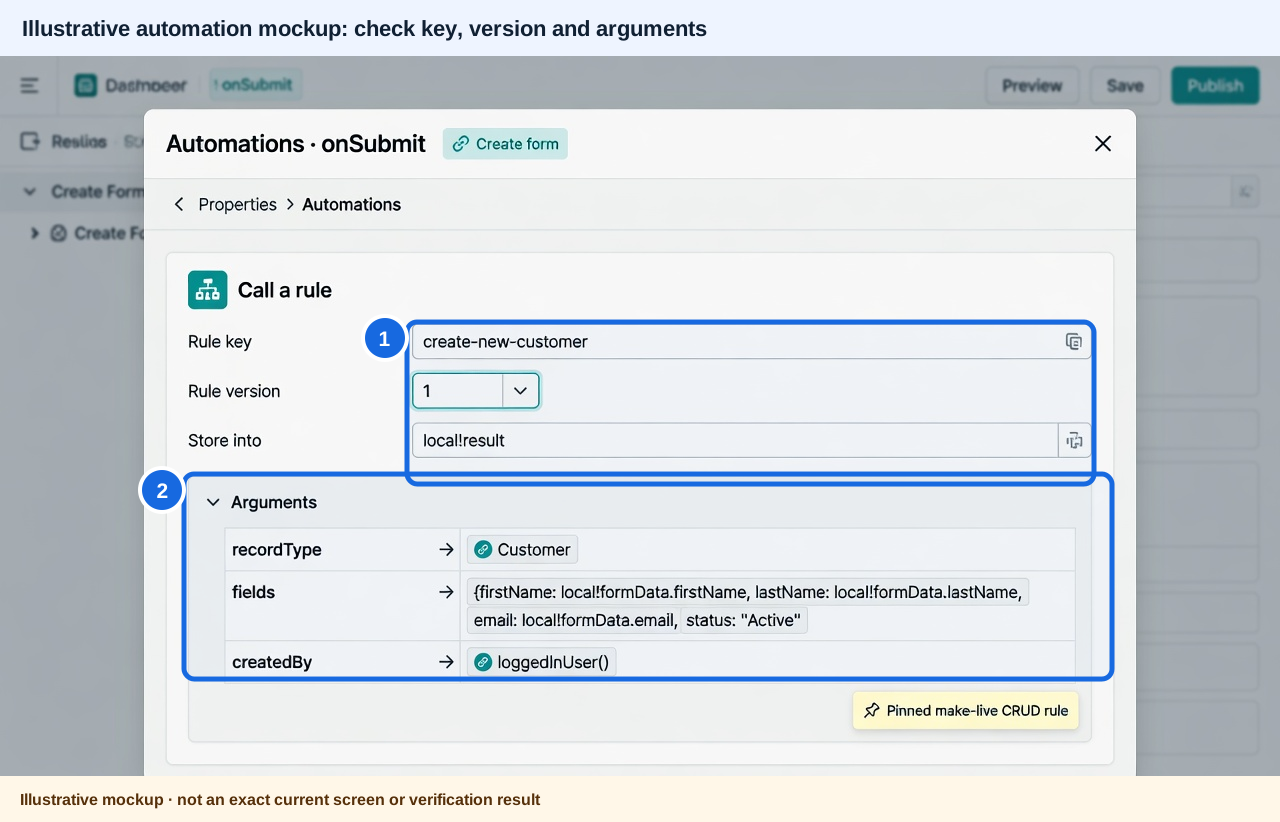 Callouts: 1. Check the pinned rule key, version and result target. 2. Review the argument mapping; this mockup is not evidence that a saved form uses this configuration. Open the unchanged original image.
Rule-backed Create handler shape (example key/version; writable-field arguments are added from the selected target's contract):
{
  "onSubmit": {
    "do": [
      {
        "action": "runRule",
        "actionId": "create-submit",
        "ruleKey": "create-new-customer",
        "ruleVersion": 1,
        "args": { "record": "${values}" },
        "into": "locals:result"
      }
    ]
  }
}
Technical contract: on the rule-backed path, onSubmit.do includes runRule pinned to an exact published ruleKey and ruleVersion. On the governed path, generated actions such as createRecord, findOneRecord, patchRecord, or deleteRecord target the selected model publication and record type, including the pinned model version and writable-field mappings. Do not replace a governed Data Action with a generic unpinned rule.
</details>
8. Publish the interface and try it live
- Save the interface draft.
- Publish the interface version.
- Open Live (or the published URL).
- Create a record → confirm the row exists in the live database / records browser.
- Optionally open Edit / Delete forms for the same type.
Quick troubleshooting
| Symptom | What to check |
|---|---|
| Make live has no destinations | Connection missing, not JDBC, or schema deploy not allowed |
| Make live fails | DDL plan errors, permissions on target DB, competing publications |
| CRUD function pack is partial/failed | Read the pack status and failed/unavailable entries; APPLIED is only schema status. Ask the data/rule owner to diagnose generation before depending on the entry |
| No rules appear | Confirm the workspace and publication, then inspect the current CRUD function pack status, entry list and access. Do not infer readiness from APPLIED or regenerate blindly |
| Form has no submit / wrong action | Check whether the intended path is rule-backed or governed record-action; confirm its exact published target and version, then regenerate from the intended publication if needed |
| Submit fails at runtime | Actor lacks write permission on the data model; identity field missing on update/delete |
plugin-runner unhealthy |
API may not start correctly — docker compose ps plugin-runner |
Automation and historical browser evidence
The earlier crud-rules-forms-human.spec.ts is now
crud-rules-forms-human.retired.ts:
it used the removed Toolbox/record-operations surface. Its old Agent 2 command,
fixtures and screenshots are historical; do not rename it back or treat it as
an executable current acceptance suite.
Current generation coverage includes FormPatternCompilerTest and GenerateFormDialog component regressions. These sources do not prove a new browser journey passed. Use the current validation workflow and current ordinary-user/UI evidence policy for an authorized candidate run; CI, data and runtime holds remain unchanged.
Related docs
- Data model CRUD rules (product contract)
- Data model schema publishing
- Connectors
- Interface designer manual test guide
Asset index
| File | Step |
|---|---|
01-connection-template-gallery.png |
Pick connection template |
02-connection-postgresql.png |
Connection details |
03-data-models-entry.png |
Data models list |
04–05-create-data-model-*.png |
New model dialog |
06-data-model-fields.png |
Fields on a type |
07-data-model-published-v1.png |
Published model version |
08–12-make-live-*.png |
Make live wizard → APPLIED |
13-rules-catalog-crud.jpg |
Generated CRUD rules (illustrative) |
14-generated-form-review.jpg |
Form review dialog (illustrative) |
15-new-interface-wizard.png |
New interface |
16-designer-overview.png |
Designer shell |
17-runrule-onsubmit.jpg |
Submit via runRule (illustrative) |